Soviet Installation - Ancient Cistern
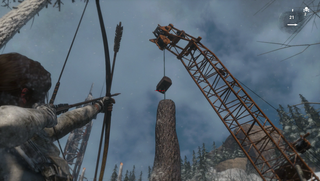
There's a blocked cave in the middle of the main area, due south of the Communications Tower camp. Suspended above it is a large log; shoot an arrow at the anchor point to drop, smashing into the barrier below. Now you can descend the ladder. Be sure to check by the crumbling wall at the bottom to find a Mural.
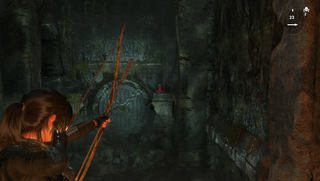
Continue through the cave, taking a left at the fork to find a Relic before descending further. Look left immediately after slipping down the wet slope to find another Relic, then head up the nearby stairs and leap to the counterweight. This will reveal a pool and some spinning blades below. Drop between them when there's a gap to land safely. In the next chamber, shoot the oil cask to open the door forward, then move ahead to find a new camp. Continue down the path to reach the tomb itself.
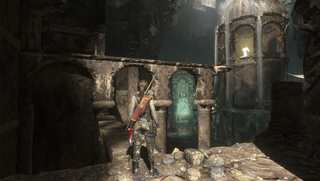
You can head across the archways and make a leap for the treasure, but your jump will fail. Instead, drop into the water below and swim to the rear chamber - there's another oil cask you can use to blow open a door, releasing water and opening a new tunnel. Follow this to return to the main room, now with a higher water level.

Swim to the new platform and grab an oil flask. Throw it onto the raft in the corner of the room, then continue up the stairs to find a counterweight. Leap to it to release more water, moving the raft. After a moment, it will return to its original place. Time a shot to blow the flask when it's near the floodgate on the wall.
Soviet Installation - Voice of God
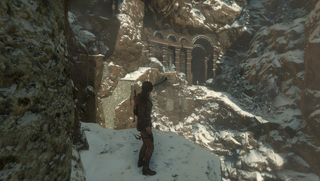
Once you've acquired Rope Arrows, enter the cave directly south of the Sheltered Ride camp. Inside is a rope-bound plank you can yank free. Do so, then force open the door beyond to enter a new area. Continue down the path to discover the Frozen Gorge camp. Climb, shimmy, and jump further along the path to finally reach the tomb itself.

Before you head inside, be sure to grab the Relic along the nearby ledge. There's a second Relic out here too (though you can get it on your way back out of here). Use your arrows to create a line back over the path you followed, then create a second from where the first ends. You'll find the collectible on the cliff face at the end of the second line.

Inside the tomb proper, grab a Document from the table left of the entrance. Your goal now is to raise the large door. Start by cranking the entrance door shut, lowering a counterweight. Now climb the planks on the door, shimmy to the nearby ledge, and drop into a new room.
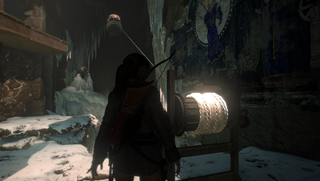
Grab another Document along the wall, then plant a rope arrow between the crank and the counterweight from before. Make sure it's cranked to its maximum height. You may have noticed the wind periodically blowing over the chasm. You need to release the counterweight via the switch on the side of the crank right as the wind starts blowing - this will send it crashing into some ice, freeing a second weight. Now you can return to the main chamber (via the breakable wall nearby), crank open the second door, and grab the treasure beyond.
Soviet Installation - The Red Mine
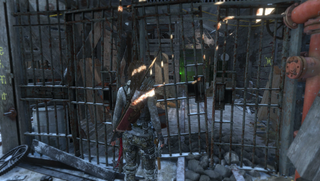
In the area where you first learn to make Molotov cocktails, check the corners to find this strange green passageway behind iron bars. Nearby is a red panel you can scramble up to drop into this area. Head to the green glow and use the controls to open the way forward. Follow the path and take the zipline, then head right when the path splits. When you find a flammable barrier, look for bottles nearby to Molotov your way through.
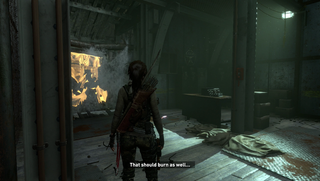
After a little slip-n-slide action, you'll continue to descend the tunnels. When you reach a room with a burst pipe, grab the Relic off the table nearby. Now grab a bottle and light it. If you're back far enough, you can lob your Molotov over the water and nail the barrier.
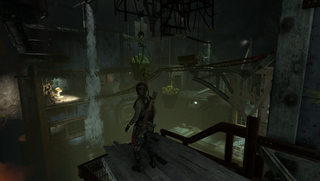
Now you can enter the tomb itself. To kick things off, hop to the tunnel to your left. Take another left when the path forks to find a Document atop a desk. Continue down to reach a camp, then take a leap to the pillar in the middle of the chasm. We can't deal with the running water here just yet, so take another leap to the deck across the gap and head upstairs.
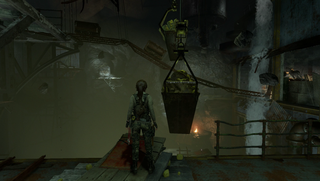
Grab the Relic at the top of the stairs, then check the small room up here to find a Document on the table. Back outside, you need to leap onto the excavation tool dangling over the chasm. This will release two mine carts into the running water, but they won't get the job done.
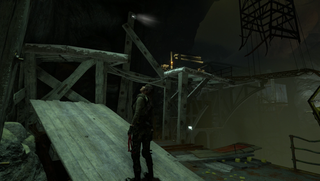
Head back upstairs and scale the series of platforms to spot a third mine cart behind a gate on the tracks. Use a rope arrow to yank it forward, but don't hop back onto the excavation tool. Instead, turn around to spot a pole you can use to swing onto the roof of the room where you found the document just a moment ago - there's a Mural on the wall there too.
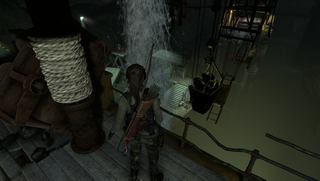
Continue up the rooftops to reach a tether pole. Fire a rope arrow to the cart you freed, and it'll anchor to the pole up here. Now return to the excavation tool to free the cart; it'll swing into the wall and block the water. Grab any of the nearby bottles, light it, and throw your cocktail to open the barrier across the gap. Leap over to claim your prize inside this well-guarded office.
Geothermal Valley is on the next page
Jump to Section:
- Glacial Cavern - Ice Ship
- Soviet Installation - Ancient Cistern
- Soviet Installation - Voice of God
- Soviet Installation - The Red Mine
- Geothermal Valley - House of the Afflicted
- Geothermal Valley - The Pit of Judgement
- Geothermal Valley - Baths of Kitezh
- Geothermal Valley - Catacomb of Sacred Waters
- The Lost City - Chamber of Exorcism
