Zacian & Zamazenta
After the credits roll, you'll be back in your house. Galar is your oyster and you can go wherever you like, including the new Battle Tower. You're probably wondering where on earth Zacian and Zamazenta have got to though, because you've beaten the game and not caught them!
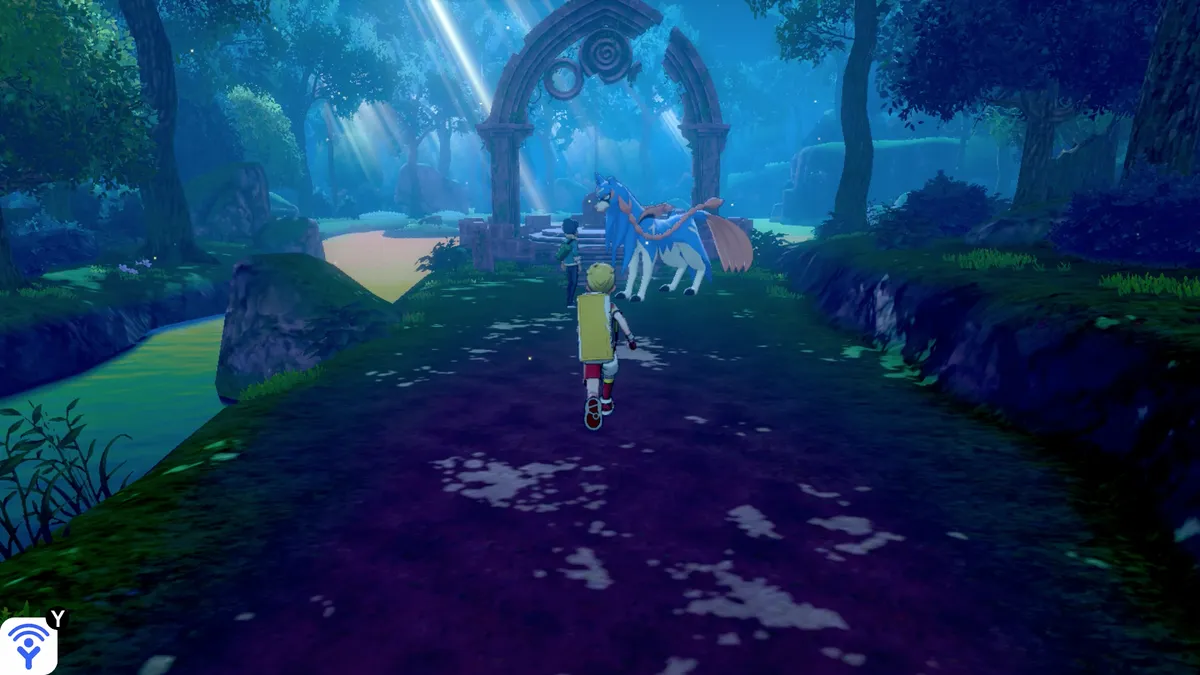
To find the answer, you want to head into the Slumbering Weald again. Go to the other end, by the ruins where you originally found the rusted sword and shield, and you'll find Hop waiting for you. Of course, the keen bean wants another battle.
Hop

| Pokemon | Level | Type |
|---|---|---|
| Dubwool | 59 | Normal |
| Snorlax | 58 | Normal |
| Corviknight | 59 | Flying/Steel |
| Cramorant | 58 | Flying/Water |
| Inteleon/Rillaboom/Cinderace | 60 | Water/Grass/Fire |
| Pincurchin | 58 | Electric |
You've fought Hop so many times now, his team hasn't changed all that much. Fighting-type Pokemon are brilliant for dealing with both Dubwool and Snorlax, while Electric-types will see off Cramorant and Corviknight with ease. For Pincurchin, Ground-type Pokemon are best, and by now you should know the best counters for your rival's starter.
When you've seen off Hop for what feels like the millionth time, Sonia will arrive in a cutscene to break the news that she's now the new professor, having taken over from Professor Magnolia. The three of you will be rudely interrupted however, as two new faces show up: Sordward and Shielbert. Yeah, we cringed too, don't worry.

These two pompous pals explain how they're descendants from the first two heroes of Galar, and act all haughty and disgusted at the fact they're speaking to commoners like yourself, Hop, and Sonia. So rude. As expected, they want to settle it with a battle. If you have Pokemon Sword, you'll be taking on Sordward, while Shielbert is for those of you with Pokemon Shield.
Sordward
| Pokemon | Level | Type |
|---|---|---|
| Sirfetch'd | 60 | Fighting |
| Golisopod | 60 | Bug/Water |
| Doublade | 60 | Steel/Ghost |
| Bisharp | 60 | Dark/Steel |
Shielbert
| Pokemon | Level | Type |
|---|---|---|
| Sirfetch'd | 60 | Fighting |
| Bronzong | 60 | Steel/Psychic |
| Falinks | 60 | Fighting |
| Klinklang | 60 | Steel |
Neither of the fights are particularly difficult; they both like Steel and Fighting-types, so arm yourself with counters and you'll be good to go.
After you defeat him, watch the ensuing cutscene that reveals Hop lost to his opponent, then the pair will flee. Your next goal is to visit Professor Sonia in her lab in Wedgehurst, where you'll learn more about this strange duo.
Finding Sordward and Shielbert

When you arrive at the lab, you'll discover Sonia has enlisted the help of an assistant. Speak with her some more and she'll tell you about how you should visit the locations Dynamax Power has been surging, and that should lead you to Sordward and Shielbert. First stop? Turffield!
When you arrive at the Grass-type gym, it's time for a battle. Not with another trainer however; you need to take on a Dynamaxed Tsareena alongside Hop, Milo, and Piers in a Wild Area-style raid battle. After you beat it, Sordward and Shielbert show their faces once again, just to let you know that they have no plans of stopping any time soon. It's up to you to stop them.
Leave the gym and Sonia will show up, telling you to head to three more gyms where Dynamaxed Pokemon have gone on a rampage. First up is Motostoke Gym, where you'll find Kabu waiting in the lobby. Talk to him and the four of you will have a Dynamaxed Torkoal to take on.
After defeating the Torkoal, head over to Hulbury and down to the Water Gym to find Nessa, who's struggling with a Dynamaxed Gyarados. By this point, you've probably figured out the formula; none of the battles are particularly difficult, just make sure you've got a favoured type matchup.
When you've taken down Gyarados, go back to the lab in Wedgehurst where you'll discover Sordward and Shielbert have barged their way in and are sat at the table inside. As expected, the pair of Jedward-esque royals challenge you and Hop to a duo battle.
Sordward and Shielbert (Duo)

| Pokemon | Level | Type |
|---|---|---|
| Bronzong | 62 | Steel/Psychic |
| Golisopod | 62 | Bug/Water |
| Bisharp | 62 | Dark/Steel |
| Falinks | 62 | Fighting |
| Doublade | 62 | Steel/Ghost |
| Klinklang | 62 | Steel |
Since you're fighting alongside Hop, you only get to use one Pokemon at a time. Thanks to the pair using four Steel-types however, a strong Fire-type Pokemon is recommended, along with a Flying-type to deal with both Falinks and Golisopod. Hop starts with Dubwool who isn't much help, but then moves on to Corviknight who is much better suited for this battle.
In the following cutscene, Sonia's new assistant turns out to be a traitor – who'd a thunk it?! – and the trio flee the scene to cause more mayhem. Leave the lab and you'll have four more gyms to visit and stop the Dynamaxed Pokemon, starting with Hammerlocke.
Go to Hammerlocke Gym and you'll find Raihan struggling with a Dynamaxed Haxorus. This time however, you're dealing with it on your own, so make sure you use a strong Dragon-type Pokemon. May I suggest Eternatus?
Once Haxorus is down, head over to Stow-on-Side to deal with Bea/Allister's problem. This is a Dynamaxed Conkeldurr or Dusknoir here depending on which game you're playing, but again, you'll be fighting it on your own. Whip out a strong Pokemon to deal with it, then make your way over to Circhester.
Gordie or Melony has a Dynamaxed Gigalith or Froslass causing them issues, so again on your own, use a strong type to see it off. The last place on the list to visit is Ballonlea, and when you arrive, you're greeted by the new leader, Bede.
Rather than dealing with the Dynamaxed Pokemon though, she insists she has it all under control and wants to battle you instead. There's no way to say "what are you doing, there's a huge Pokemon causing death and destruction everywhere, there's no time for a battle!", so instead you have to waste time and take her on once again.
Bede

| Pokemon | Level | Type |
|---|---|---|
| Mawile | 61 | Steel/Fairy |
| Gardevoir | 61 | Psychic/Fairy |
| Rapidash | 62 | Psychic/Fairy |
| Hatterene | 63 | Psychic/Fairy |
She's really coming into her role as the new Fairy-type gym leader, so stock up on Steel and Poison-types to have no problem defeating her. Since you're fighting in the lobby, you don't need to worry about her Dynamaxing any of her Pokemon either. Take her down then travel back to Hammerlocke, where you'll finally get access to the Energy Plant.
Energy Plant

Head back to Hammerlocke Stadium and speak to Sonia who's fiddling with the panel next to the elevator. She'll get it working and you can head back up to the Energy Plant where you fought Chairman Rose.
Depending on which version of the game you're playing, you'll be greeted at the top by either Sordward or Shielbert, who once again, wants to battle you.
Sordward
| Pokemon | Level | Type |
|---|---|---|
| Sirfetch'd | 64 | Fighting |
| Golisopod | 64 | Bug/Water |
| Doublade | 64 | Steel/Ghost |
| Bisharp | 64 | Dark/Steel |
Shielbert
| Pokemon | Level | Type |
|---|---|---|
| Sirfetch'd | 64 | Fighting |
| Bronzong | 64 | Steel/Psychic |
| Falinks | 64 | Fighting |
| Klinklang | 64 | Steel |
Sordward and Shielbert have the exact same teams you fought against in the Slumbering Weald, so the same advice applies.
Take the one brother down, then progress to the elevator to reach the top floor of the Energy Plant, where you'll find the other brother taunting the legendary for whichever game you don't have. Get ready, because this is where you'll need to battle it, but don't worry because you can't catch the legendary in this fight. You simply need to defeat it.

Zacian
Zacian is a Fairy/Steel-type, so your absolute best counter will be a strong Fire-type or Ground-type Pokemon. Watch out for its Behemoth Blade because it can deal some serious damage, but otherwise this fight isn't particularly tough.
Zamazenta

Zamazenta is a Fighting/Steel-type as opposed to Fairy, but it means that Fire/Ground-types are still going to do the most damage. Zamazenta also knows Behemoth Bash which can really knock you for six if you're not careful.
After you defeat the legendary, you'll have the opportunity to battle – and catch – the other one. You can either use the Master Ball Professor Magnolia gave you after you became Champion, or you can try to whittle it down and catch it with a different type of ball.
When you finish the fight, Sordward and Shielbert will show up again but this time, to apologise. After the cutscene is done, head back to the Slumbering Weald in search of Hop once again, since he went chasing after Zacian a while ago.
When you enter, Sonia will offer to fast track you to the other side like the absolute legend she is. When you get to Hop, he's busy trying to tame Zacian; watch the cutscene and then get ready for one final battle against your rival. Don't worry, this one really is the final battle.
Hop
| Pokemon | Level | Type |
|---|---|---|
| Dubwool | 69 | Normal |
| Snorlax | 68 | Normal |
| Pincurchin | 68 | Electric |
| Corviknight | 69 | Steel/Flying |
| Inteleon/Rillaboom/Cinderace | 70 | Water/Grass/Fire |
| Zacian/Zamzenta | 70 | Fairy/Steel OR Fighting/Steel |
Hop has ditched the Cramorant from the last fight and replaced it with Zacian; a wise move. While this isn't an easy fight, Zacian can be a pain to take down if you haven't got strong enough Pokemon to deal with its Behemoth Blade. Make sure you're using both Eternatus and Zamazenta however and you should be fine.
When you beat Hop, watch the ensuing cutscene and you've finally beaten the game – properly this time! Congratulations! There's still some things you can do including the Wild Area and Battle Tower, so don't think that your Pokemon Sword and Shield journey is over. Check the final page for everything there is to do now you're champion and you've finished the story. Good luck!
Pokemon Sword and Shield walkthrough: Postwick and Route 1
Pokemon Sword and Shield walkthrough: Wedgehurst and Route 2
Pokemon Sword and Shield walkthrough: Wild Area and Motostoke
Pokemon Sword and Shield walkthrough: Route 3, Galar Mine, and Route 4
Pokemon Sword and Shield walkthrough: Turffield, Turffield Gym, and Route 5
Pokemon Sword and Shield walkthrough: Hulbury and Hulbury Gym
Pokemon Sword and Shield walkthrough: Galar Mine No.2 and Motostoke Gym
Pokemon Sword and Shield walkthrough: Hammerlocke and Route 6
Pokemon Sword and Shield walkthrough: Stow-on-Side and Stow-on-Side Gym
Pokemon Sword and Shield walkthrough: Glimwood Tangle
Pokemon Sword and Shield walkthrough: Ballonlea and Ballonlea Gym
Pokemon Sword and Shield walkthrough: Route 7 and Route 8
Pokemon Sword and Shield walkthrough: Circhester and Circhester Gym
Pokemon Sword and Shield walkthrough: Route 9
Pokemon Sword and Shield walkthrough: Spikemuth Gym
Pokemon Sword and Shield walkthrough: Hammerlocke Gym
Pokemon Sword and Shield walkthrough: Route 10 and Wyndon
Pokemon Sword and Shield walkthrough: Wyndon Gym and Rose Tower
Pokemon Sword and Shield walkthrough: Wyndon Gym Finals and Slumbering Weald
Pokemon Sword and Shield walkthrough: Energy Plant and Champion Battle
Pokemon Sword and Shield walkthrough: Zacian and Zamazenta
Pokemon Sword and Shield walkthrough: Post-game activities