CHAPTERS 9-16
Chapter 9: Securitech Corp.
CoinsSecond Floor: 48 Street Level: 49Underground: 45
Main Objective: Steal Security Footage 3/3
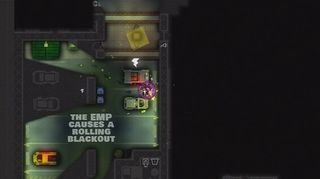
From the start, choose to use the Cleaner and pick up the EMP power-up. You will easily be able to sneak around this first floor and knock out everyone you come across to grab all of the coins. Make sure to grab the coins in the safe at the top center room. Once you have all the coins, make your way to the ladder to reach the Street Level. Just like the first floor, there’s not much trouble here as most of the laser beams will only lock doors and not alarm the guards. Creep up on everyone and knock them out and then be sure to grab the coins from the civilians, the few in the restrooms, and the safe in Davide’s Office near the center of the map. Once you have cleared the floor out, make your way to the ladder in the far north left corner to reach the second floor.
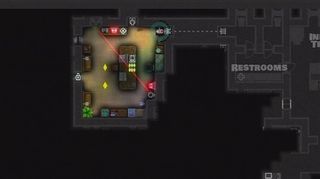
Now that you are on the last floor, it’s the trickiest. There is a safe in the Live Testing room before the Sky Bridge that you will need to cut the power to. If you don’t the machine gun inside will kill you in a second. There will be another safe to open on the right side of the floor, but not quite so deadly. Scoops up all the coins you can see and then make sure to get all the random loose ones in the middle sky bridge. Once you have collected all the coins and the level is cleared out, go back to the ladder in the top left corner to go back down to the Street Level. Once you are there, go to the bottom left and exit out to the street and escape using the car parked there.
Chapter 10: Musee Oceanographique
CoinsTop Secret Storage: 33Nautical Displays: 40Aquatic Exhibits: 56Underground Caverns: 40
Main Objective: Steal Evidence 3/3
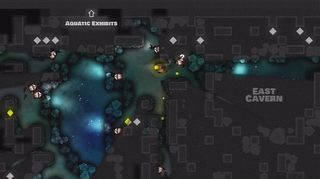
Choose the Pickpocket or the Cleaner for this mission. The starting area has a lot of the coins scattered about, but there are also a ton of guards with machine guns that make using the Cleaner easier to deal with. Make a counter clockwise movement around the cave and then climb the ladder to the Aquatic Exhibits once it is cleared. On this floor, there are two light brown cabinets that hold a lot of coins, one in the classroom near the top and one along the far right wall under the ladder to the Nautical Displays. Also be sure to grab the cash register near where you first enter. Another place where they like to hide is in the outside area to the bottom left and to the top left in the parking lot.
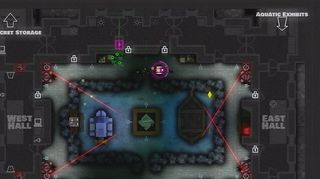
Once you have cleared them out, go to the ladder at the top right and enter the Nautical Exhibit. The toughest part of this level is the safe that is to the left of the center area. There are four lasers in here and if caught, you will get nailed by machine guns. Use the two computers in the rooms on the far left and then go back to the center and pop the safe as well as get the remaining coins. Once you have gathered the rest that are scattered around the center room, go to the Top Secret Storage through the ladder located at the top and bottom of the far left side.
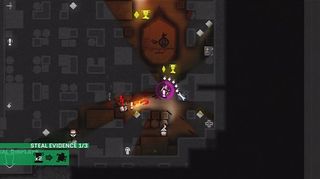
You’ll need to be careful here as the guards carry machine guns and there are dogs roaming about. The smoke bomb makes for good use here. The evidence you want to get are all gathered on the far side to the right in one area, as well as a safe to pop. There are power switches to the top and bottom you can use to cover your tracks as you collect all the goodies in the area. Once you have them, clean up any loose coins you may have missed and then head for the stairs leading down the Nautical Displays, and the Aquatic Displays and then escape using a car in the parking lot to the far left.
Chapter 11: Discotheque Rouge
CoinsVIP Floor: 53Street Level: 88Underground Dance Party: 40
Main Objective: Rescue the Redhead
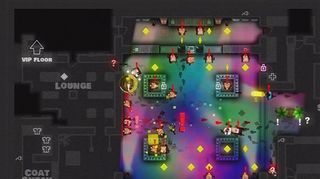
To make this mission easier, at least at the start, use the Pickpocket so that his monkey can collect the tons of coins that are available from all the civilians in the club. Make your way to the left from the beginning to grab the coins from the people in line and then enter the club. Make your way through collecting all the loose coins and then head to the ladder that takes you to the Underground Club just above the parked cars at the bottom of the screen. When you enter it, use smoke bombs to pop the safe in the center of the bar and then clear out the rest of the coins around the outside of the bar and back up to the Street Level.
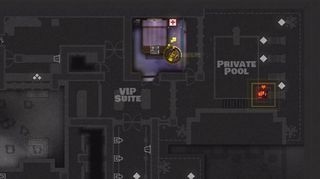
Once the Street Level is cleared, be sure you grab the coins from the registers on the far left and far right of the club, go to the ladder in the top left corner to get to the VIP Floor. Once you reach it, there will be a few things to keep your eyes open for to clear out the rest of the mission. There will be a safe in the room near the center top and some stacks of bills in the rooms near the bottom. Also be sure to grab all the coins from the registers as well in the bars at the top and bottom. Once you have gathered up all the coins, then go and get the red head and then book it back to the ladder and go down to the to the street level. Now make your way back to where you entered and hop in the car there to escape.
Chapter 12: Quarter Diamant
CoinsStreet Level: 92Underground: 61
Main Objective: Steal 5 CT Diamond 4/4
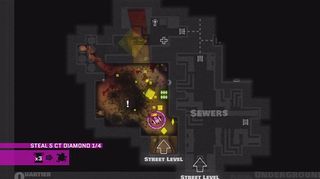
This mission can be a pain in the butt with all of the coins that you need to get on the Street Level floor by breaking open the jewelry cases. Again, I preferred the Cleaner as taking out guards just makes things easier. There are a ton of them all over the floor, but thankfully, just breaking them open doesn’t alert the guards. You can sneak up beside a guard and smash a case free and clear. The easiest way to complete this mission is to go to the Underground level first after picking up the C4 and clear it out. When you enter the Underground, go forward up the ladder and then to the left. Run into the gambling room and drop the C4 and run back out. Once everyone is dead, run back in and grab the diamonds and the stack of bills to the right of the room.
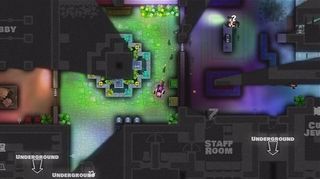
Climb back up the ladder to get on the catwalk and go to the right to find another stack of bills and the next diamond you need to get in the center of a narrow passage with two lasers and a safe. Drop a C4 charge to the left of the safe and runaway. Once it goes off, run back to get the diamonds and the coins popped from the safe. Now that you have all the diamonds needed here, clear out the rest of the coins and head back to the street level.
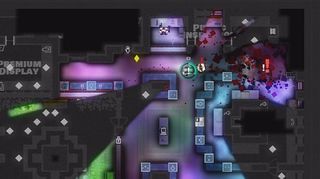
It can be a little time consuming breaking open all the glass cases and I’d suggest doing it after you have collected the diamonds from the top left corner room and the far right lower room. There are also two registers that you need to clear out; one to the far left and one in the lobby to the left and the lobby to the right. Also be aware that you can use the C4 to blow up multiple cases at once. It’s not all that difficult of a level, it’s just time consuming breaking open all the cases. Once you have all the coins, return to the beginning and escape in the car there.
Chapter 13: Galerie D’Art
CoinsSecond Floor: 57Street Level: 66
Main Objective: Steal Masterpiece 9/9

This mission has the most objectives to grab, but thankfully they aren’t all near impossible to reach. Using the Gentleman or the Locksmith works well, as does the Hacker to help deal with the multiple alarms guarding the art pieces. Before you enter the gallery, be sure to grab the coins outside and then enter the front doors. There is a folder full of coins just to the right of the entrance that you can easily miss. Start on the left side and go to the northern most room where there will be a safe in the corner. Pop it with C4 and then head to the right and grab the art in the sculpture room. Continue right and there will be a bunch of people standing around another art piece. Grab it and continue right. The stairs to the Second Floor are located here in the top right corner, but be sure to grab the next piece of art to the south before heading up.
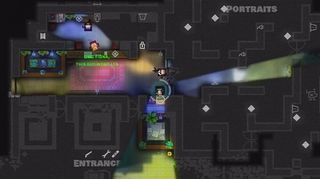
When you reach the second floor, go to the left and at the top will be another piece of art. Take out the beam and grab it and immediately climb the ladder to the left. This will take you to the vault room where there is another 2 pieces of art in the center as well as two safes at the top and bottom. Use smoke bombs to cover yourself as you crack them and then run away back to the ladder. Now to get th remaining three pieces, you will need to head to the south where two of the pieces are locking up in the center of the respective rooms. Once you get one, run to the next and grab it and the final one will be to the far right room along the side of the wall.
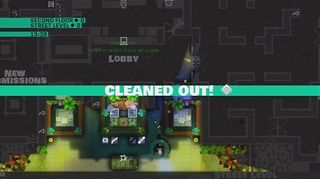
Once you have the final piece, hide if you need to let things calm down and then grab the remaining loose coins. Once you have cleared the floor, head back to the Street Level and make your way to the entrance in the center at the bottom where you came in and escape using the car there.
Chapter 14: Place Du Palais
CoinsRoyal Chambers: 75Second Floor: 32Street Level: 48The Crypt: 30
Main Objective: Steal Crown Jewels 5/5
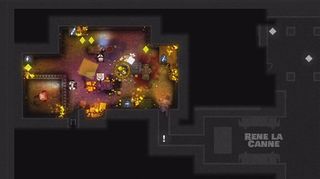
For the first part of the game, it is much easier to use the Pickpocket and then later on if you happen to get caught, use the Hacker. From the start, grab a smoke bomb and then go to the right and down to find the entrance to the crypts. When down there, there are no Crown Jewels to get and just coins. The coins are easy enough to get by making a counter clockwise path through the floor to the top right corner. When there, use the ladder to go south and find the few remaining coins there. Sue the ladder again to get back up to the Street Level.
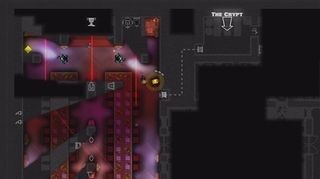
The entrance to the second floor is rough to get to as there are two lasers in front of it that will fire machine guns at you if you get caught there. Head up to the second floor and then head left. All the way to the far side there’re will be the first crown jewel to get behind more lasers. Use a smoke bomb to cover your tracks and then hide to let everyone cool down. When you’re good, go along the top to the right and then down at the far end. In the room to the right, there is another crown jewel at the bottom to grab, but you’ll need to sneak through some revolving lasers to get there. Once you have it, clean up the remaining coins, including the few in a chest in the room at the top right corner. Now make your way to the ladder leading to the Royal Chambers in the center at the top.
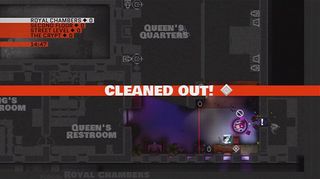
On this floor, the two crown jewels are on either side of the floor in the King’s Chambers and the Queen’s Chambers. Also in each, be sure to spot the chests that you can open to grab more coins. It is much easier to get through here with the Hacker to take down the thicker laser beams that will shoot at you. If you need to grab a couple coins and retreat, do it, but just try to stay alive. When you finally have all of the jewels and the coins, book it back down to the Street Level and go to the car on the right side where you started and escape!
Chapter 15: Casino De Monte Carlo
CoinsVIP Poker Game: 53Second Floor: 64Street Level: 70Underground: 45
Main Objective: Steal Unmarked Bills 2/2
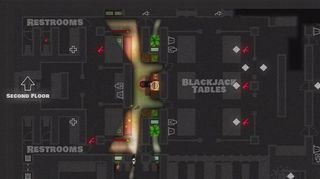
This is probably the toughest mission to solo through the Locksmiths campaign. The Lookout is one of the best characters to use as the number of guards that will kill you in a second are incredible. The Cleaner also works pretty well. When you begin, go up the right side of the casino and use the window at the top to enter. Work your way down and out to the left to the lobby and then south and continue right. Clear out the coins you can, and you will need to use the ladders and bushes for cover. In the far left side bottom corner, you will find the ladder to reach the underground level. This level will have the first unmarked bill that you need to find and in the room to the right of it will also be a safe to get.
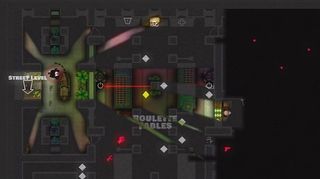
Work your way to the right to get the remaining coins, and then come back to the left side to the ladder to get back up to the Street Level. There is another ladder on the right side, but it’s much easier to reach the second floor ladder from the ladder on the left side. When you reach the second floor, there is a cabinet at the top center to get as well as a bunch of coins from the civilians in the opera to the top right side. When you clear out the opera, go south and there will be a room with a few disguises you can grab as well as a power switch. Hit the power and then run out to the Prize Room on the right to grab the safe. With the power off, walking in and getting the safe will be easy, so grab it and then go directly right and go up the ladder to the VIP Poker Game.
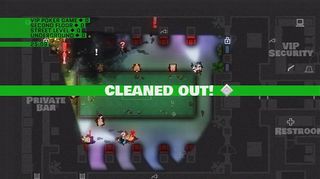
Once up here, sneaking through the Piano Longue can be a bit tough, but in the security room at the top, get the disguise and then use the computer. Run back out and exit the lounge going left and clear the coins out on your way to the poker game where all the civilians and the last unmarked bill is. Climb the ladder to the lower left and use it as a safe spot that you can rest. Sneak out, grab the bills and as many coins as you can and head back to the ladder to let everyone calm down. Once you have snagged all the stacks of bills around the room and the loose coins, head back to the ladder to the second floor, and down to the street level. Go through the entrance to the casino at the bottom and use the cars on the right to escape!
Chapter 16: Hotel De Monaco
CoinsPenthouse Suite: 66Third Floor: 55Second Floor: 69Street Level: 65
Main Objective: Steal Passport 4/4
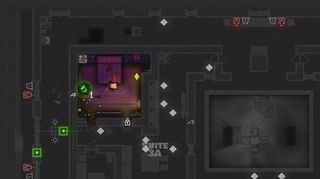
The first floor of this mission, the Penthouse, is pretty quick and easy to deal with. I found using either the Gentleman or the Hacker to be the best. Go from room to room, grabbing the stacks of bills in each of the 4 rooms as well as the passports on the beds. Once you have those, grab the stack of bills in the center of the floor where the power-ups are and then head for the ladder on the far right top corner once it is cleared out. Now that you are on the 3rd floor, things get a bit trickier. Again try to avoid the roaming SWAT who will now have dogs. The only spot of coins that may prove to be a problem is the safe in the upper left room with the laser beam. Make a lap around the floor to collect the outside coins and then grab the inside ones, using the bushes or ladders for an escape if needed.
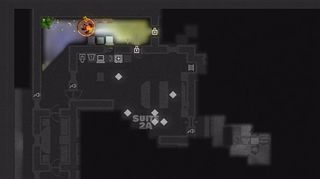
Once you have all the coins on the third floor, go to the ladder in the bottom left corner to reach the second floor. Much like the third floor, there are plenty of rooms to have to clear out to get all the coins. The ladder to the street level is on the far right side at the top corner. Collect all the coins, including the safes and be sure to use cover when necessary. There are a ton of guards and civilians roaming around. Once you have collected the coins, make your way to the ladder to go down and now you will also have a helicopter to deal with in addition to everything else.
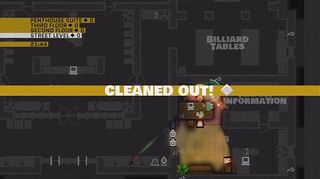
There are two safes to grab; in in the lower right corner and one in the upper left corner room. I’d suggest using a wrench power-up for this mission, as the times you need to open a safe or door quickly when a swarm of soldiers are after you. Once you clear out all the coins, you will need to escape using the police cars at the very bottom on the street that are swarmed with cops. Reaching the police cars only to immediately die really sucks, so using a wrench will help you escape very quickly.
TABLE OF CONTENTS
THE LOCKSMITH'S STORY
- Page 1: Introduction
- Page 2: Chapters 1-8
- Page 3: Chapters 9-16
