Above: Click the image for the full-sized version
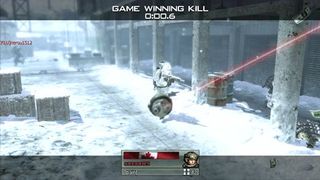
A large snow-bound level, it’s a favourite with snipers as it offers a ton of long range views with excellent camouflage all around. Again, like Afghan, a lot of fighting will congregate around the central area.
Free-for-All
The central area with the bridge is a real hive of activity, and the offices beside it are usually crawling with snipers (as are the trees surrounding it). Take them down with your RPD for maximum effect.
Team Deathmatch
Try to get some team-mates to help you flank the centre of the map so you can get the drop on as many enemies as you can. Don’t stay too close together; otherwise you’re a missile/grenade magnet.
S&D/Demolition
Running down the flanks on these modes may take a bit longer, but the cover the edges of the map provide allow you to head straight to site B (as site A is always heavily guarded by the enemy).
Headquarters
If the HQ pops up under the bridge, keep your eyes well peeled for snipers and cheeky players who lie flat on the icy lake, making them hard to spot. Otherwise, stick close to your team at all times.
Domination
Most of the action flits between points B and C, so be sure to keep A on your side and if you can, then occupy point C as well. Point B is especially hard to keep, so two out of three will always keep you in the lead!
CTF
Put a couple of snipers on the roofs to cover the central bridge area and then take a couple to flank via the offices and a couple to flank by the woods to the North for the maximum chance of nabbing the flag.

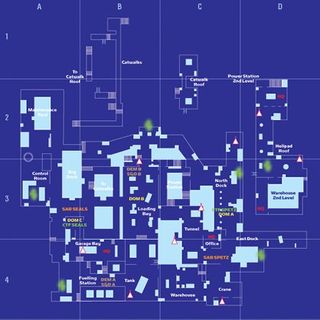
Above: Click the image for the full-sized version
Another popular snow-covered level, but unlike Derail, this map is much smaller, with only a few distinct sniper spots that really work. A map that’s much better suited to close-medium range fighting, so bring your assault rifles/Ripper/RPD classes out in full force here.
Free-for-All
This map is busiest on the Eastern side as that tends to have the most corners and look-out points to give enemies the drop on you from all angles. Keep your wits about you, especially in the central area.
Team Deathmatch

If you want to out-flank the enemy, then you’re best hugging either the southern or northern edges of the map and attacking the enemy from behind (the West).
S&D/Demolition

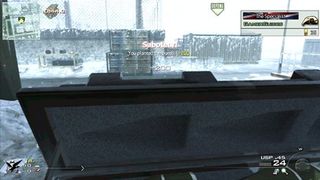
Unless you have a few team-mates with Riot Shields at the ready, bomb site B isn’t the best bet (with the two levels on offer to the enemy). Try and focus on A, and then mix it up to B if the enemy catches on.
Headquarters

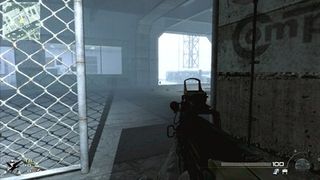
There’s a great camping spot opposite the HQ in the small office -it’s located directly opposite it in the tunnel. It’s a small dark gap behind a fence and most enemies simply don’t know it’s there!
Domination

Points A and C are your main goals on this mode. Point B is way out in the open, so if you’re going to go for it, equip a Riot Shield and a smoke grenade to provide cover as you’re out in the open.
CTF
If you can persuade your colleagues to outflank the enemy from the South at their flag, grab their flag from the North and head back with a Flashbang-wielding Riot Shield escort through the middle of the map.
