Hebra Tower
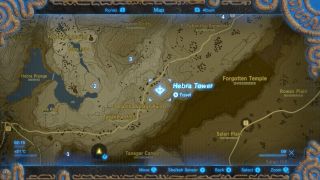
#1 - Dunba Taag Shrine
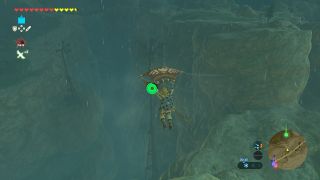
This shrine is southwest of Hebra Tower, in Tanagar Ganyon.
If you glide down into the canyon from opposite the Footrace Check-In, you'll see two windmills.
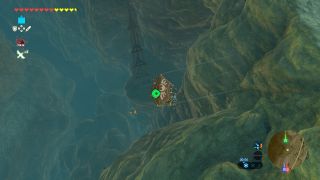
Look down and you'll get a glimpse of the shrine beneath the tower on the Hebra side.
Once inside, use Stasis on the cog to fix the platform in a horizontal position so that the boulder rolls across and presses the switch, opening the gate to the next area.
In this room, go through the first archway on the left and position yourself next to the gate. From here you can throw bombs at the rocks to reveal another switch.
Pick up a barrel and place it on the edge of the platform opposite the switch. Use Stasis and beat the daylights out of it so that it hits the switch and opens the gate in front of the treasure chest.
Back in the main room, go through the second archway on the left.
To open the gate to this chest, drop down and push the boulder to the bottom of the ramp. Place one of each bomb type next to it, stand back, and detonate them. The boulder will be propelled up the ramp and onto the floor panel, allowing you to access the chest.
Return to the main room and follow the path around to the right to find more barrels opposite a vertical stone slab. Use Stasis to whack the barrel into the slab full pelt and it'll tip over onto the switch behind it, opening the gate to the altar.
#2 - Lanno Kooh Shrine

West of the Tower is the Hebra Plunge lake. At the eastern tip, you'll spot an enemy outpost.

Ignore that and swing the camera around. You'll see a large rocky area peeking out of the snow.
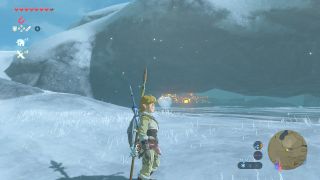
Follow it around to the right and you'll spy the shrine inside a hidden cave that can only be accessed via the pool of icy water.
You'll have to bite the bullet and swim for it, healing on the way if need be.
You can go straight to the altar when you get inside.
#3 - Gee Ha'Rah Shrine
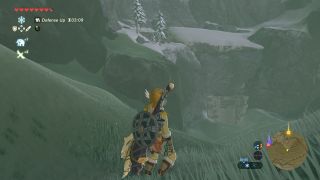
South of Kopeeki Drifts is a sunken area surrounded by mountains. At the bottom is a gate leading to the shrine.
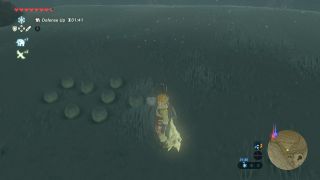
Head up the slope leading away from the gate to find a bunch of snowballs at the top.
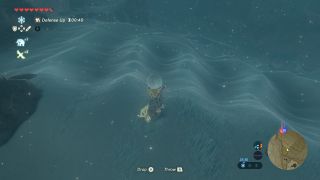
Pick up a snowball and go over to the left side of the hilltop where the rock it. Drop the snowball into the second track to the right from the rock.
It'll roll down, getting bigger on it descent, and break down the gate.
Inside the shrine, cut the rope the boulder is dangling from with an arrow, dropping it onto the switch below, opening the gate.
Head through and take the left path. Cut the left rope to swing the boulder into the switch. You can now access the chest. Follow the path back around and continue to the right.
Use Stasis on the boulder and cut the ropes holding it up. When it unfreezes, it'll drop straight down onto the switch, opening the gate to the altar.
#4 - Rin Oyaa Shrine
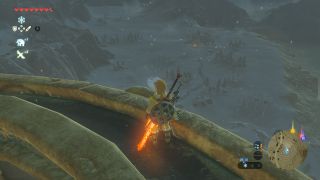
You can see this shrine from Hebra Tower when you look northeast towards the Snowfield Stable.
Enter the shrine and use Magnesis to the metal cube by the far wall up to the ledge on the right above the fan. Place it in the middle as you'll be using it as a stepping stone later.
You need to get the orb onto its pedestal, and be standing on the light coloured floor tiles at the top of the ramp as it falls into place.
Grab the other metal cube and place it on the walkway in front of the pedestal, as close to the top of the ramp as you can, while leaving room for the orb.
Pick up the orb and drop it down next to the cube, then head up the ramp on the right side of the room. Use Magnesis to lift the cube and the orb will blow into place.
You can now reach both the chest and the altar.
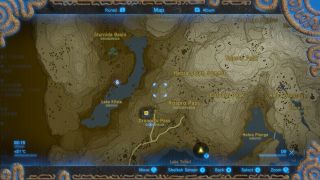
#5 - Maka Rah Shrine
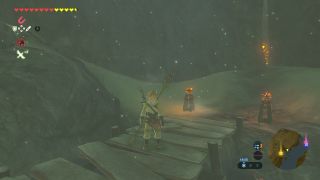
Zoom in on Lake Kilsie and you'll see docks on the west side, halfway up.
From the docks, you can see the shrine through a crack in the cliff. To the left of the crack is an updraft.
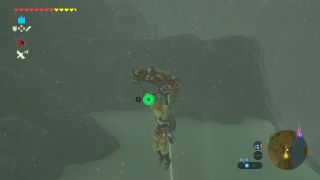
Ride it up and continue to climb upwards, keeping roughly in line with the shrine.

At the edge of the top plateau, look down to see a cave entrance in the cliff, lit up by torches.
Follow the path downwards until you reach the shrine.
Once inside, go straight ahead and light the torch on the left to open the gate.
Navigte the rotating spiked platform and step on the floor switch to reveal four Guardian Scouts in the room beyond. Shoot the water in the middle of them with a shock arrow to take them all out.
Use Cryonis to reach both the chest and the floor switch. A second floor switch will be revealed that will set a spiked boulder rolling towards you. Either avoid it or use Magnesis to stop it smashing into you.
Head up the ramp, turn around at the top, and use a bomb to blow up the destructible wall to reveal a chest. Grab it with Magnesis.
Follow the path around to the right and step on the floor switch to send more spiked boulders hurtling down a second slope. You need to grab on and leave it on the platform to stop them rolling down continually.
Use Magnesis to grab the chest on the ledge across the lava pool before heading up the slope and clearing the shrine.
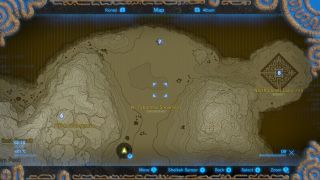
#6 - Rok Uwog Shrine
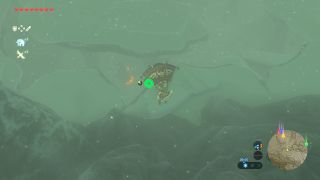
The shrine is located in the northeast of Pikida Stonegrove. If you're floating down from the mountains above, you'll get a peek at it through cracks in the rock above.
Enter the shrine and Use Magnesis to grab the chest on the ledge in front of you, then destroy the ivy on your left with a bomb or fire arrow to reveal a hole in the wall. Hop through and take care of the Guardian Scout in the next room.
There are two stacked crates in here. Destroy the wooden one with a bomb to create a ramp. Head up and over to the other side, and destroy a second Guardian Scout.
Proceed to the gate at the end and peek through the bars next to it to see a floor switch with some barrels on. Get the barrels off the switch using a spear or fire arrow and the gate will open.
Open the chest on the right to get the small key, climb the ladder, and drop down into the main room. Use the key to open the locked door and reach the altar.
#7 - Sha Gehma Shrine

This shrine is out in the open to the north of Tabantha Snowfield.
You need to get the key from the chest under the metal cube. Head up the first two ramps and use Magnesis to lift the metal cube as high as it will go. Release it when the platforms move underneath it, and then use Stasis to freeze it in place, giving you enough time to glide down and open the chest.
Head up to the top catwalk and glide down to open the second chest on the pillar below.
Now drop down to the floor and open the door to the altar.
#8 - Qaza Tokki Shrine
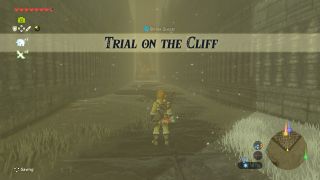
As soon as you enter the North Lomei Labyrinth, the Trial on the Cliff shrine quest will begin.
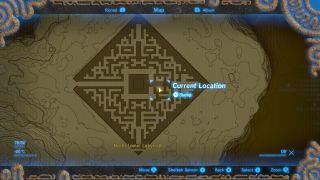
As with the last labyrinth, the quickest and easiest way to solve it is to scale the walls to reach the top and get yourself to the position above.
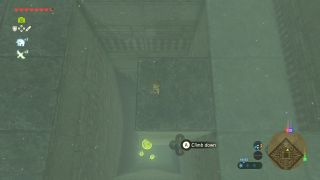
You'll want to glide down towards the electric Chuchus below, but land on the wall next to them as you descend.

If you fall off or miss the wall, you can scooch up the ladder to get back up.
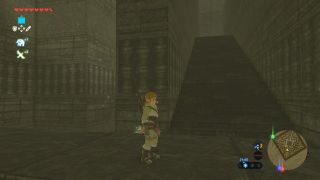
There are some stairs leading up from here.
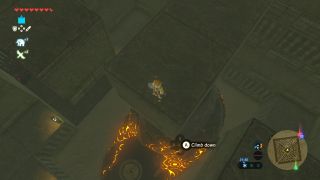
Follow the path to find the shrine at the end.
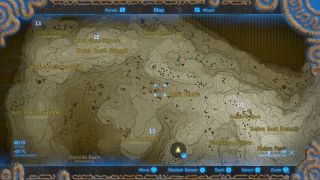
#9 - Goma Asaagh Shrine
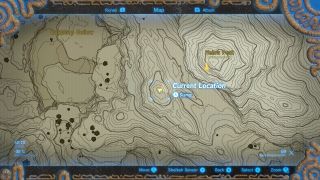
The shrine is located on the southwest side of Hebra Peak, where the yellow marker is in the picture above.
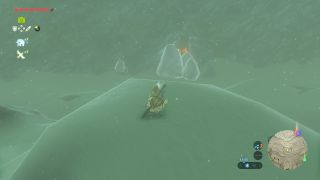
You can see it from the top of the peak to the southwest. Melt the ice blocks to gain access to it.
Inside you'll find a Guardian Scout IV with 3000 HP and three '++' melee weapons.
#10 - Shada Naw Shrine

The shrine is just north of Selmie's Spot.
If you haven't discovered this location yet, zoom in on the smattering of trees west of Hebra East Summit. You'll notice a large diamond shape in the middle of them. That's Selmie's cabin.

Looking north from here, you'll see a large rock to the left of a couple of flag poles.
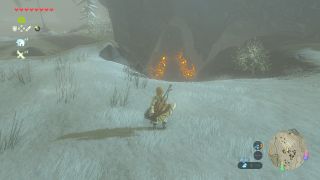
The shrine is underneath it.
Once you're inside, follow the ledge around the to the other side of the room and use Magnesis to grab the chest. Glide back to your starting position, look down to the left, and use Magnesis again to pull the metal block out of the wall.
To reach the altar, you need to be standing on the light coloured tiles next to the entrance when the orb reaches the pedestal.
The quickest and most reliable way to do this is to toss the orb into the enclosure through the hole in the fence. Carry it to the top of the ramp and position yourself so that when you put it down, your body will stop it from rolling down the slope.
After you place it on the ramp, quickly cast Stasis on it and run or glide back to the launcher. When it unfreezes, you'll be lifted to the platform above, a short stroll away from the altar.
#11 - Mozo Shenno Shrine

Talk to Molli in Rito Village to start The Bird in the Mountain shrine quest.
Look out to the north from Revali's Landing to see the lone cedar she told you about. It's at the top of Talonto Peak.
From the cedar, look to the northwest to the bird-shaped Biron Snowshelf. As you glide down towards it, you'll see the shrine where its 'wings' meet, in a cave under the eastern edge of the plateau.
There's a Guardian Scout IV inside with 3000 HP and three '++' melee weapons.
#12 - To Quomo Shrine
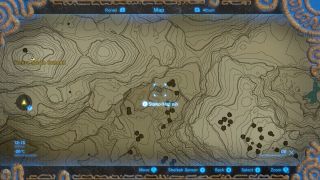
Make your way to the pond east of Hebra North Summit.
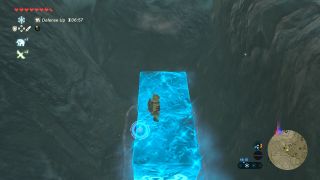
Use Cryonis to make two ice pillars in the water, essentially forming a bridge over the pond.

Head up the slope to the ledge overlooking the pond, grab a big snowball, and let it rip.
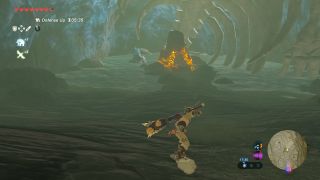
The snowball should navigate the pond using the ice pillar bridge smash into the gate at the bottom of the hill. Head through to find the shrine.
You can go straight to altar inside.
#13 - Hia Miu Shrine
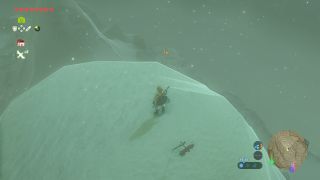
Climb to the top of Hebra North Summit and look to the west to spot this shrine. You can glide straight down to it.
There's a Guardian Scout IV inside with 3000 HP and three '++' melee weapons.

