Suggested Ability: Active Camo
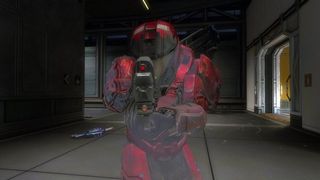
Above: Peek-a-boo!
Having Active Camo on this map is not only beneficial for sneaking around, but scrambling the radar on this small, multi-level map can really throw the enemy for a loop during team events. You can also use it to lie in wait on the outside walkways as you wait for the super valuable rocket launcher to spawn.
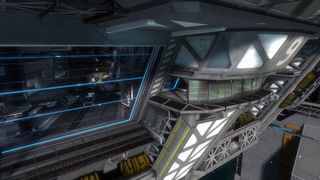
Major Weapon Locations
Rocket Launcher: Out in space on the external platform.
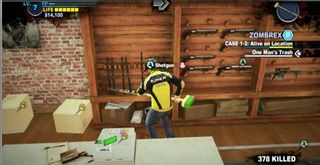
Shotgun: The shotgun is in the access tunnel at the center of the map.
Health Locations
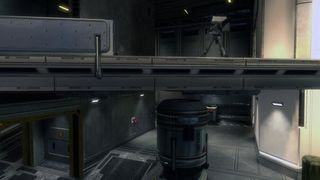
In the weapons wing under the turret. Mirrored on the other side of the map in the repair wing.
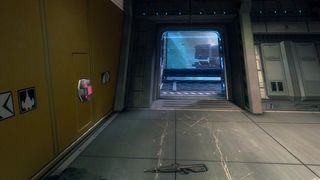
Near the barrier leading into space in the weapons wing. Mirrored on the other side of the map in the repair wing.
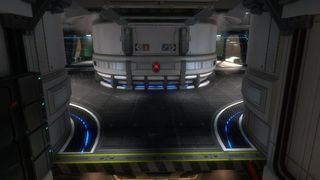
Up here in the observation deck area.
Map Tips

•You can get on top of the Sabre fighter hanging in the hangar if you’ve got a jetpack. The high ledge next to it is a good spot to plan a pounce attack on unsuspecting victims below. Try to be quiet up here though – both turrets have a clear shot at you.
•Having the rocket launcher can really turn the tide on this map. ALWAYS be checking its spawn point outside on the walkway. Whether in a game of team slayer or free for all, you will become a terror to all when using the launcher in the confined spaces of Anchor 9.
•Active Camo or Sprint works perfectly with the shotgun.
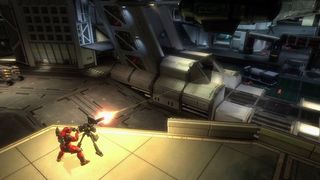
•Don’t just randomly take control of the turrets. Do a quick scan across the room, and if you see one or two easy targets, then go for it. Otherwise, leave the turrets alone – you become a bullet magnet the second you man these guns.
•The blue barriers that separate the docking bay and outer space are bulletproof, rocket proof, and grenade proof. You can hang out in space and simply observe, waiting for the perfect moment to make your move.
•A lot of close range combat takes place on this map so get very familiar with the Assault Rifle. When it comes to Assault Rifle vs Assault Rifle, whoever gets the first shot is often the winner. Remember, as soon as you’ve depleted an enemy’s shield it only takes one melee hit to kill them.
•A great tactic is to hang around the sheltered high areas pictured above (preferably crouched to hide from radar) and wait for an opportunity to help a teammate who’s engaged in battle on the open floor area below.
