Donkey Kong Island
- 6-1: Homecoming Hijinks
- 6-2: Seashore War
- 6-3: Aqueduct Assault
- 6-4: Blurry Flurry
- 6-5: Forest Folly
- 6-6: Cliffside Slide
- 6-7: Frozen Frenzy
- 6-A: Dynamite Dash
- 6-B: Icicle Arsenal
- 6-8: Meltdown Mayhem
- 6-K: Slippy Spikes
6-1: Homecoming Hijinks
Puzzle Piece #1
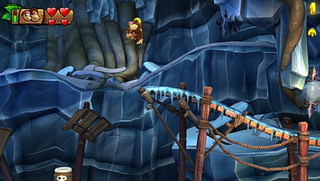
After the first series of cannons, jump left off the dock to a hidden bonus barrel. When it takes you to the bonus room, collect the bananas before time expires to earn a puzzle piece.
Letter K
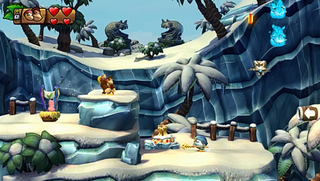
The first KONG letter is just past the checkpoint. Get a rolling jump to the owl, then bounce off him to grab it.
Puzzle Piece #2
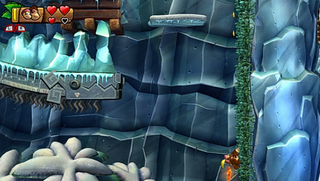
After dashing through the spike tunnel, climb down on this hanging grass. Grab the puzzle piece down here, then quickly climb back up before the grass falls.
Letter O
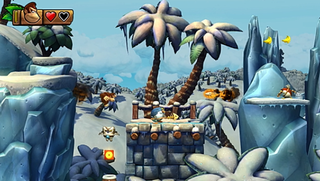
When you see this under the owl, take him out, then drop into the letter and the barrel cannon below to return to safety.
Puzzle Piece #3

After the next checkpoint, use this tough enemy to bounce up to the hanging grass above. Follow it to a chest you can slam for a puzzle piece.
Letter N
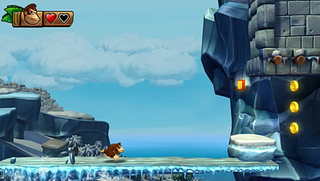
After your next cannon ride, quickly run along this icy plank before it drops, then leap ahead to the letter.
Puzzle Piece #4
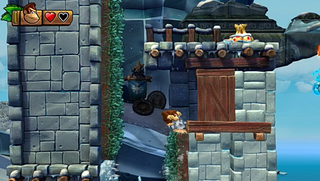
As you climb the next section of icy grass, leap right into this wood panel. It will pull back, revealing a puzzle piece.
Letter G
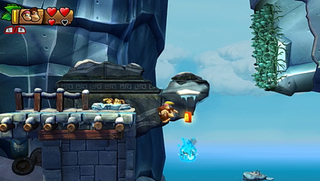
The only real way to grab this is by using Dixie's twirl. Drop down, then recover to the small ledge over the flame.
Puzzle Piece #5
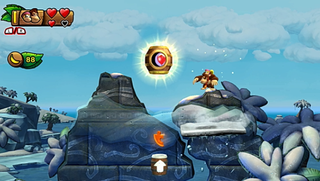
At the level's exit are two snow platforms. Let one fall, and a barrel cannon appears with the last puzzle piece. Jump in to grab it and finish the stage.
6-2: Seashore War
Letter K
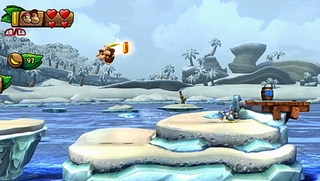
The first KONG letter is easy to spot. Bounce off the penguin archer's ammo to reach it.
Puzzle Piece #1
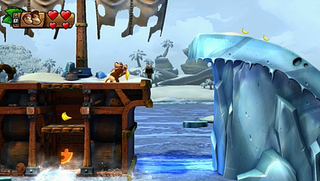
You can raise the first boat by pulling the ring in the deck. Do so to reveal a puzzle piece, then slam through the trap doors to get it.
Puzzle Piece #2
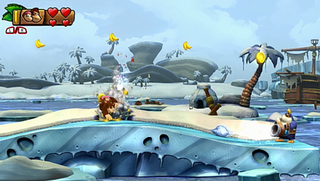
Slam the very next plant you see to spawn a cannon barrel. This will take you to a bonus room--collect the bananas there within the time limit for another puzzle piece.
Letter O
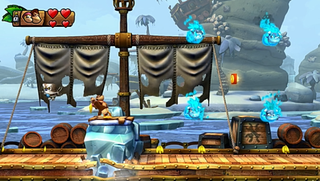
When you spot this KONG letter circled by flames, pull the nearby ring to raise the boat up to the letter. At max height, you can leap between the flames to grab it.
Puzzle Piece #3
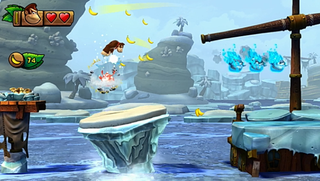
Soon after, you'll see circling bananas above an iceberg. Jump to collect these and spawn a puzzle piece.
Letter N
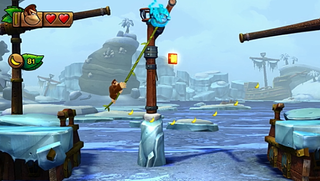
When you see this, simply scramble up the vine to grab it while avoiding the circling flame.
Puzzle Piece #4
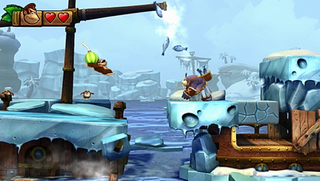
Shortly after is a tough enemy. Take him out with a watermelon bomb, then slam the cracked ice behind him to access a bonus room. Collect the bananas here within the time limit to earn a puzzle piece.
Letter G
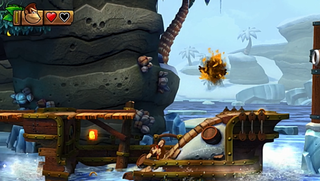
When you see the final KONG letter, use the ring at the front of the ship to raise it. Quickly grab the letter before the ship sinks again.
Puzzle Piece #5
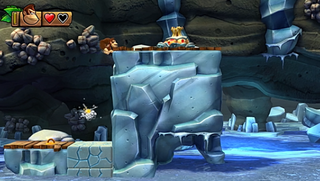
After the next checkpoint, use the jumping enemy to bounce to this upper ledge. Slam the plant here for one more puzzle piece.
6-3: Aqueduct Assault
Puzzle Piece #1
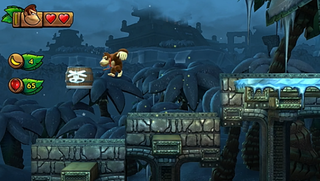
When the first aqueduct slide off to the left, jump back across its supports to the barrel that appears. This takes you to a bonus room--grab the bananas here before time expires for a puzzle piece.
Letter K
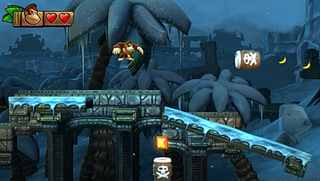
Immediately after, let this aqueduct slide away so you can drop through the KONG letter and into the cannon below.
Letter O
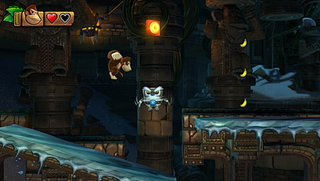
When you spot this, bounce off the owl to grab it.
Puzzle Piece #2
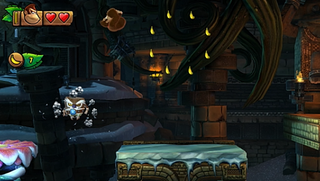
Shortly after, you'll come to a ring of bananas. Use the penguin archer's ammo to collect them and spawn a puzzle piece.
Puzzle Piece #3
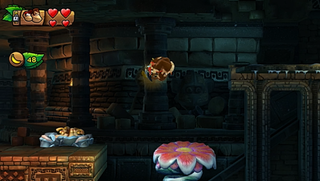
Proceed to the next helmeted penguin. Stun him, then take him back to the platform you just left. Toss him through the target here to reveal a puzzle piece.
Puzzle Piece #4
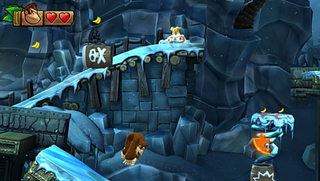
After the checkpoint, you want to stay on the second ice sheet a bit past the cannon. When you do, you'll spot a second cannon and a puzzle piece you can leap to.
Letter N
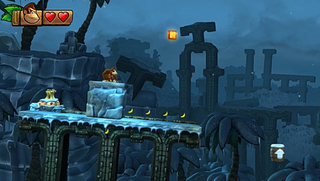
When you spot this KONG letter, stay atop the ice block to grab it out of the air.
Puzzle Piece #5
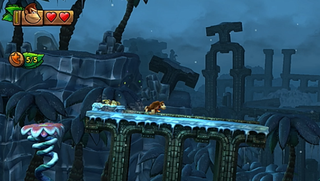
There's a plant by the very same ice block. Slam it for the final puzzle piece.
Letter G
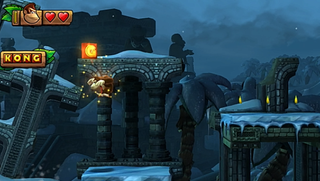
Move quickly along the final collapsing aqueduct to grab this.
6-4: Blurry Flurry
Puzzle Piece #1
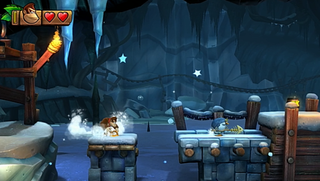
Proceed right, and yank up the first ring you see for a puzzle piece.
Puzzle Piece #2
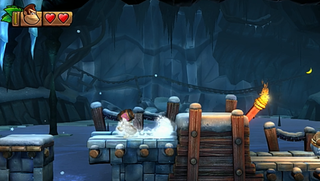
Now grab the character barrel and head back the way you came. Use the barrel to bust through the target and enter a bonus room. Collect the bananas inside before time expires to earn another puzzle piece.
Puzzle Piece #3
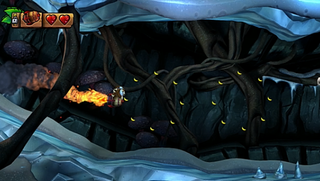
There are two rings of bananas upon entering the ice tunnel. Steer low into the first, then high into the second to grab them all and earn a puzzle piece.
Letter K
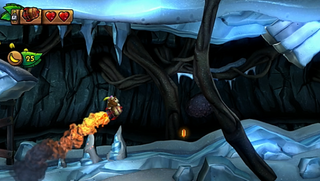
Stay low going through the ice tunnel to grab the first KONG letter.
Puzzle Piece #4
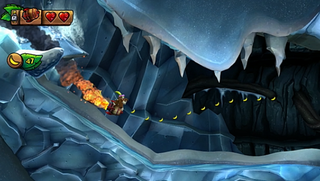
During your first big dip down is a string of bananas. Collect every one to spawn a puzzle piece.
Letter O
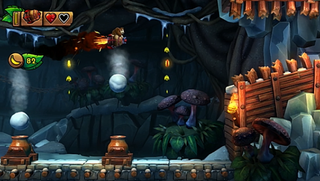
The next KONG letter appears after a series of snowball cannons.
Puzzle Piece #5
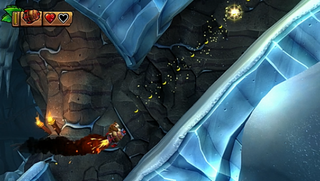
When the ice parts for you the second time, a string of bananas appears. Collect these to receive a puzzle piece.
Letter N
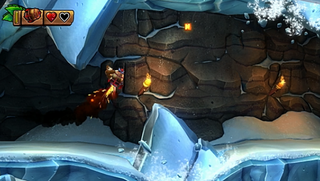
Immediately after, steer upwards to grab the next KONG letter above a snow mound.
Puzzle Piece #6
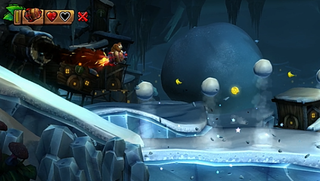
This one is really tough to get. In this section, snowballs, banana medals, and bananas will pop up. You have to grab all the medals and bananas to earn the puzzle piece.
Letter G
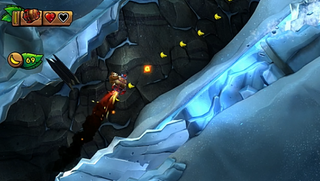
This is among a string of bananas in the next ice tunnel.
Puzzle Piece #7
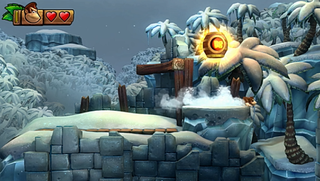
Do a rolling jump right past the level exit to find a trap door. Slam through to reach a bonus room. Collect the bananas inside before time runs out for a final puzzle piece.
6-5: Forest Folly
Puzzle Piece #1
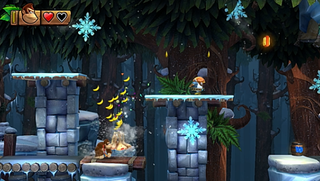
Slam the first plant you see to spawn some bananas. Grab them before they disappear for a puzzle piece.
Letter K
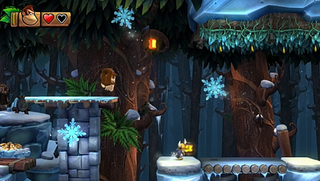
Time your jump to grab this when the snowflakes are clear.
Letter O
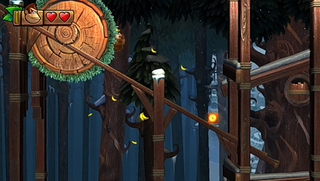
When you grab onto the circle of grass, keep yourself in front to grab the KONG letter.
Puzzle Piece #2
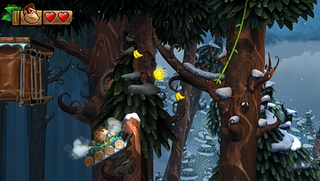
On the very next springboard, slam when facing left to be launched into a barrel cannon. This takes you to a bonus room--gather the bananas before time expires for another puzzle piece.
Puzzle Piece #3
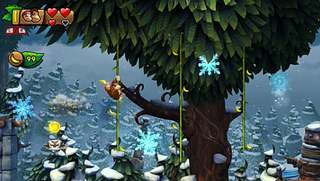
When you reach this trio of vines, move back and forth across them to collect every banana. This gets you another puzzle piece.
Letter N
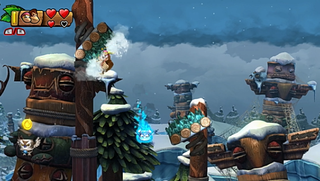
When traversing this pair of springboards, slam off the second as soon as it clicks in place facing right. This will launch you into the KONG letter before it goes away.
Puzzle Piece #4
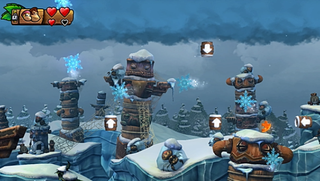
This appears during the barrel cannon segment. Wait until it aligns with the third cannon to fire and grab it out of the air.
Puzzle Piece #5
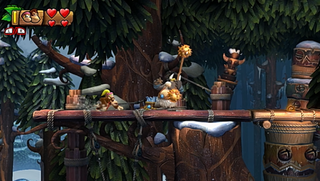
Take out the tough enemy past the next checkpoint by rolling into him when his weapon is raised. Then slam the bucket behind him to release a winged banana. Grab the bananas it trails to earn a puzzle piece.
Letter G
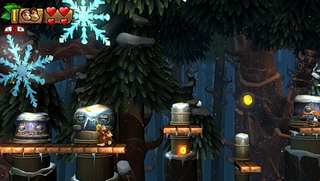
The only way to grab the final KONG letter is to use Dixie's twirl to slip under the platform and recover.
6-6: Cliffside Slide
Puzzle Piece #1
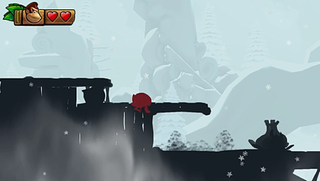
After clearing the first platform, roll into the right side of its base to find a secret compartment holding a puzzle piece.
Letter K
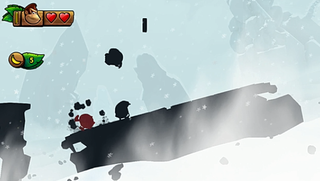
Bounce off a penguin during the first avalanche to grab this KONG letter.
Puzzle Piece #2
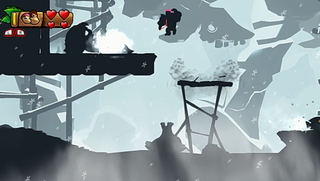
After the first checkpoint is a big enemy who sends ice fish along the floor. Use these to bounce up to him, take him out, then move left to reveal a secret area. Pull the ring here for a puzzle piece.
Letter O
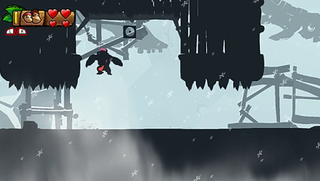
Immediately after is another of the same enemy. Use his fish to bounce up to the KONG letter.
Puzzle Piece #3
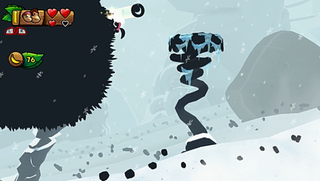
After climbing the hanging grass in the second avalanche, use the spring pad to the right to bounce atop the grassy platform. Up here is a plant you can slam for another puzzle piece.
Letter N
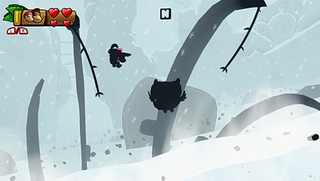
Bounce off the owl on your way through the same avalanche for the next letter.
Puzzle Piece #4
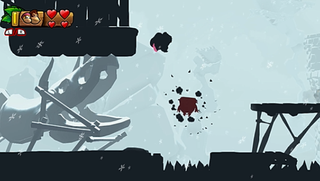
Just after the next checkpoint, bounce off the fire owl to the secret area to the upper left. Slam the plant here for a puzzle piece.
Puzzle Piece #5
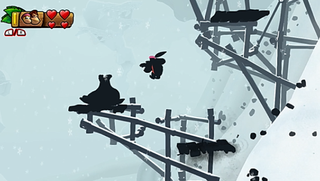
During the final avalanche, a plant atop a platform goes by. Slam it for one last puzzle piece.
Letter G
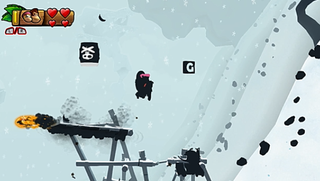
Immediately after, bounce off the penguin archer to the right to nab the last KONG letter.
6-7: Frozen Frenzy
Puzzle Piece #1
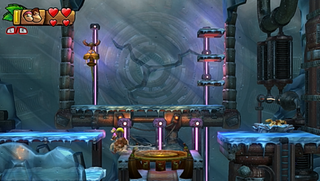
After moving the panels off of the drum, roll left off of it to nab the first puzzle piece.
Letter K
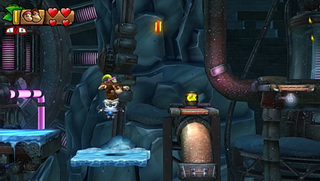
Right after, bounce off the owl to grab the first KONG letter.
Puzzle Piece #2
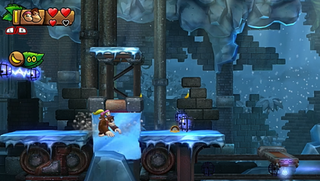
A few jumps later, and you'll reach these icy platforms with moving zappers. Slam through the icy trap door here to reach a bonus room. Collect the bananas here in time to earn a puzzle piece.
Letter O
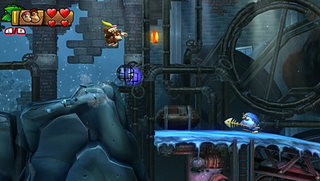
Get a good jump over the oscillating zapper near this letter to grab it.
Puzzle Piece #3
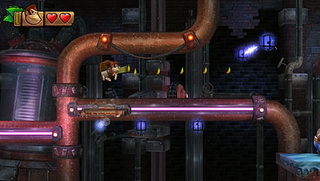
When you reach this row of bananas and zappers, carefully jump and gather the bananas to earn a puzzle piece.
Puzzle Piece #4
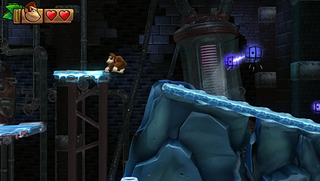
After clearing the next seesaw, look down to spot a hard-to-see barrel. Drop into it to reach another bonus room. Again, gather the bananas before time expires for another puzzle piece.
Puzzle Piece #5
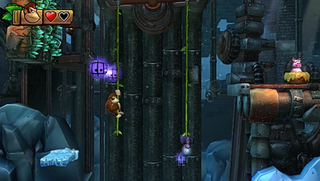
To the upper left of these vines is some hanging grass. Get to the checkpoint, then leap back across the vines to safely reach it. This leads to a seesaw atop the vines where a puzzle piece hides.
Letter N
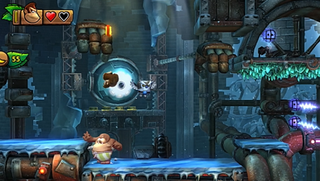
When you spot this, bounce off the walrus enemy, then the bat to reach it.
Letter G
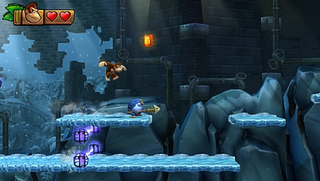
When you see the final KONG letter, simply bounce off the penguin to grab it.
6-A: Dynamite Dash
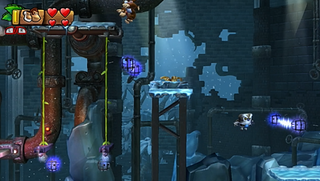
To access this level, you must find the secret exit in 6-7: Frozen Frenzy, and you'll need Cranky to do it. To find the exit, proceed to the area shown above, then use Cranky's cane to reach the seesaw holding the vines. Use the cane again to cross the spiked platforms and reach the portal to the secret exit.
Puzzle Piece #1
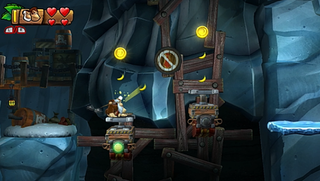
Proceed until this pair of dynamite switches. Collect the bananas and medals atop both to spawn a puzzle piece.
Letter K
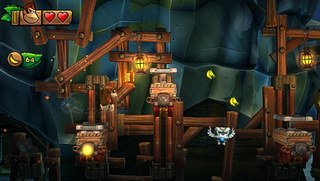
To get this KONG letter, you'll have to jump up as its neighbouring dynamite switch sinks down.
Puzzle Piece #2
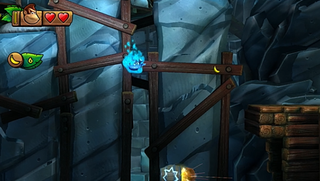
When you hit the checkpoint, a string of bananas will appear by the ledge you just left. Follow them down to previously unseen barrel cannon--this takes you to a bonus room. Inside, collect the bananas before time expires for another puzzle piece.
Puzzle Piece #3
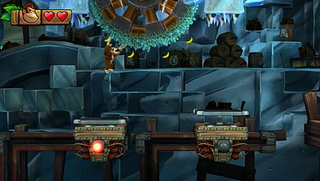
When you see this wheel of hanging grass, leap up and grab on. Collect the bananas here to spawn a puzzle piece.
Letter O
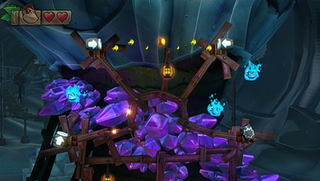
When moving through the barrel cannons, time your shot to grab this KONG letter out of the air.
Puzzle Piece #4
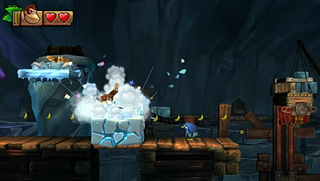
When you see this cracked ice block, slam through it, then slam through the trap door beneath. You'll wind up in another bonus room. Collect the bananas before time runs out for another puzzle piece.
Puzzle Piece #5
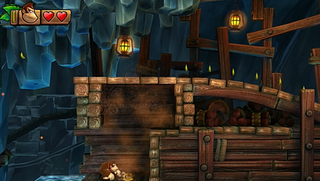
During the next dynamite sequence, an icicle will drop to the left of the wooden platform. Drop into it, then move right to find a hidden room. Pull the ring here for a puzzle piece.
Letter N
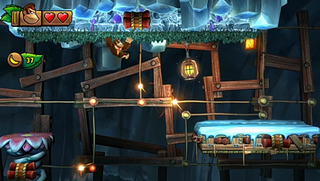
During the next dynamite sequence, move quickly across the hanging grass to grab the KONG letter before the grass falls away.
Letter G
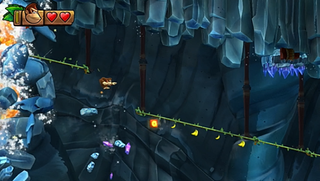
During the climax, the final KONG letter will fall away from you. Drop--don't jump--from your current vine to grab it.
6-B: Icicle Arsenal
Letter K
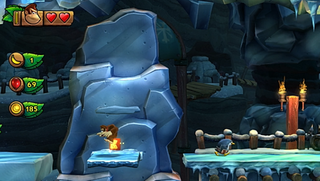
When you spot this, let yourself fall throw the ice shelf over top it to land atop your prize.
Puzzle Piece #1
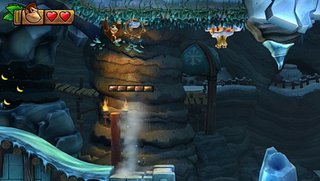
When you reach the hanging grass, climb to your left to find a plant. Slam it for a puzzle piece.
Puzzle Piece #2
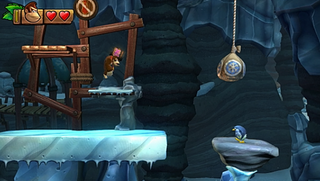
To the right of the character barrel is a hanging bag. Throw the barrel into that bag for a puzzle piece.
Puzzle Piece #3
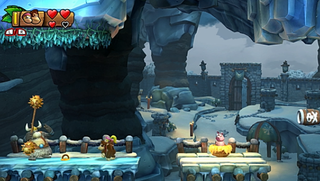
Take out this big enemy by rolling into him when his weapon is raised. When he's gone, pull the ring he was guarding for a puzzle piece.
Letter O
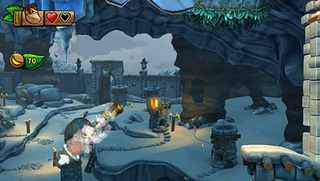
When moving through the barrel cannons, pause at the last one. Fire when the KONG letter appears to grab it out of the air.
Puzzle Piece #4
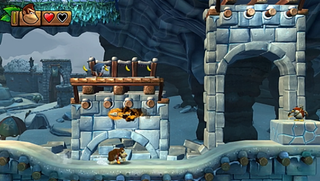
Immediately after, take out the bomb-carrying enemy. When the bomb detonates, it will cause a new platform to crash down. Hop up there, then bounce off the penguin to the hanging grass in the upper left. Follow this to a cannon that takes you to a bonus room. Collect the bananas here before time runs out to win another puzzle piece.
Puzzle Piece #5
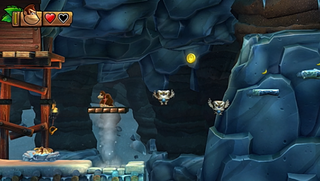
Right after, you'll pull a ring and ride another plank upwards. Jump to the scaffolding on the left to find a hidden room. Collect the ring of bananas here for a puzzle piece.
Letter N
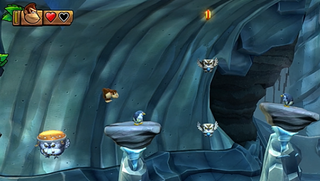
When you spot the next KONG letter, make your way to the tilting rock on the right. Bounce off the penguin, then off the owl to grab your prize.
Puzzle Piece #6
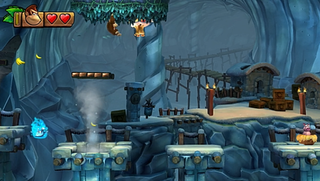
At the next bit of hanging grass, slam the plant to spawn a cannon. This takes you to another bonus room. Once again, collect the bananas before time expires for a puzzle piece.
Puzzle Piece #7
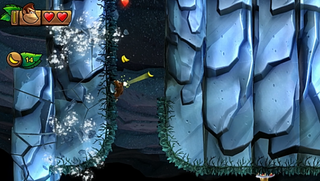
At the pair of vertical patches of hanging grass, cling to the left and climb straight up. As the wall sinks, a puzzle piece will be lowered to you.
Letter G
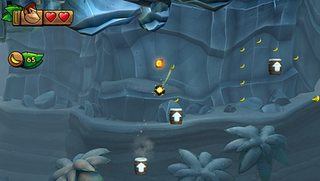
The final KONG letter will sink with the ice as your cannon moves back and forth. Shoot to the next one, then shoot up again to grab it.
6-8: Meltdown Mayhem
Puzzle Piece #1
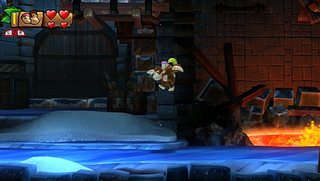
After pounding the drum to open the way forward, head back to the left. The wall here has moved too, allowing you to enter a bonus room. Collect the bananas inside before time runs out for a puzzle piece.
Letter K
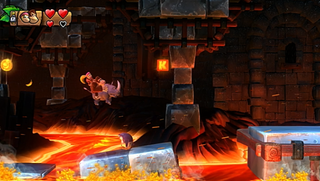
When you see the first KONG letter, bounce off the penguin to grab it.
Letter O
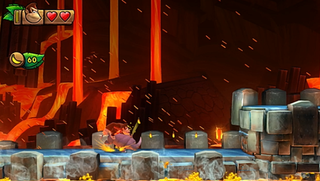
When you see the next one, charge forward to grab it before the platform sinks.
Puzzle Piece #2
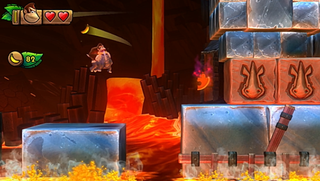
The very next Rambi block you bust through releases some bananas. Gather all of these to generate a puzzle piece.
Puzzle Piece #3
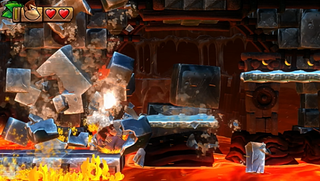
Just past the checkpoint is a plant. Slam it to grab the puzzle piece it contains before the platform sinks.
Puzzle Piece #4
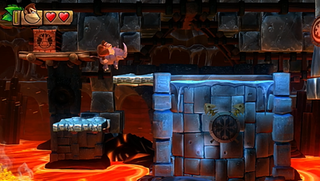
When you reach this set of platforms, charge forward into the brick cube. The wall will pull back, revealing another puzzle piece.
Puzzle Piece #5
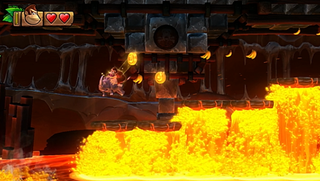
Soon after, you'll be on some rising volcanic rocks. Grab all the bananas and bananas medals up here to spawn one more puzzle piece.
Letter N
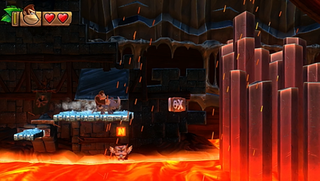
When you spot this KONG letter, wait on the ice above it. When the ice gives out, grab the letter, then bounce off the owl to the nearby barrel.
Letter G
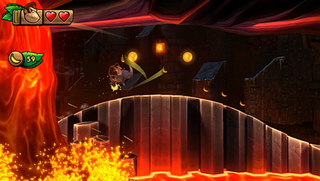
Jump up to grab this when running from the lava wave.
6-K: Slippy Spikes
Puzzle Piece #1
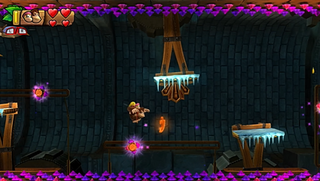
The only way to grab the first puzzle piece is with Dixie's twirl.
Puzzle Piece #2
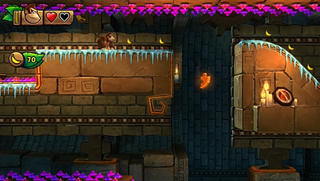
Pull the ring out of the ice at the end of the first bobbing platform to summon a second puzzle piece.
Puzzle Piece #3
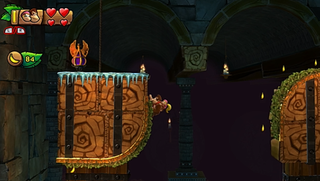
While climbing the swinging hanging grass, you'll see this purple ornament atop the column. Leap to the right grass, then back left to reach it. Slam it to release some bananas--gather these before they disappear for another puzzle piece.
Puzzle Piece #4
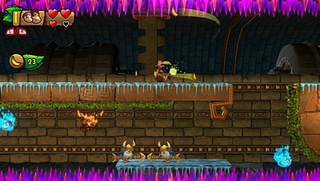
When moving through the bobbing ice sheet and hanging grass, leap back to the top of the platform you left and collect the string of bananas up there. This will start a chain reaction of more strings of bananas. Collect all of these for another puzzle piece.
Puzzle Piece #5
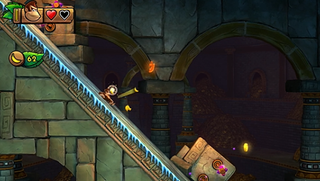
You can grab the final puzzle piece while moving down the slide at the level's end.
