Dark Souls Remastered full walkthrough: OOLACILE SANCTUARY AND ROYAL WOOD (OPTIONAL)
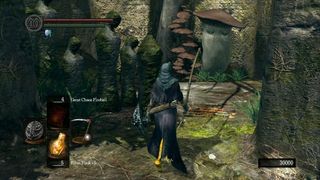
To the left of the bonfire is Elizabeth, an NPC merchant. Answer yes to her question. Explore the area to find Humanity on a corpse behind a pillar, then continue on into the Royal Wood. Upon crossing the bridge, a new enemy type called Scarecrows will attack. These are quite weak, so don’t be too afraid – yet.
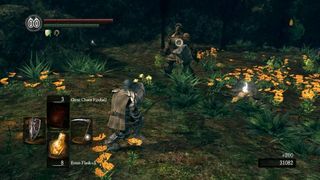
If you head left and follow the perimeter, you’ll eventually encounter a Stone Knight. Their hammers break through most shields, so you’re better off dodging backwards. When a Stone Knight smacks his hammer into the ground, there’s a chance he may whip it upwards for a surprise attack if you move in, so don’t counter after such an attack. These enemies are extremely tough, but magic and Pyromancy seem to break their defenses. One on one, simply bait out an attack, roll backwards, then counter with a leaping fierce attack (forward + R2). Behind this knight, on a corpse, you’ll find the Guardian Leggings.
If you continue along the left side of this area, you’ll run into another short bridge. The Black Dragon Kalameet will swing by to say hello, then he’ll be off. Expect to run into him later. Go back for now and head towards the center of the woods.
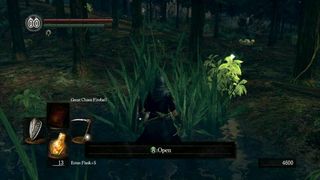
Here you’ll have to face several more Scarecrows and Stone Knights, but your reward is a chest in a small pool at the center of the woods. Inside that chest you’ll find an ultra-rare Blue Titanite Slab.
Go back and continue along the perimeter of this area in a clockwise fashion. You’ll come upon a small ruined tower. Inside, you’ll find the Guardian Gauntlets. That’s all there is to this neck of the woods; go back to the bridge where you saw the dragon and cross it.
Turn right and take the narrow path up. Be careful of any Stone Knights dropping down from the ledge above to meet you on this narrow path. Go as far as you can and drop to the ledge below. Follow this path, sticking to the wall on your left.
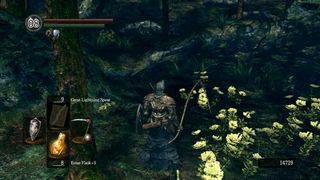
You’ll soon come upon a short gap. Take a running leap to get across. Turn around to your left and go up the slope. Explore this area to find the Guardian Armor on a corpse at the edge of a cliff. You can also find some Gough’s Great Arrows on another corpse nearby.
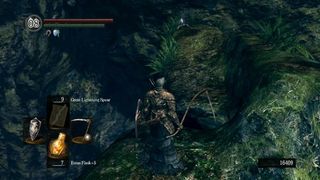
Go along the perimeter of this area with the cliff’s edge to your left. You’ll soon come upon a small raised area as seen above. Hop the gap to find a Guardian Helm. From where you found the Helm, drop down to your right and move forward, hugging the wall to your left. You’ll round a tight corner and find Elizabeth’s Mushroom. You’re done in this area, so go back to where you originally jumped over the small gap and leap to the other side.
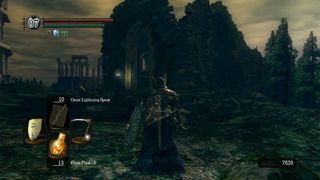
Continue on towards the coliseum in the distance until you reach this ruined tower to your right. This tower contains an elevator. Take it down. Exit the tower and go right, across the bridge.
At the end of the bridge is Marvellous Chester. Answer yes to his question and he will sell you items. Unfortunately, nothing he sells is unique. If you kill him, you’ll get the Chester Armor Set. Continue past him to another elevator which leads back to the beginning area of the Royal Wood (you can now use this as a shortcut). Use this opportunity to go back to the Oolacile Sanctuary and rest up. Return to to the elevator and the fog door you saw.
BOSS – ARTORIAS
Artorias is all about physical sword attacks, so it’s important to get a read on his move set. We wanted to buff our defense and stamina regen as much as possible while still maintaining decent mobility, so we suggest Havel’s Armor, Gauntlets, and Leggings, the Grass Crest Shield, and the Mask of the Child. We also equipped the Ring of Steel Protection and Havel’s Ring. The result was high poise with medium mobility and super-fast stamina regen. You can interchange Havel’s equipment for Stone or Guardian equipment for similar defense and less weight – but also slightly less poise.
From what we could tell, Artorias is resistant to almost everything, so use your strongest non-elemental weapon. We chose the Black Knight Sword +5 because it was strong enough to stagger him.
The most important attacks to dodge are the two leaping attacks and the forward dashing thrust. These should never be blocked. Most of his other attacks can be avoided by backpedaling or blocking. Your opportunities to strike come after his high leap attack (not the flip attack, as he can repeat that move times in a row) and the forward dashing thrust. At those times, use your jumping fierce attack (tap forward + RT). Whenever he loses about enough health, he’ll begin dashing away and start casting a buff that boosts his strength significantly. You'll have two options at that point:
1. You can rush in while he’s casting and hack away if you’re willing to take the damage from the ensuing explosion (which, if you’re equipped as we were, won’t kill you). Depending on the strength of your weapon, you could stagger him and completely cancel the buff and explosion.
2. You can back off to avoid the explosion that follows the cast. Then, simply wait for his temporary buff to wear off.
After the battle, head through the door to find a new bonfire.
Jump to Section
- Firelink Shrine
- Undead Burg part 1
- Undead Burg part 2
- Undead Parish part 1
- Undead Parish part 2 (First Bell)
- (OP) Grinding for Souls & Finding Goodies in Darkroot Garden
- Lower Undead Burg
- (OP) Returning to the Undead Asylum
- The Depths
- Blighttown
- (OP) Exploring Blighttown's Swamp
- (OP) Undead Dragon & Valley of the Drakes
- Quelaag's Domain (Second Bell)
- (OP) Moonlight Butterfly & the Divine Ember
- (OP) Darkroot Basin, the Hydra, and Dusk
- Sen's Fortress part 1
- Sen's Fortress part 2
- Anor Londo part 1
- (OP) Painted World of Ariamis part 1
- (OP) Painted World of Ariamis part 2
- Anor Londo part 2
- Return to Firelink Shrine & Placing the Lordvessel
- Sif and the Darkroot Garden
- New Londo Ruins
- The Catacombs
- Tomb of the Giants part 1
- Tomb of the Giants part 2
- (OP) Dark Sun Gwyndolin & the Blade of the Darkmoon Covenant
- Duke's Archives
- Crystal Cave
- Demon Ruins part 1
- Demon Ruins part 2
- (OP) Great Hollow & Ash Lake
- Lost Izalith
- (OP) Sanctuary Garden (New Content)
- (OP) Oolacile Township (New Content)
- (OP) Chasm of the Abyss (New Content)
- (OP) Black Dragon Kalameet (New Content)
- Kiln of the First Flame & Gwyn, Lord of Cinder

