Dark Souls Remastered full walkthrough guide: every area, boss, secret and more
Survival tips for Dark Souls Remastered - how to beat the game from start to finish
Dark Souls Remastered full walkthrough: PAINTED WORLD OF ARIAMIS PART 2 (OPTIONAL)
Go to the structure across from where you fought Jeremiah, head up the stairs that run along the side, then take a left. Follow this path to a dead end, where you’ll find a hanging corpse. Cut it down, then go back to ground level and loot the Humanity. Return to the stairs and hang a right this time. Climb down the ladder to enter the sewers.
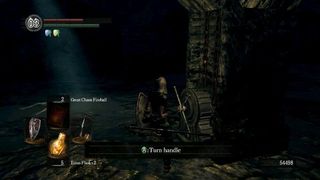
Be careful down here. There are several Skeleton Wheels that roll at you as you step out into the open area. Like most of the enemies in this world, fire works very well against them. Look for a handle next to the beam of sunlight. Turn it to rotate the statue that the Phalanx surrounds. This opens up a new door at the bottom of the main tower, which leads to the boss.
Climb out of the sewer and exit the building. Run around to the other side and climb down into the well. This leads to a different area of the sewers. Be VERY careful down here. If you caught in a corridor with a Skeleton Wheel rolling at you, they can quickly grind down your shield and your life. Try to sidestep them if you can, attack immediately, or use a spell/fire.
After stepping off the ladder, take the first left. Attack the conspicuous wall to reveal a new path. Head through it and turn left at the dead end. Here you’ll find the Annex Key. Continue exploring the maze (there is another illusory wall) until you find some stairs. These lead into a room with a Bloated Undead who is guarding Pyromancy: Fire Surge.
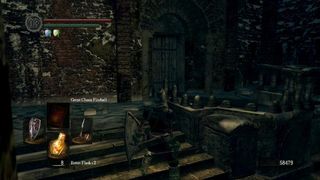
Head into the church now and use the Annex Key to open the door behind the podium platform. Climb the stairs until you emerge outside.
When you reach the point pictured above, look to your right to find a weak wooden door. Smash through it and cross over the bridge to find Velka’s Rapier. Head back through the broken door and turn right, taking the path down to the lower level. Beware of the Bloated Undead and a Crow Demon. Grab the Dark Ember from the statuesque blacksmith.
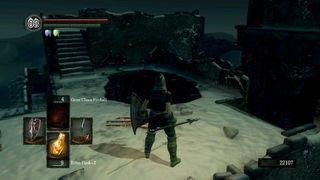
Return to where you emerged outside, this time taking the last remaining path (which leads up). You’ll find yourself on a roof with a hole in the middle. First, go down the stairs to the right in the picture above. Take a left once you do to find Velka’s Armor set. Go back to the roof and take the short stairs up to the highest point. Here you’ll find the Vow of Silence Miracle. Be warned, however, that once you grab it, two Crow Demons will attack.
Before we proceed to the boss, climb the stairs in the central tower to the very top to find a Red Sign Soapstone. Just be careful of the crow demons that attack along the way.
You can now reach the boss two different ways. One is from the lowest level of the tower through the door you opened by turning the handle in the sewers. The other is across the bridge atop which you fought the Undead Dragon. The latter involves a damaging drop at the end. However, it is your only option if you did not turn the handle in the sewers, and is a good way to avoid fighting a group of enemies before the fog door.
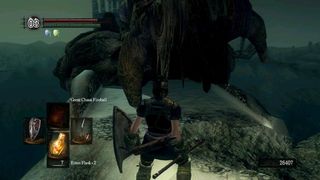
Note that if you choose the Undead Dragon bridge path, you’ll find that the lower half of the dragon is blocking your path. Perform a leaping strong attack (forward + RT) to dislodge it.
We’re going to take the lower path, through the door at the base of the tower. As you cross the bridge, watch out for the mob of undead that climb up from the side. At the halfway point, you’ll run into a Tower Shield Knight. Use magic or Pyromancy if you have it, otherwise, do your best to avoid his attacks by rolling instead of trying to block them. You can also simply run past him to the fog door if you don’t want to fight.
BOSS – CROSSBREED PRISCILLA
Priscilla is not immediately hostile. In fact, if you talk to her, she offers to take you back to Anor Londo.
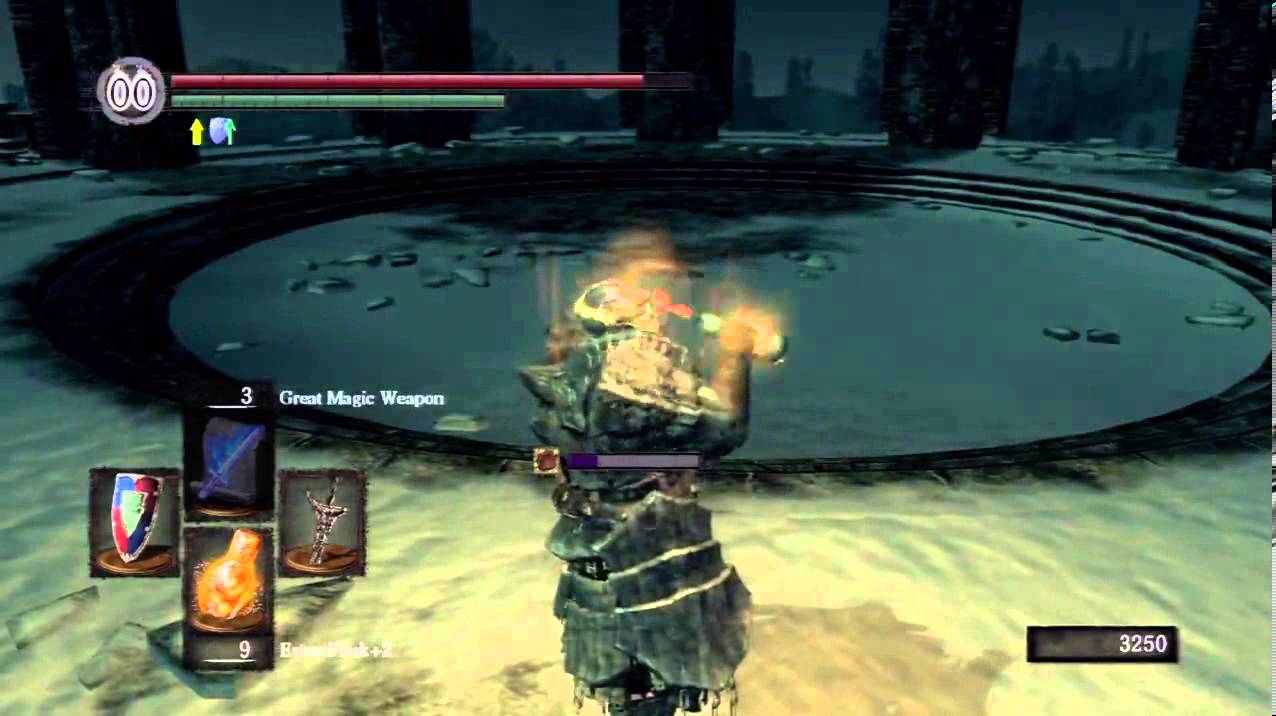
Attacking her begins the fight. She’ll immediately turn invisible, at which point the only way to track her is by looking for her footsteps in the snow. She moves slowly, but has long range thanks to her scythe and does heavy damage. Using Pyromancy on her will force her to reveal herself again. At that point, it’s a simple matter of staying close and circling around her backside to strike.
It is very important that you try and cut off her small tail during this battle because that’s the only way to obtain the rare and powerful Priscilla’s Dagger.
Once you defeat Priscilla, walk towards the edge of the bridge, grabbing the Xanthous Armor set on your left as you do (only if you defeated his Black Phantom). A cutscene will trigger and you’ll return to Anor Londo.
Jump to Section
- Firelink Shrine
- Undead Burg part 1
- Undead Burg part 2
- Undead Parish part 1
- Undead Parish part 2 (First Bell)
- (OP) Grinding for Souls & Finding Goodies in Darkroot Garden
- Lower Undead Burg
- (OP) Returning to the Undead Asylum
- The Depths
- Blighttown
- (OP) Exploring Blighttown's Swamp
- (OP) Undead Dragon & Valley of the Drakes
- Quelaag's Domain (Second Bell)
- (OP) Moonlight Butterfly & the Divine Ember
- (OP) Darkroot Basin, the Hydra, and Dusk
- Sen's Fortress part 1
- Sen's Fortress part 2
- Anor Londo part 1
- (OP) Painted World of Ariamis part 1
- Anor Londo part 2
- Return to Firelink Shrine & Placing the Lordvessel
- Sif and the Darkroot Garden
- New Londo Ruins
- The Catacombs
- Tomb of the Giants part 1
- Tomb of the Giants part 2
- (OP) Dark Sun Gwyndolin & the Blade of the Darkmoon Covenant
- Duke's Archives
- Crystal Cave
- Demon Ruins part 1
- Demon Ruins part 2
- (OP) Great Hollow & Ash Lake
- Lost Izalith
- (OP) Sanctuary Garden (New Content)
- (OP) Oolacile Sanctuary & Royal Wood (New Content)
- (OP) Oolacile Township (New Content)
- (OP) Chasm of the Abyss (New Content)
- (OP) Black Dragon Kalameet (New Content)
- Kiln of the First Flame & Gwyn, Lord of Cinder
Current page: Dark Souls: Painted World of Ariamis Part 2 (Optional)
Prev Page Dark Souls: Painted World of Ariamis Part 1 (Optional) Next Page Dark Souls: Anor Londo Part 2Sign up to the GamesRadar+ Newsletter
Weekly digests, tales from the communities you love, and more

I'm GamesRadar's Managing Editor for guides, which means I run GamesRadar's guides and tips content. I also write reviews, previews and features, largely about horror, action adventure, FPS and open world games. I previously worked on Kotaku, and the Official PlayStation Magazine and website.

After designing a Helldivers 2 Assault mission pitch "crazy similar" to one Arrowhead kicked around, fan returns with another concept that takes you right into the lair of the bugs

Director of upcoming Evil Dead spin-off teases the horror movie - "crazy, lots of Deadites, a big statement"

The Fallout TV show finally corrects my big game frustration: giving romance the focus it deserves
