Dark Souls Remastered: THE DEPTHS
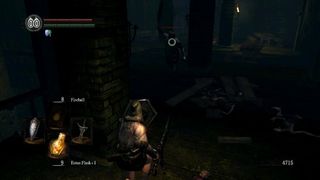
Descend the stairs into the Depths. This room is filled with undead, so make sure to watch your back. If you have the Rusted Iron Ring from the above optional section, now is a good time to equip it. In the lower levels of this initial area, you’ll find some dogs and a menacing Butcher. If you fall into the water in the lowest level without the Rusted Iron Ring equipped, things will get very hairy very quickly, so mind your footing.
Make sure to open the treasure chest on the lower level of this area (where you fight the butcher) to find a Large Ember, an item very important for upgrading weapons. The crates next to the chest can be destroyed to reveal a path, but we don’t want to go that way yet. Instead, head back down into the water.
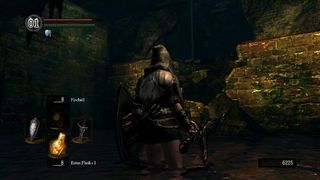
You can climb the nearby debris up and through a hole in the wall to escape the watery section. As soon as you do, turn left and enter a room full of barrels. Laurentius of the Great Swamp is trapped inside one of these barrels. Roll into his barrel (do not attack) to set him free. Like Griggs, Laurentius will return to Firelink Shrine. There he sells Pyromancy flames and can upgrade your Pyromancy flame, so he’s obviously very important to both aspiring and established Pyromancers.
Leave the barrel room and run across the hall and around the corner to the right. Go through the door and head down the stairs into some water. If you want to loot the corpse on your left, be wary of a slime which drops from the ceiling when you step under it. The sewers are filled with these things, so always keep an eye on the ceiling. As you proceed you may run into a second butcher. Continue into the next corridor, where you’ll find several more slimes. If you have Fireball, use it!
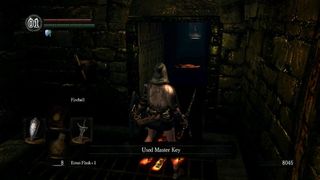
The door at the end of this corridor can be opened with the Master Key. Beyond it is a bonfire. If you do not have the Master Key, continue on (to the left) for now.
Rest up and the bonfire, kindling it if possible. Leave the bonfire room and turn right, heading down some metal stairs. Break the crates to your left to reveal a ladder. This will serve as a shortcut back to the bonfire later on. Continue past the ladder into the next sewer section. Kill the rats to the left (note that rats have the highest Humanity drop rate of any normal enemy), loot the corpse, then head in the other direction. Watch out for the lone crate to your right; a rat will hop out of it once you get close.
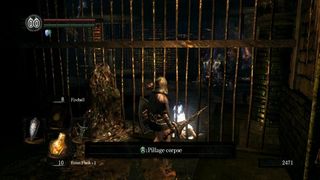
At the end of this path you’ll find a gate with a corpse resting against its opposite side. This corpse holds the Sewer Chamber Key, which can be used in lieu of the Master Key to reach the bonfire previously mentioned. Turn around and start heading back, only this time take the path below the short staircase. This leads to a fog door;pass through it.
You’ll encounter a sorcerer and several rats. Take out the sorcerer from above using Fireball, then clear the area. Be careful: these rats are stronger and faster than the ones you’ve encountered so far. Go all the way to the left to find a corpse holding a large Titanite shard (watch out for rats in those crates), then return to the steps and take the other path.
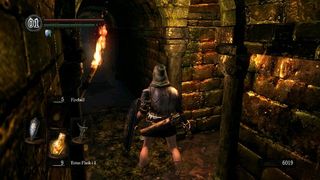
This next section appears like a maze, but is actually quite simple. Take the first right (pictured above), then turn left. Pillage the corpse ahead, then turn right. This leads into the room with the Giant Rat you may have noticed before. Time to take him out.
As soon as you step into his room, he’ll charge at you. Retreat back into the corridor (he cannot follow) and once he turns around, hit him with your weapon or Fireball. Continue this strategy until victory is yours. Slide down the waterfall at the other end of this room
Once you land, head left, then look down the corridor to your immediate left. This is where you encounter a basilisk for the first time. These are extremely deadly because their breath causes curse, which essentially equates to death. Try to kill it quickly, as there are also large rats in the area.
From where the basilisk stood, take the nearby stairs up. This path is optional, but it leads to the Ring of the Evil Eye, which absorbs HP from enemies you defeat. Just watch out for the many basilisks that guard the area. Remember these two things: kill them quickly, and don’t get surrounded. Once you’re done in this area, return to the spot where you dropped off the waterfall and take the other route.
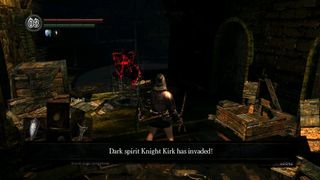
If you are in human form, the Black Phantom Kirk Knight of Thorns will appear and attack. Don’t be too worried; he’s quick, but fairly weak. A few backstabs will do the trick. He drops one Humanity and either the Spiked Shield, a fun little toy that causes enemies to bleed, or the Barbed Straight Sword, which also causes bleeding. This won’t be the first time you run into Kirk during your playthrough…
Continue on to another large, open room containing some rats and slimes. Go through the broken gate at the end of the room to find Domhnall of Zena, a merchant. Talk to him if you wish, then run all the way to the other end of the room.
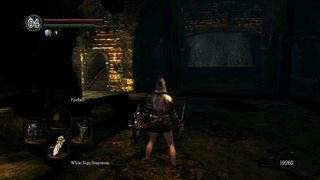
You’ll notice some stairs through a door to the left of the waterfall. Open the door at the top of these stairs and you’ll open a shortcut between this area and the bonfire. Rest up there, then return to broken gate near Domhnall.
There’s a passage to the right of the broken gate that leads up. Head right and continue until you see some stairs leading down. Explore this level to find a corpse holding a heavy crossbow. Look for another set of stairs leading down, but before you take them, check for Solaire’s orange summon sign. You’ll want to bring him along for the boss fight ahead. Go down the steps and through the fog door.
BOSS: GAPING DRAGON
If you don’t have the Drake Sword, using Gold Pine Resin (sold by Domhnall) to add lightning to your weapon will help in this battle. It’s important to attack the dragon’s tail first, since cutting it off grants you the Dragon King Greataxe.
This fight is relatively easy, especially if Solaire is drawing the dragon’s attention. As you try and cut off the tail, watch out for the tail swipe attack, which is largely telegraphed. Once the tail is gone, the battle becomes extremely easy.
Run far away from the dragon, far enough that it stops walking. It will slam its front end down, which signals that its about to charge. At this point, run around to its rear end. The dragon will eventually charge, but if you are running to the side, he won’t be able to track you. Once the charge stops, put your weapon in both hands and have at his tail stump. When he leaps in the air to turn around, run far away and repeat this process until the boss is defeated.
The Gaping Dragon drops the Blighttown Key, which should give you a clue as to where we’re going next. GO back to Domhnall and use the key on the big door to his right.
Jump to Section
- Firelink Shrine
- Undead Burg part 1
- Undead Burg part 2
- Undead Parish part 1
- Undead Parish part 2 (First Bell)
- (OP) Grinding for Souls & Finding Goodies in Darkroot Garden
- Lower Undead Burg
- (OP) Returning to the Undead Asylum
- Blighttown
- (OP) Exploring Blighttown's Swamp
- (OP) Undead Dragon & Valley of the Drakes
- Quelaag's Domain (Second Bell)
- (OP) Moonlight Butterfly & the Divine Ember
- (OP) Darkroot Basin, the Hydra, and Dusk
- Sen's Fortress part 1
- Sen's Fortress part 2
- Anor Londo part 1
- (OP) Painted World of Ariamis part 1
- (OP) Painted World of Ariamis part 2
- Anor Londo part 2
- Return to Firelink Shrine & Placing the Lordvessel
- Sif and the Darkroot Garden
- New Londo Ruins
- The Catacombs
- Tomb of the Giants part 1
- Tomb of the Giants part 2
- (OP) Dark Sun Gwyndolin & the Blade of the Darkmoon Covenant
- Duke's Archives
- Crystal Cave
- Demon Ruins part 1
- Demon Ruins part 2
- (OP) Great Hollow & Ash Lake
- Lost Izalith
- (OP) Sanctuary Garden (New Content)
- (OP) Oolacile Sanctuary & Royal Wood (New Content)
- (OP) Oolacile Township (New Content)
- (OP) Chasm of the Abyss (New Content)
- (OP) Black Dragon Kalameet (New Content)
- Kiln of the First Flame & Gwyn, Lord of Cinder

