Borderlands 2: Tiny Tina's Assault on Dragon Keep DLC side mission guide & walkthrough
Side Mission Guide & Walkthrough
Murderlin’s Temple
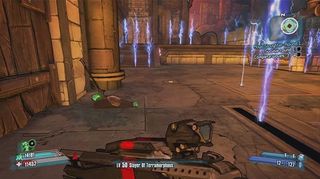
Magic Slaughter: Round 1
XP: 114
Money: 4 Eridium
Gear: None
When you find Murderlin in his temple, speak to him and then enter the arena. Pull the lever at the far end and then you will have to survive 4 rounds of enemies. Stick in the corner away from the floor traps and spikes and when completed, hop across the blue stones to return to the beginning. Speak to Murderlin and you will have to go through this 5 more times.
Magic Slaughter: Round 2
XP: 114
Money: 6 Eridium
Gear: None
Just like round one, you will have to fight 4 rounds of enemies. Return to Murderlin when completed.
Magic Slaughter: Round 3
XP: 114
Money: 8 Eridium
Gear: None
Just like round one, you will have to fight 4 rounds of enemies. Return to Murderlin when completed.
Magic Slaughter: Round 4
XP: 114
Money: 10 Eridium
Gear: None
Just like round one, you will have to fight 4 rounds of enemies. Return to Murderlin when completed.
Magic Slaughter: Round 5
XP: 114
Money: $4,751
Gear: Submachine gun
Now things get a little more dangerous in the Slaughter rounds. You will have to survive 5 rounds this time, with the fifth round having Red Dragons swoop in.
Magic Slaughter: Badass Round
XP: 114
Money: 10 Eridium
Gear: Pistol
For this final round of the Slaughter, you will need to survive 6 rounds, with the final couple of rounds throwing multiple Badass enemies, including skeletons at you. Once you have complete it, return to Murderlin, and you will then be able to select this mission over and over to farm for loot.
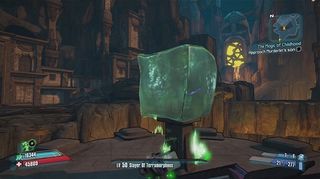
The Magic of Childhood
XP: 114
Money: 12 Eridium
Gear: None
When you have completed Round 6 of the Slaughter, Murderlin will offer this quest to you. Follow the way point to the marker in his temple and you will come to his child, a gelatinous cube. Speak to it and the platform you are on will rise and a shield will protect you. Now you will need to survive 5 waves of enemies as they try and approach the base of the pillar and destroy it. Try to take out the enemies as they first appear by keeping an eye on your radar. If you can’t get them right away, they will always come to the front of the pillar, where you entered, to attack. Once you have survived the 5 rounds with the pillar still having some health left on it, the mission will be done.
The Forest
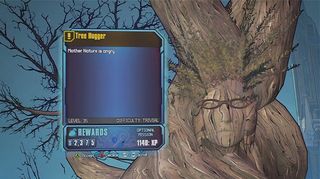
Tree Hugger
XP: 1140
Money: $2,375
Gear: Shield/Assault Rifle
Speak to Aubrey the teenage Treant atop the hill where the yellow exclamation mark is and she will give you a sapling. Take it and follow the waypoint to the area and place it in the field. Once it is planted, you will then need to protect the sapling until it grows full size. There will be a ton of Orcs that come out of the huts, but luckily if you shot the sapling, it won’t take damage. Once it has gotten to full size, it will start to trudge around and you will need to lead it to each of the 6 huts while it smashes them. Just like the sapling, the Treant won’t take damage from you, so if the Orcs get too close to it, feel free to blast away. Once all 6 huts are down, return to Aubrey to turn in the quest.
Immortal Woods
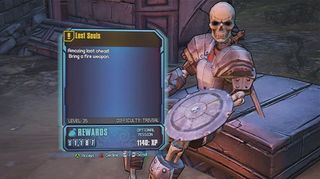
Lost Souls
XP: 1140
Money: $1,187
Gear: None
In homage to another game of similar name, for this quest you will need to speak to the Crestfallen Player who is located in the Sacred Ruins to the left of the main path. When you start this quest, make sure you have a weapon with you that will deal fire damage. Go to the way point marked and light the first bonfire there. Once lit, enemies will attack and you will need to collect 4 souls from them. Continue to the next 2 bonfires repeating the same thing and then return to the Crestfallen Player. Once you have spoken to him, kill the other player that arrives.
Mines of Aravice
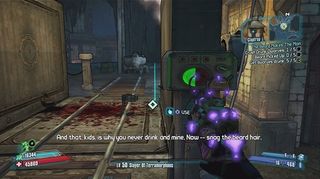
The Beard Makes the Man
XP: 570
Money: $1,187
Gear: None
For this mission, you will need to use Moxxi’s grog gun, given to you by Claptrap, to shoot dwarves and make them drunk. Once they are drunk, you will then need to lure them into the mining crusher and take their beards that have fallen on the ground. I had a lot of trouble with this mission at first, but finally figured out that if you lure the dwarves to the crusher first, and then shot them with the grog gun; if you crushed them almost immediately after you shot them, they would drop their beards in the process, each time.
There were many time previous to this that the gun wouldn’t make them drunk or it would just flat out kill them immediately. Once you have the 5 beards, you will need to take them to the forge. To get there, follow through the Ingot Processing plant and to the south and then to the east. There will be gates frequently that only open when dwarves come through the other side. Once you finally reach the forge, place the beards and then activate the hammer to create the beard of beards.
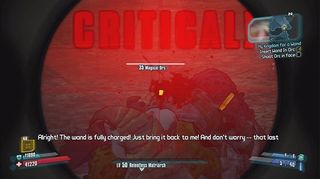
My Kingdom For a Wand
XP: 1140
Money: $2,375
Gear: None
Claptrap needs a wand to go along with his awesome beard, so it’s up to you to create on for him. There are a few steps needed to complete this mission without extreme frustration. First make sure you have an explosive weapon. Second; make sure you have a shocking weapon. The first enemy you’ll need to hit is the Magical Golem who is located near Claptrap. Stick the wand in the golem and then hit it with the explosive weapon. If the explosion killed him, you will then be able to pick up the wand. Next make your way to the near starting spot of the mines and there will be a magical spider walking about.
Again, stick the wand in it and then make sure you kill it with a shocking weapon. If the shock killed it, pick up the wand and the third and final enemy will be a Magical Orc just down the path. For the Magical Orc, you will need to kill it with a critical headshot and NOTHING else. I killed the orc about 100 times, all with crit head shots until realizing that my powers were what kept killing it, even though I was shooting it point blank in the head. I had to go and repec to remove all my powers and the first try I killed the Orc and got the wand to drop. Once the Orc is killed, return to Claptrap with the wand.
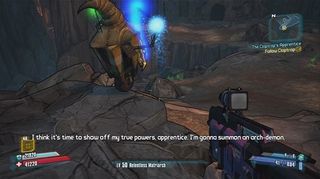
The Claptrap’s Apprentice
XP: 1140
Money: $1,187
Gear: Shield/Relic
Now that Claptrap has a wand, he wants to do some cool stuff with it. Follow him to the top of the cliff that he goes to and then simply wait for the enemies that are summoned. Kill them as they appear and the mission will end after he has given up.
Lair of Infinite Agony
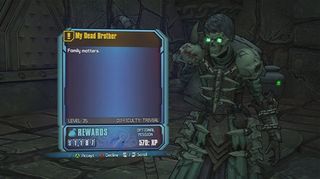
My Dead Brother
XP: 570
Money: $1,187
Gear: Assault Rifle/Shotgun
Speak to Simon in the Lair of Infinite Agony as noted by a yellow question mark and he will ask you to visit a few places with the catacombs to resurrect skeletons and kill his brother Edgar. At each marked location, you will need to raise the dead and then re-kill those that rise. After the third set, he will tell you that he knows where the body is and that you will need to meet him there. When you raise Edgar, you will then have the choice of killing Simon or Edgar. It’s up to you which one you take down, but when you pick, the quest will finish.
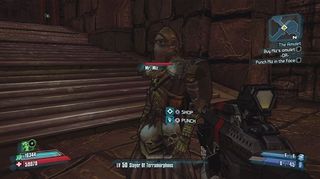
The Amulet
XP: 1140
Money: $1,187
Gear: None
This quest appears randomly in the Lair of Infinite Agony, so if you arrive there and do not see a yellow exclamation mark near the center of the map, fast travel out and then return. Once you do see it there, go to its location in the Hall of the Dead and speak to Mr. Miz who will be wandering around. He will offer you an amulet or you can kill him, it’s your choice, but you’ll get an achievement/trophy for equipping the amulet, which as of now, isn’t quite clear what it is for. Either way, you will complete the quest when you pick an option.
Hatred’s Shadow
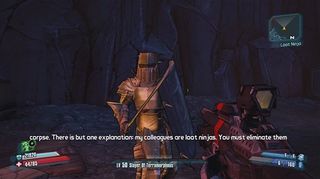
Loot Ninja
XP: 1140
Money: $1,187
Gear: None
Talk to Sir Gallow in the Hatred’s Shadow, as you make your way to the tower and talk to Sir Gallow. He will be convinced that his pals are loot ninjas and want you to investigate them. Go to the first, Sir Boil, with the castle and investigate the crate next to him. Kill him and then make your way to the next, Sir Mash. Again, check his stash and then take him down. You will need to do it one more time with Sir Stew. Once the third knight is down, return to Sir Gallow for your reward. To turn in the quest and complete it, you will then need to go and see Torgue.
TABLE OF CONTENTS
- Page 1: Introduction
- Page 2: Flamerock Refuge
- Page 3: Murderlin’s Temple / The Forest / Immortal Woods / Mines of Aravice / Lair of Infinite Agony / Hatred’s Shadow
Sign up to the GamesRadar+ Newsletter
Weekly digests, tales from the communities you love, and more
Jeff McAllister is a freelance journalist who has contributed to GamesRadar+ over the years. You'll typically find his byline associated with deep-dive guides that are designed to help you scoop up collectibles and find hidden treasures in some of the biggest action and RPG games out there. Be sure to give Jeff a thanks in the comments while you're completing all of those tricky Achievements and Trophies.

Helldivers 2 dev asks players to stop deliberately shooting at soldiers with that sweet blue pre-order bonus armor that's apparently a yogurt salesman uniform

Stellar Blade release time – the countdown to the new PS5 action RPG is on

Wilson Fisk celebrates 60 years of Daredevil by reclaiming his mantle as the Kingpin