Milestone 12: Downzone (4 cards, 10 propaganda)
Above: All collectibles from Milestone 12
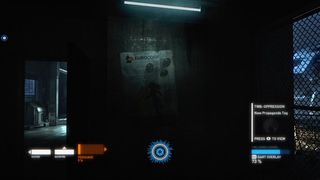
Propaganda 1: After giving Drawl a boost, she’ll open a door for you. Inside the garage, look for a door on the left. Head through it and into the small alley. Here you’ll find a poster.
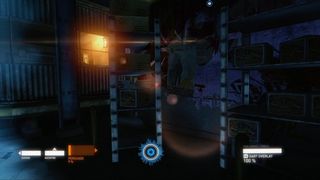
Propaganda 2: Soon after climbing a ladder you’ll enter a small warehouse with a control room. To the right of that room is a shelf pulled away from the wall. Behind that shelf you can see a poster.
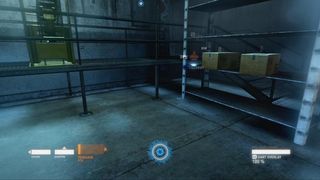
Card 1: After ripping the lock off the gate in that same warehouse, pass through it and look to your right. On the shelf you’ll find a card.
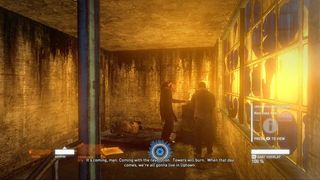
Propaganda 3: Soon after you’re told that Drawl’s chip signal has been lost you’ll be heading down some stairs past a few hobos. On the wall nearby is a line of text. Use your overlay to spot the propaganda.

Card 2: You’ll reach another point where you must break a lock to proceed. Do so, and head down into the basement area. Proceed along, all the time following the wall on your right. Eventually there will be a door you can open, and inside the room, next to a hobo, is this card.
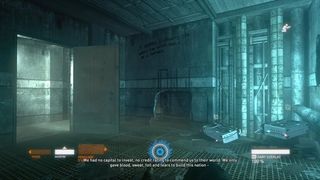
Propaganda 4: In the same room as card 2, look for the wall on which there is some writing. Activate your overlay to scan the propaganda.

Propaganda 5: Upon exiting to the street, walk straight ahead and look for a propaganda poster on a red background.
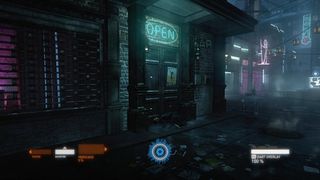
Propaganda 6: Just across the street from where you find propaganda 5 you’ll spot number 6 on the door to the bar.
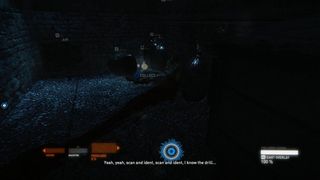
Card 3: From propaganda 6, head down the street and look for an alley on your right. Walk down it to find a card.
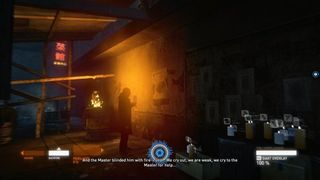
Propaganda 7: Leave the alley in which you found card 3 and turn right. Next to the flaming barrel on the other end of the street is a poster.

Propaganda 8: Enter the store called “Rich Jayden’s” and turn left immediately. On the wall you’ll find some propaganda text if you activate your overlay.
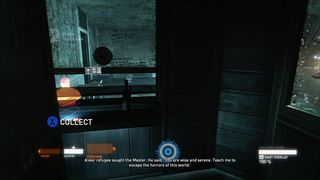
Card 4: Still inside the same building as propaganda 8, look for the cashier’s booth. Walk around to enter from the rear and grab the card off the desk.
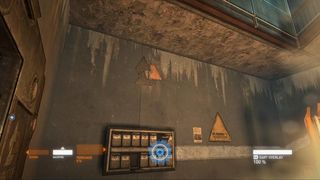
Propaganda 9: From the cashier’s booth, walk down the hall into the next room and look for a EuroCorp logo on the wall.
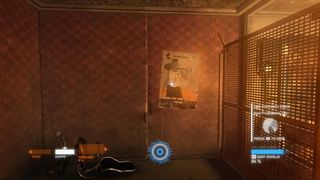
Propaganda 10: From propaganda 10, go up the stairs and to the next room. Behind the EuroCorp hologram, on the wall, you’ll find a poster.
Milestone 13: Betrayed (1 card, 3 propaganda)
Above: All collectibles from Milestone 13
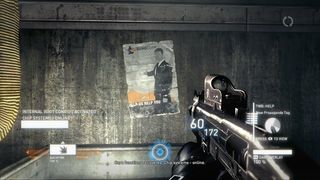
Propaganda 1: Just after you pry open the door there will be a poster on the wall to your right. It’s near the small set of stairs.
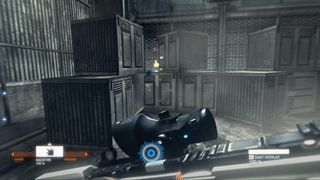
Card 1: This card is on a crate in the room with the red explosive barrels.
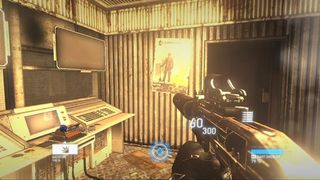
Propaganda 2: After climbing out of the elevator, kill any baddies in the room then head for the small control room. Inside you’ll find a propaganda poster on the wall, right next to the power switch.
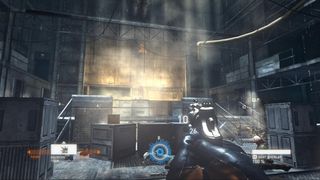
Propaganda 3: You’ll reach a point where you must climb through a floor grate and clear out a room of bad guys (one of which will have a shield). After doing so, check the high wall for a EuroCorp logo. It’s also propaganda.
