
Most of us mere mortals main one or two of the Overwatch heroes. While our skills might be impeccable on those characters, that usually means we get wrecked on anything else. Enter Mystery Heroes.
In this Arcade mode, all 12 players are randomly assigned their hero at every spawn. So you could have six support characters. Heck, you could have six of the same hero. It’s the ultimate test of skill and adaptability. It’s also a great source of silly shenanigans.
Generally, the best way to excel at Mystery Heroes is just common sense. Don’t stress if you keep getting clobbered. PTFO. And of course, if you wind up with a hero that just doesn’t work for you, there’s always a last resort: jump off the edge of the map and hope fate is kinder the second time around. But if you want to really test yourself, here are the key tips for how to play each hero and rack up those Arcade wins.
First off, the offense class.
Doomfist
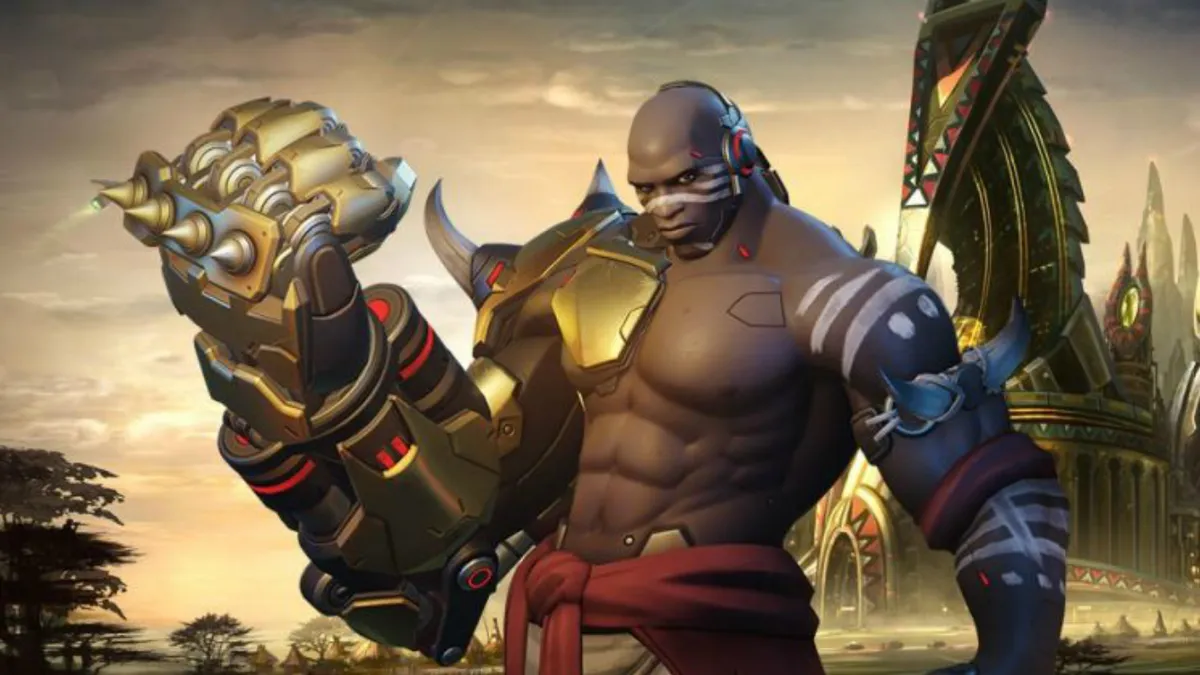
Doomfist is one of the trickiest heroes to just pick up with no practice. His Rocket Punch ability is a precise skill shot that’s an instant kill on squishy targets when lined up correctly. If you’re new to his kit, focus this ability on the less-mobile support players like Ana or Zenyatta - successfully hitting a Tracer is nothing short of god-like. Even without landing it, though, Rocket Punch can deliver Doomfist into the middle of the enemy team to dole out some hurt. Once you’re in the fray, chain the Seismic Slam with the Rising Uppercut, and odds are good you’ll net one or two kills.
Possibly the most counter-intuitive thing about Doomfist is how little you’ll use his primary fire. The Hand Cannon isn’t his best or most powerful ability, and you mostly use it to finish off low-health enemies while you’re waiting for the cooldowns on his other skills to reset.
Genji

Genji should be a perpetual motion machine. His presence can irritate an opponent like a persistent mosquito, buzzing past but always just out of reach when you try to swat him down. If you aren’t the most precise with his Shuriken attacks, then try his alternative fire. The main fires off the throwing stars at a single point, but the alt gives them more spread. Also, keep in mind that the range on his Swift Strike is also a little larger than you might think. That move is best used as a finisher: if Genji kills a target with that skill, he can use it again immediately.
McCree

To succeed with McCree, you’ll need to get the order of operations down. First you offload the Flashbang, then use his Fan the Hammer fire to melt an enemy’s health bar. If you can tame the recoil of the alt fire and center a few shots near the opponent’s head, then you can probably nab a kill. Or at the very least, you’ve set up a great alley-oop for a teammate to finish them off.
Pharah

If Pharah isn’t one of your core characters, then your best bet for her is to float above the control point or the payload and be as disruptive as possible. Her rockets have a decent amount of splash damage, so even though precision is ideal, you can still be a real pain to the enemy just by persistent raining down of rockets.
Also, if you’re playing on a controller, do yourself a favor and re-map the buttons for Pharah’s regular jump and her Jump Jet. If you have to hold down a keypad button to keep her in mid-air, then aiming with that same thumb is a near impossibility.
Reaper

Reaper and his shotguns are best when using the element of surprise. Use his teleportation ability to make your attacks from unexpected places. Keep in mind that there is a visual cue of where his Shadow Step will arrive, so putting it right in an enemy’s face ruins that whole surprise angle. Even if you get caught outnumbered, beat a hasty retreat with his Wraith Form.
Soldier: 76

For many people just picking up Overwatch, Soldier: 76 will feel the most familiar. His big benefit is the Biotic Field. If you plant this healing station behind cover or around a corner, then you can pop into view, fire off a few rounds, then duck back to safety and repeat. The Helix Rocket is best when it’s a direct hit, but if you’re not confident in landing it, aim for the target’s feet. They’ll still get chunked down by the splash damage, and you can follow it up with his regular weapon.
Sombra

If you charge headlong into an enemy as Sombra, you will probably die. You will almost certainly die. Sombra doesn’t do enough concentrated damage to take out anybody that way, and she’s squishy enough herself that she’ll be first to fall in that standoff. Prioritize hacking health packs over players in this setting. Once more, the winning set-up is about order of operations. First, toss translocator, ideally next to a hacked health pack. Second, go invisible and run behind an enemy. Third, gun them down from behind. Fourth, recall to health.
Tracer

Like Genji, Tracer is about the constant movement. Try to always keep one of her three charges of Blink in reserve so that you can escape a dangerous situation, should it arise. If you don’t have the spatial awareness to know exactly where her Recall will put you, that’s okay. Only use it when you are in immediate lethal danger, like at five points of health or falling off a wall, and you’ll probably be good.


