World 5-1: Sunshine Seaside
Star #1
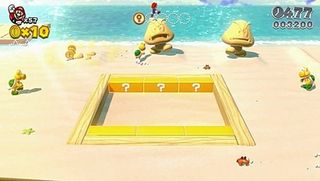
At the start of the level are three Goomba sand sculptures. Destroy all three with ground pounds, Koopa shells, or your weapon of choice to earn a star.
Star #2
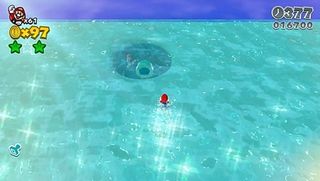
This tricky star is actually in the water. Look along the northern edge of the level to spot a pit. Take a dive and use the warp pipe to reach a well hidden area. Hit all the tiles inside before the music stops to earn a star.
Star #3
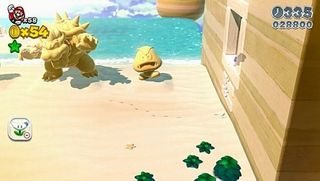
Past the second set of sand sculptures is a little alcove. Backflip into this to find Toad being chased by Billybuds. Take them out to save him and earn a star as thanks.
Stamp: Koopa Shell Kick
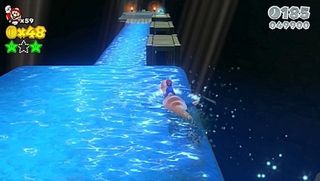
You can get this while riding Plessie. Just before the course ends, bear right to reach some wooden platforms. Hop across these to grab the stamp at the end.
World 5-2: Tricky Trapeze Theater
Star #1
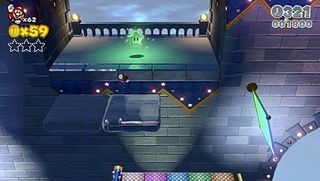
When grab onto the trapeze above the spiked roller, leap to your left to land on some clouds. There's a star on the ledge up here.
Star #2
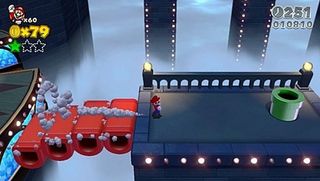
To the right of the wheel of Piranha Plants is a warp pipe. Head through and hit the blue switch. Collect the three series of blue coins that appear to spawn a star.
Stamp: Jumping Luigi
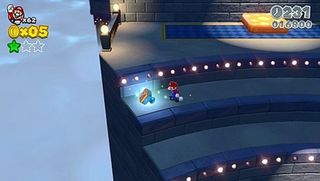
This is on the left side of the stepped platforms immediately after the wheel of Piranha Plants.
Star #3
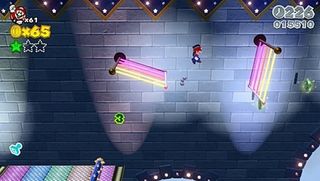
After riding through the clear pipe, you'll come to a hollow green star by series of trapezes. Hit the star to spawn eight green coins, then quickly traverse the trapezes to collect them and earn a star.
World 5-3: Backstreet Bustle
Star #1
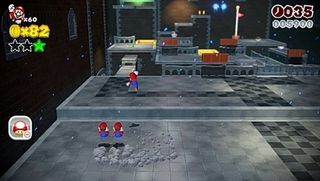
There's a cracked tile to the left of the level's start. Ground pound it to reveal a star.
Star #2
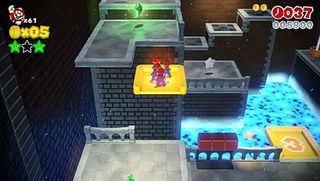
To get this, you'll need to create Double Cherry four clones from the question mark bricks.
Stamp: Little Toad
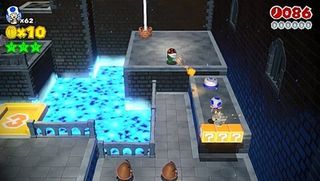
There's a Toad switch on the right side of the course. Use Toad to hit it and spawn a stamp.
Star #3
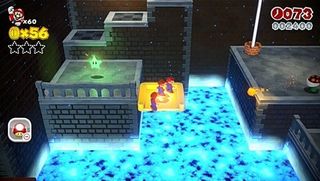
Take three Double Cherry clones to the three-man platform in the middle of the level to reach this star.
World 5-A: Chargin' Chuck Blockade Is Back
Star #1
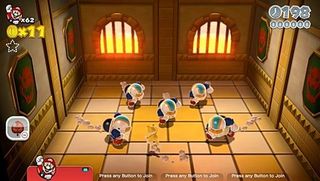
You'll have to battle five Chargin' Chucks this time. Take them out to earn a star.
World 5-4: Sprawling Savanna
Star #1
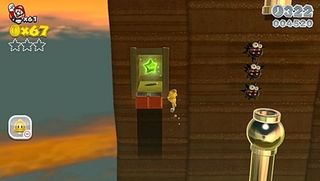
When you reach the first wall with multiple clear pipes, use a Cat Suit if you have one. Scramble up the left side of the wall to find a star in a little alcove. Be aware of the hidden bricks underneath it.
Star #2
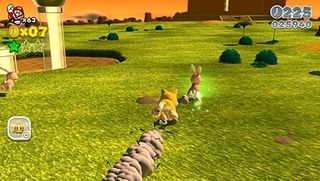
When you reach the titular savanna, you'll spot several rabbits in bushes in the middle of the area. Chase after the one with a green glow; catch him to earn a star.
Stamp: Cat Suit Peach
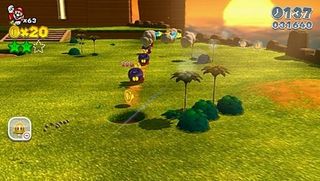
On your way out of the savanna, stop by the parading Ant Troopers. Drop into the hole they are headed towards to reach a hidden area. The stamp trails behind a Giant Ant Trooper in here.
Star #3
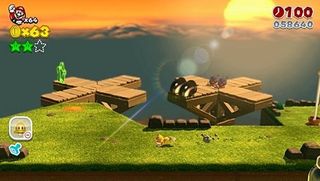
At the very end of the level are two rotating walkways and a hollow green star. Hit it to spawn eight green coins. Collect all eight to earn a star.
World 5-5: Bob-ombs Below
Star #1
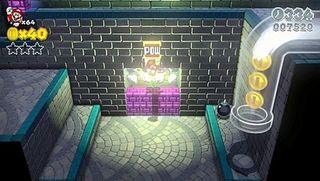
You'll come across a POW Block early in the level. Hit it with a Tanooki Tail Spin or a Bob-omb throw to destroy the purple bricks and reveal a star. Alternatively, you can just break through the bricks themselves.
Star #2
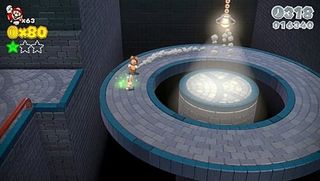
Immediately after the checkpoint is a rabbit on a rotating platform. Chase him down to earn a star.
Stamp: Bob-omb
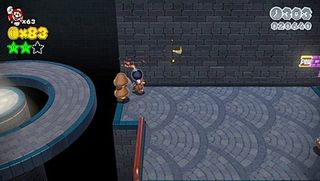
After the rabbit are two stacks of Goombas carrying bombs. Use a bomb to bust through the cracked wall nearby, then use the other to hit the POW Block and reveal what was behind that wall: a stamp. Hop back and grab your prize.
Star #3
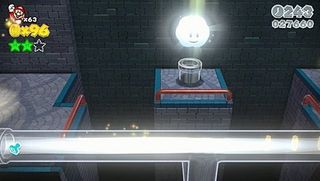
When you ride the last clear pipe, bear down to hit the lower path and reach a cloud that launches you to a secret area (you can also use the Tanooki Suit to hover jump to the cloud). In the secret area, step on all the tiles before the music ends to earn a star.
World 5-Tent
Stamp: Laughing Sprixie
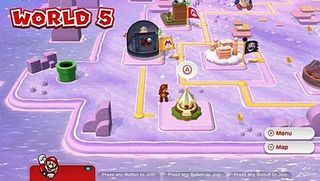
This path opens up once you've cleared World 5-5. Enter the tent to claim your prize.
World 5-B: Fire Bros. Hideout #2
Star #1
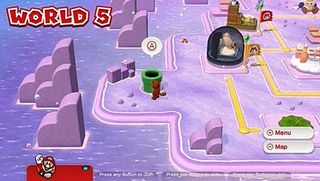
You can reach this by examining the ground left of World 5-5. Take the warp pipe that spawns to get there. Once there, take out the Fire Bro. riding the Goomba stack to earn a star.
World 5-6: Cakewalk Flip
Star #1
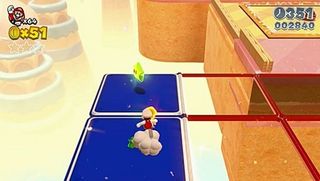
When you reach the first big section of flip panels, time your jumps so that you have a blue panel in the upper left corner. There's a star here.
Star #2
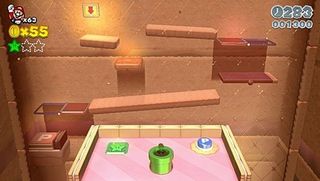
Take out the Piranha Plant just past the checkpoint and use his warp pipe. In this hidden area, you have to guide the green ball to the tile on the bottom left. Use your jumps in conjunction with the flip panels to make it work, and you'll earn a star for your efforts.
Star #3
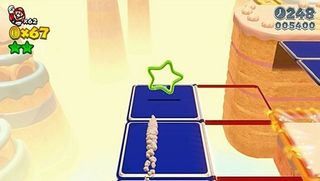
After the secret area, you'll come to two rows of flips panels. Hit the hollow green star in the top left to spawn eight green coins. Use your jumps carefully to collect them along the flip panels, and you'll receive a star.
Stamp: Peach
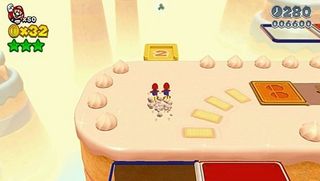
If you manage to bring at least two Double Cherry clones through the whole level, you can hop on the two-man platform at the end to reach a stamp.
World 5-7: Searchlight Sneak
Star #1
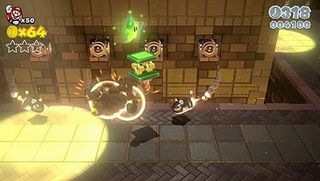
The first star is pretty tricky to grab. When you reach the fourth faux trampoline, stun him and pick him up. Rush through the spotlight and avoid the Cat Suit Bullet Bills. Now you can safely use the trampoline to reach the star above.
Stamp: Toad
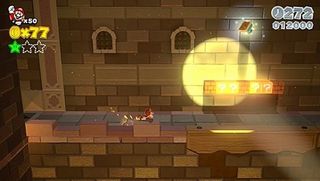
The stamp is also tricky to grab. Immediately after the checkpoint, you'll see it above a row of bricks. Carefully jump up there and grab it before the searchlight spots you.
Star #2
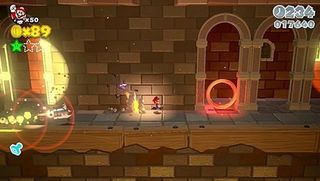
Just past the stamp is a cracked wall. Step into a searchlight to be swarmed by Cat Suit Bullet Bills. Lead one into the cracked wall to blow it away, revealing a mystery box. Inside, there will be a star atop some blocks and a constant barrage of Cat Suit Bullet Bills. Quickly and carefully grab the star to get out of there.
Star #3
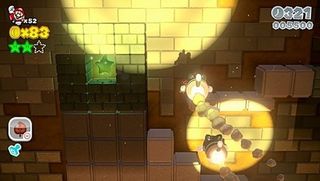
You'll find the last star while scaling the vertical wall at the level's end. Let yourself be seen by the searchlight, and lead the Cat Suit Bullet Bills into the big bricks to break through to your prize.
World 5-Special: Captain Toad Plays Peek-a-Boo
Star #1
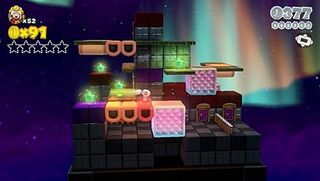
Start by heading through the first purple door. Use the touch platform to reach the first star on the ledge above.
Star #2
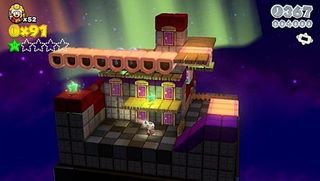
Head down the slope and through the left door to reach the ledge above. Grab the star and enter the door on the right.
Star #3
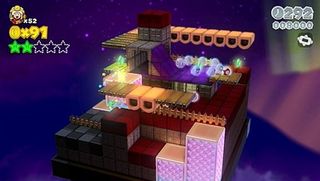
Drop from the ledge and follow the red platform. Touch the upper platform to move it forward, then drop into the dip it blocked. Step onto the first touch platform, then tap to raise yourself to the second. Hop to it, then tap to raise yourself to the walkway by the sliding platform. Step onto it and give it a touch to slide out into range of another star.
Star #4
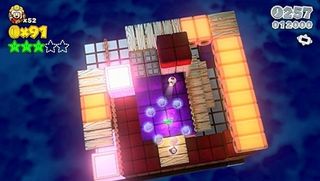
Ride the platform back, then step through the archway and round the corner. Time your walk between the ghosts to grab the star here.
Star #5
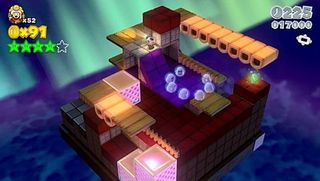
Head up the hill and follow the path. When you hit the long stretch of falling platforms, a Big Boo appears. Stare at it to keep it from attacking you, then ride the falling platform down to the last star.
World 5-Castle: King Ka-Thunk's Castle
Star #1
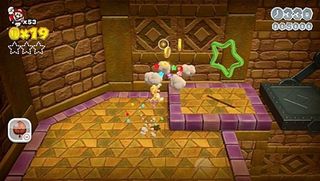
Early in the level, you'll come across a hollow green star. Hit it to spawn eight green coins. If you collect them all before they disappear, you'll earn a star.
Stamp: Chargin' Chuck
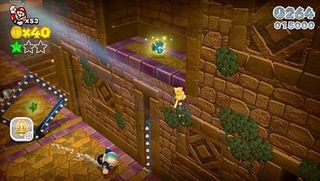
When you reach the cart-wheeling spike squares, use a Cat Suit to scramble up the wall. There's a stamp on the ledge here.
Star #2
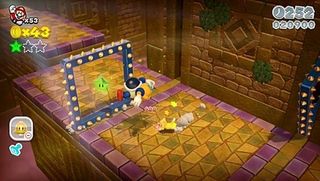
The second star is found inside the last of the cart-wheeling spike squares. It will appear in the center of every other square, so just wait a moment if you miss it.
Star #3
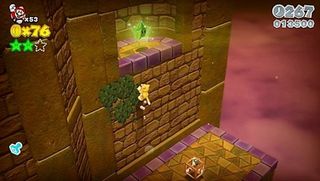
Before heading through the warp box at the end of this section, use a Cat Suit to scramble up the nearby wall. There's one last star up here.
World 6-Tent
Stamp: Shy Sprixie
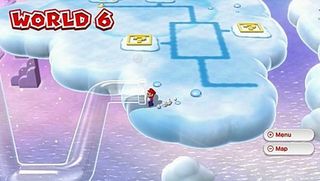
There's a clear pipe on the lower end of the first cloud on the map. Use it to reach the tent, where you'll find another stamp inside.
World 6-1: Clear Pipe Cruise
Star #1
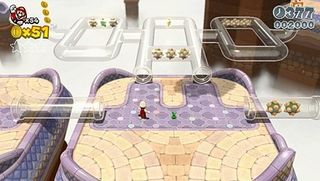
When you reach the first set of pipes with some spikes inside, use the outer loop of the first set to collect the Invincibility Star. Use it to safely move through the spikes on the left side of the pipe series.
Star #2
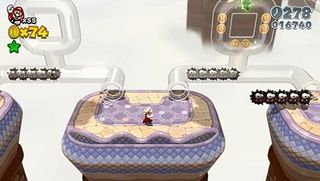
When your reach the pipes with groups of Fuzzies moving through them, you'll spot a star in the second pipeline. Time your entry to avoid the Fuzzies, then loop around the top to grab it.
Stamp: Captain Toad
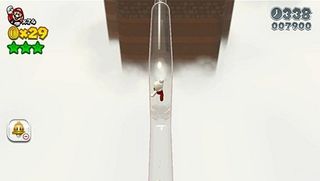
Just after the checkpoint is a long clear pipe. Instead of riding, hop on top. Carefully run along it and jump to the higher section to find this well hidden stamp. You'll need a Cat Suit or a spin jump to reach this area.
Star #3
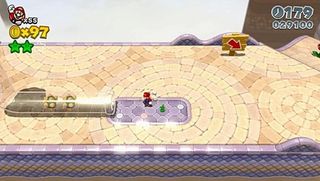
After scaling the large vertical wall, you'll arrive at pipe with some spikes inside. If you have a Fire Flower, you can toss a fireball to destroy them, the hop in to reach the cloud above. This will launch you to a secret area, where a star lies at the end of the course.
World 6-2: Spooky Seasick Wreck
Star #1
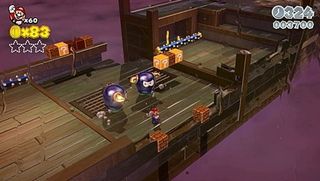
When you come to the pair of Bullies, take them both out by knocking them off of the edge of the course. You'll get a star for slaying them both.
Stamp: Fire Flower
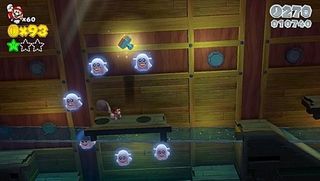
After entering the wreck, you'll see this above a platform with some circling ghosts. Use the changing tide while avoiding the ghosts to reach the platform and leap for the stamp.
Star #2
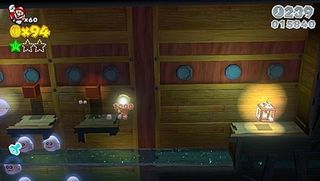
Just a little further on are two question mark bricks. Hit the one on the right and grab the Invincibility Star that emerges. Use this to safely take out the circling ghosts below - there's a star inside the hole they where guarding.
Star #3
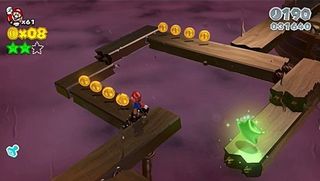
This one's actually pretty easy to grab if you move carefully along the planks past the checkpoint. Watch out for the few Boos that spawn too!
World 6-B: Fire Bros. Hideout #3
Star #1
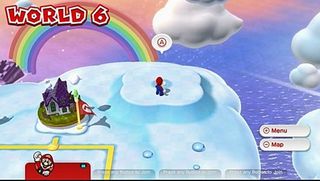
There's a spot you can examine near World 6-2. Do so to reveal a warp pipe that takes you to World 6-B. Here, take out the pair of Hammer Bros., pair of Boomerang Bros., and single Fire Bro. before time runs out to earn a star.
World 6-3: Hands-On Hall
Star #1
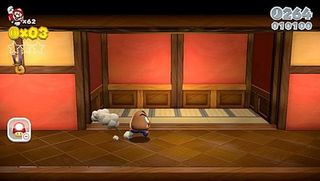
When your each the first large set of doors past the Bowser gong, tap them open. Now tap the seemingly blank wall behind them to reveal some coins, two Galoombas, and a star.
Star #2
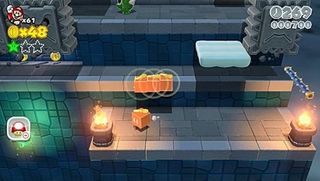
When you reach the roof, you'll spot this floating over empty space. Head to the right side of the roof and hit the question mark bricks to discover that they actually Propeller Blocks. Grab one and use it to drop to the star, then safely propel back up.
Stamp: Moneybag
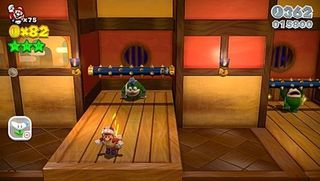
You could propel to the roof and finish the course early now. Instead, collect all the keys to unlock the warp box and reach a hall with several Spikes. When you get here, you can actual move toward the camera to step outside the building. Bring a the Propeller Block or a Cat Suit, then scramble up to an awning out here. You can then jump to a cloud platform where the stamp awaits.
Star #3
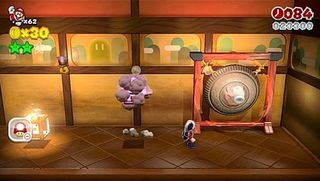
You could propel to the roof and finish the course early now. Instead, collect all the keys to unlock the warp box and reach a hall with several Spikes. Head to the end, but leap over the warp box here to find one last Bowser gong. Hit it to summon a mystery box. Leap inside to find yourself facing yet another Spike. Take him out before time runs out to earn star.
World 6-4: Deep Jungle Drift
Stamp: Cat Suit Toad
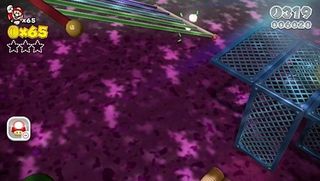
When your reach the first island, leave by the upper path. You'll probably need a Cat Suit to get there. Swing across the poison via the trapeze to land on a blue platform where the stamp sits.
Star #1
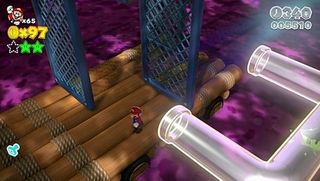
If you take the lower path, you'll find this inside an isolated clear pipe. Just make sure the raft has moved far enough ahead that the pipe won't spit you out right into the poison!
Star #2
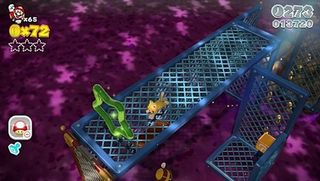
Just past the checkpoint is a hollow green star. You'll need a Cat Suit to scramble to the upper level to reach it and spawn eight green coins. Grab them before time runs out to earn a star.
Star #3
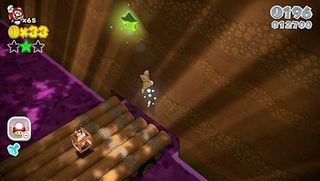
The level's last star is actually a long the wall before the warp box. Use a Cat Suit to scramble up to it.
World 6-A: Prince Bully Blockade
Star #1
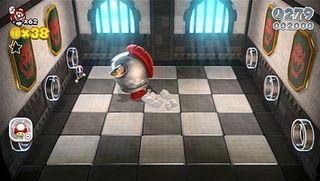
To take our Prince Bully, you have to knock him into one of the pipe openings along the wall. This will compress him, and he'll pop out of another opening as a little cylinder, vulnerable to attack. Hit him three times in this state to defeat him and earn a star.
World 6-5: Ty-Foo Furies
Stamp: Ice Skate Mario
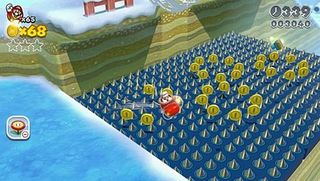
Jump onto the Skating Goomba near the beginning of the level to grab the Ice Skate. Skate out onto the spikes nearby to find this there.
Star #1
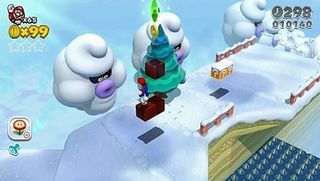
Now head to the ledge above the spikes. By the second Ty-Foo is a pair of bricks with a hidden brick above them. Use these to reach the star in the air above.
Star #2
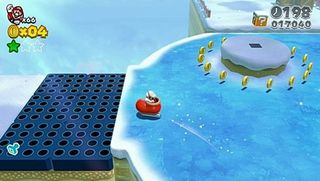
Grab an Ice Skate from a Skating Goombas on the ice just past the checkpoint. Use it to cross the spikes to the left side of the area and reach a mystery box. Inside, you have ten seconds to grab another Ice Skate and move through the obstacle course. There's a star at the end.
Star #3
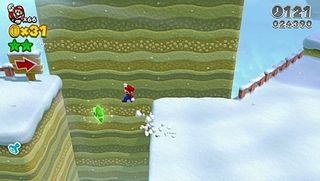
The last star in the level is very tricky to grab. Jump when the wind is whipping, and it carries you over the star. Jump when the wind is clear, and you'll fall to your death. A few wisps appear in the pit just before the wind kicks up - jump when you see them to grab the star and be saved by the wind.
World 6-6: Bullet Bill Base
Star #1
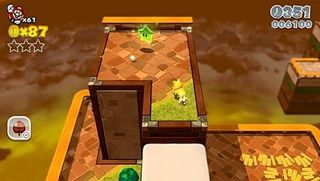
Using the Cat Suit, you can make your way to very top of the first base. There's a star waiting there.
Star #2
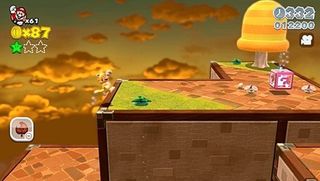
When you reach the second base, scramble up the first wall to find a mystery box. Inside, you have ten seconds to grab a star hovering by a rotating wheel. Use the Cat Suit to quickly scramble your way there.
Star #3
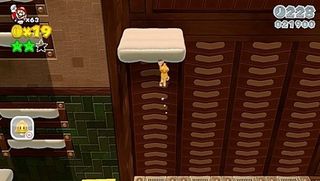
When you reach the set of four conveyor belts, use the Cat Suit to scramble up the one on the far left. Ride it up, then ride the next one to the right. This takes you to a ledge with a star.
Stamp: Stunned Goomba
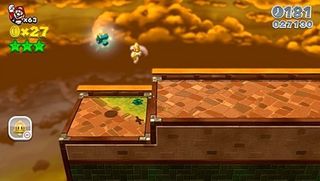
The stamp is on the final platform overlooking the flagpole. You simply have to jump onto the row of bricks, then jump up to the stamps. If you happen to break the bricks, you can still reach the stamp with a spin jump from the raised ledge.
World 6-7: Fuzzy Time Mine
Stamp: Fuzzy
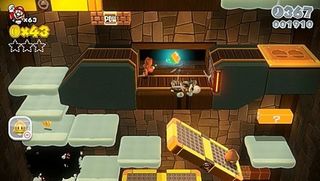
This is found early in the level. When you reach the first horizontal retracting platform, you'll spot it inside the dip.
Star #1
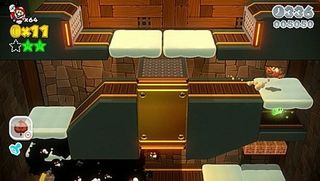
You'll see this on the right side of the level just past the stamp. Use a ground pound to bust through the cloud and reach it.
Star #2
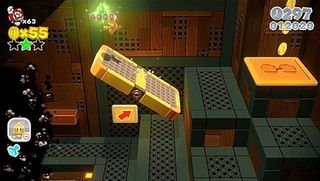
When the stage starts scrolling to the right, you'll find this on the first seesaw.
Star #3
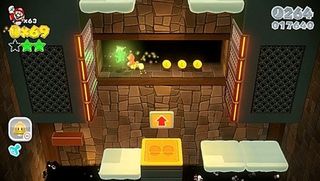
At the final stretch of the stage are four pairs of horizontal retracting platforms. Use the jump pad to reach the space behind them - there's a star here.
World 6-Special: Mystery House Throwdown
Star #1
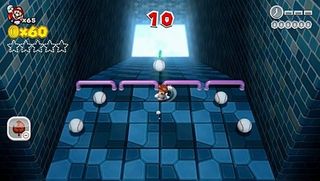
You have ten seconds to complete each room's challenge. For the first, quickly chuck a baseball down the slope. The ball rolling into the star counts as picking it up.
Star #2
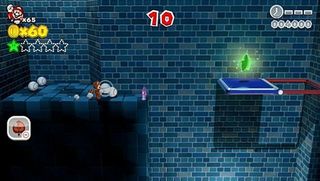
Immediately jump once in the second room to flip the panel to red. Now grab a baseball and jump. As the panel flips to blue, chuck the ball into the star.
Star #3
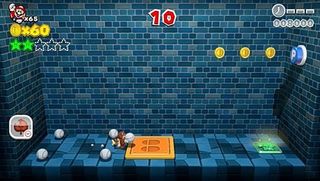
In room three, grab a baseball and use the jump pad. Move forward while doing this to practically dunk the basketball into the switch on the wall, summoning a star.
Star #4
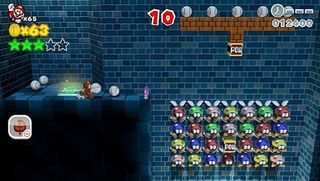
The fourth room is full of Para-Biddybudds. Use baseballs to hit the POW Blocks and clear them out. This spawns a star.
Star #5
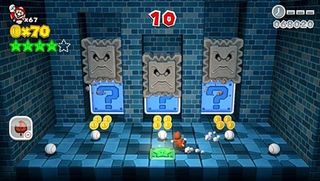
In the final room, there are three question mark tiles guarded by Thwomps. Quickly chuck baseballs at the three tiles when the Thwomps rise to summon a final star.
World 6-Castle: Bowser's Bob-omb Brigade
Star #1
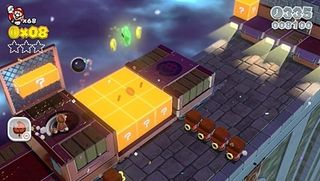
When this series of eight question mark bricks rolls by, toss a Bob-omb. This activates a series of platforms that will help you reach the star above.
Star #2
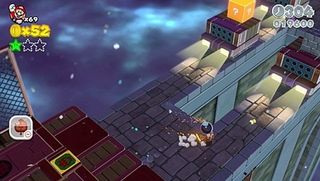
When the path splits, grab a Bob-omb and run at the bottom right vehicle. Use the Bob-omb to destroy the big brick here, revealing a star.
Star #3
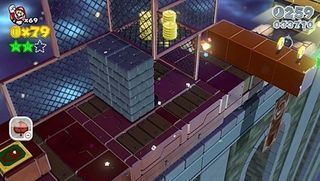
When you reach the caravan with stacked coins, there will be a question mark brick on the left side of the vehicle. Smack it a few times (a Tanooki Suit tail works best) to extend additional bricks to the right. Use these to reach the star suspended in the air.
Stamp: Wind-Up Soldier
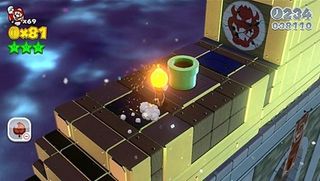
When the final vehicle rolls up, save a Bob-omb and throw it all the cracked Bowser wall behind the warp pipe. There's a stamp back here.
World 6-C: Motley Bossblob's Big Battle
Star #1
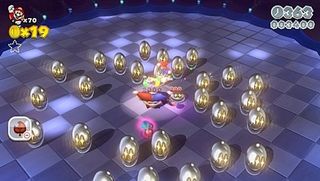
Defeat Motley Bossblob to receive this star.
World 7-1: Fort Fire Bros.
Star #1
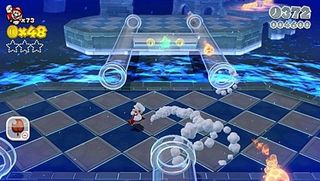
The first star is pretty simple to grab; you'll spot inside a clear pipe. Avoid the Fire Bros. attacks while in the pipeline to claim your prize.
Stamp: Fire Flower Mario
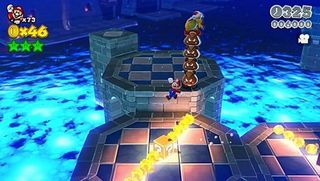
When you reach the two platforms with rotating flames, move to the second question mark block. If you ground pound this, it will become a tower of bricks, carrying you up to a previously unseen stamp.
Star #2
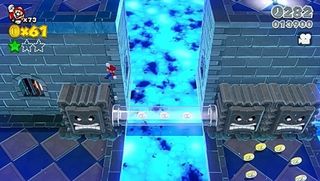
Past the checkpoint are some Thwomps. Jump onto the clear pipe rather than hopping inside, and you'll be able to leap atop the Thwomp. Ride it to the top of the wall, where you'll find a warp pipe. Inside the hidden area, you'll have to guide a ball to the goal using flip panels. Be smart with your jumps, and you won't have much trouble.
Star #3
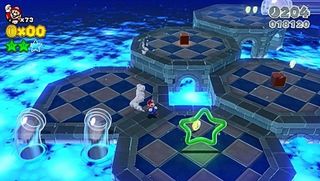
Just past the Thwomps is a hollow green star. Hit it to spawn eight green coins. Grab them before time runs out, and you'll earn a star. To make this easier, hit the POW Blocks to get rid of the Wind-Up Soldiers.
World 7-2: Switchblack Ruins
Star #1
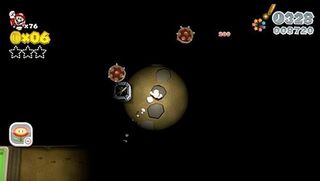
After the second tile room, you'll reach a trio of Spiny and four unlit torches. Use a Fire Flower to light them and spawn a star.
Star #2
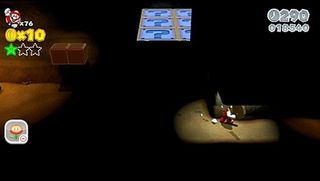
Immediately after the checkpoint, look for this hidden tunnel. It leads to another star.
Stamp: Spiny
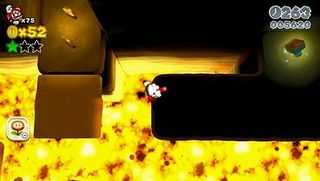
When you ride the platform over some lava, leap to the right. On this ledge is a stamp.
Star #3
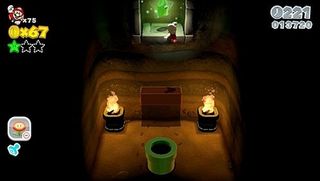
Before exiting the level through the warp pipe, hit the invisible block in the back of the room. From there, spin jump into the alcove above to find one more star,
World 7-3: Red-Hot Run
Star #1
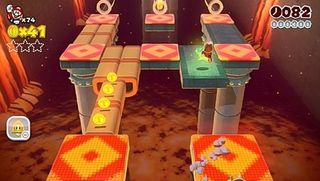
The path splits a few times here. At the second fork, head right. Leap over the gap to grab the star.
Star #2
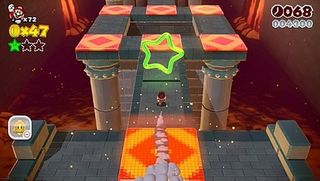
After blasting from the clear pipe, you'll land near a hollow green star. Hit it to spawn eight green coins, then quickly collect them to spawn a star.
Stamp: Tanooki Leaf
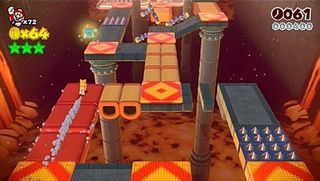
As you reach the final stretch of the level, bear left. When you reach the falling platforms, leap across the gap to nab the floating stamp.
Star #3
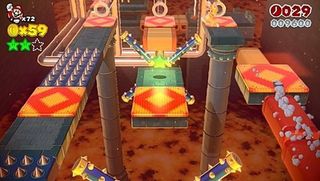
Right after the stamp, leap to the center path. The star is between two rotating spike wheels.
World 7-Tent
Stamp: Pointing Sprixie
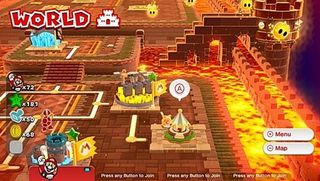
This opens after completing World 7-3. Enter from the map to claim the stamp inside.
World 7-C: Fire Bros. Hideout #4
Star #1
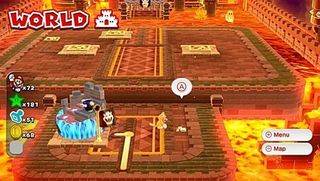
Before entering World 7-4, examine the rubble nearby to spawn a warp pipe. Take it to reach World 7-C. Enter, then take out the team of Fire Bros. before time runs out to spawn a star.
World 7-4: Boiling Blue Bully Belt
Star #1
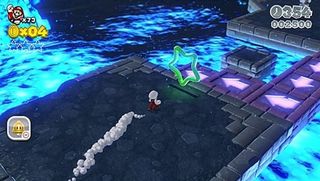
Early in the level, you'll come across a hollow green star; hit it to spawn eight green coins. Run clockwise along the blocks that rise to nab them all, spawning a star.
Stamp: Brick
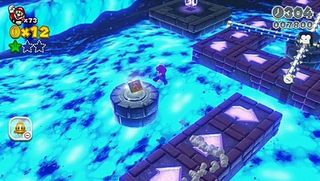
When you cross the large lava pit on rising platforms, you'll spot this to the side. Leap to it to claimyour prize.
Star #2
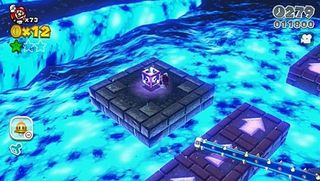
Along the same path is a mystery box. Leap to it to reach a hidden area. Here, you'll have 10 seconds to defeat a Bully, spawning a star.
Star #3
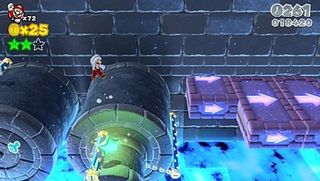
As you cross the rollers at the level's climax, stop at the fourth one. There's a smaller roller to its front where a star sits.
World 7-A: Brolder Blockade Is Back
Star #1
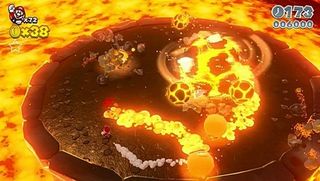
This is just a repeat of the Boss Brolder fight. Fight him just life before, but avoid his new rolling magma balls. Win the fight to earn a star.
World 7-B: Prince Bully Blockade Is Back
Star #1
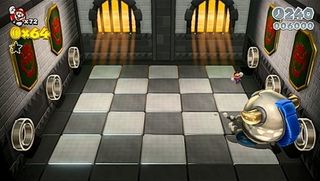
Like 7-A, this is a repeat battle. Price Bully has a new trio of blue fireballs that chase you, but that's it. Beat him the same way as before to earn a star.
World 7-5: Trick Trap Tower
Star #1
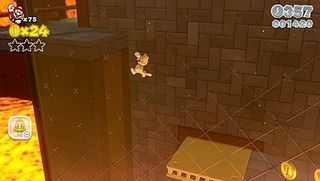
You'll find the first star very early in the level, but you'll need a Cat Suit. After riding the second set of yellow platforms, leap to the left ledge. Scramble up here to find the star.
Stamp: Magickoopa
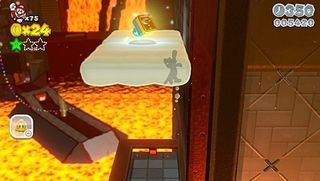
This is literally directly above the first star. Scramble up the wall to grab it.
Star #2
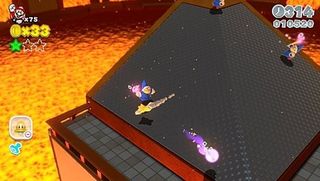
When you reach the top of the first tower, you'll encounter a trio of Magickoopas. Take them out to earn a star.
Star #3
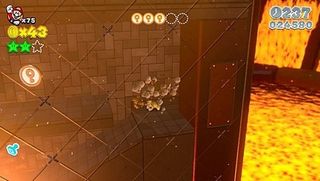
As you ascend the second tower, look for these bricks along the way. Smash through them and move through the tiny tunnel to find one last star.
World 7-6: Rammerhead Reef
Star #1
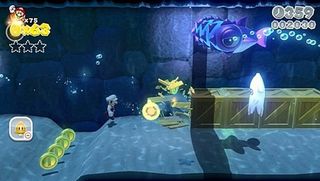
Early in the level, you'll spot a line of crates. Bust through them to find a star.
Star #2
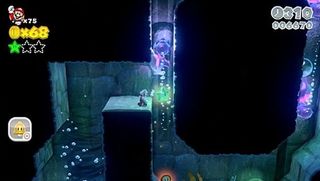
Just after the warp pipe, lots of Rammerheads will cycle through a narrow canal. The star is inside one the bubbles on a Rammerhead's tail.
Star #3
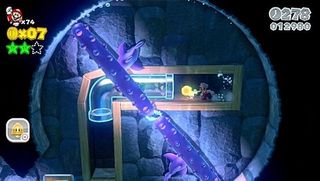
This one can be tough to get, as you have to keep a Fire Flower going throughout most of the course. When you reach the rotating pairs of Rammerheads, you'll see a clear pipe with spike balls and the last star. Throw a fireball through the pipe to destroy the spikes, then slide through to grab the star.
Stamp: Blooper
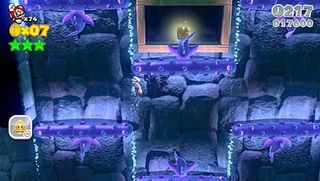
You'll find this at the final stretch of the level, where Rammerheads swim in columns. It's at the top of the second column. Navigate the moving rows of enemies to get there.
World 7-7: Simmering Lava Lake
Star #1
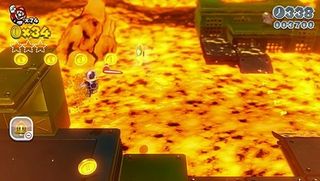
You'll see this early on in the level. Have the Boomerang Suit ready, then simply throw a boomerang at the star to nab it.
Star #2
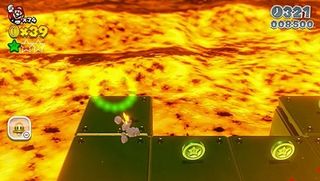
A little later on, you'll spot a hollow green star. Hit it to spawn eight green coins. If you can collect them all before time runs out, you'll receive a star.
Stamp: Boomerang Flower
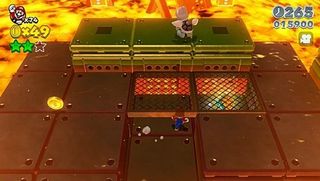
This is under a grate just past the checkpoint. Rush down there and grab it while the lava level is going down, then quickly run back up to safe ground.
Star #3
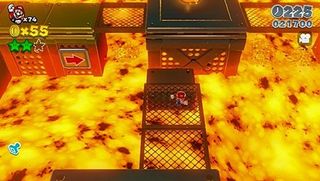
Stop at the large grey platform just past the stamp. When the lava goes down, there will be a path to the south you can take. Rush along it to safe ground where the star rests.
World 7-Special: Captain Toad Gets Thwomped
Star #1
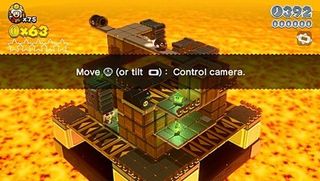
This level is all about timing. The first star is an alcove behind the first Thwomp. Slip back there when it's airborne to grab it.
Star #2
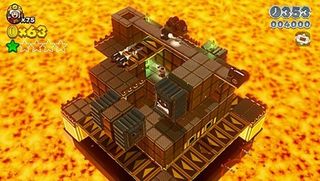
When you ride a Thwomp to the next floor, look for this in the corner.
Star #3
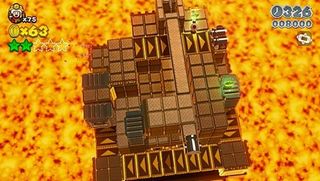
On the next level up, slide along the conveyor belt after the Bullet Bills have passed, and grab this in the corner.
Star #4
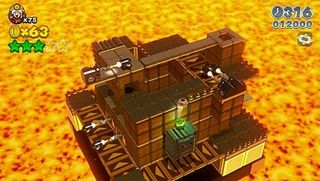
This is atop the first Thwomp you encountered. Step onto his head while he's rising from below to grab it.
Star #5
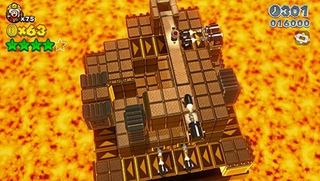
When you reach the top of the level, quickly run along the plank between Bullet Bills. Drop into the hole to reach the balcony where the last star lies.
Level 7-Castle: Bowser's Lava Lake Keep
Star #1
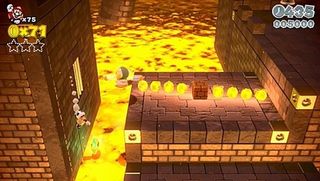
Grabbing the first star is a pain; it lies just above the lave next to the spinning fire. You have to jump the gap, slide down the wall to grab it, then wall jump back before touching the deadly lava. Good luck!
Star #2
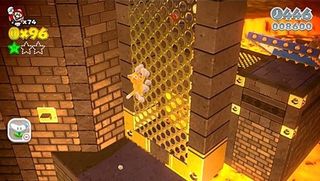
Just beyond is a cannon firing soccer ball bombs. Kick one into the big bricks to reveal s switch - don't press it yet! First, use a Cat Suit to scramble up the walkway before you lower it; there's a star up there.
Stamp: Boomerang Mario
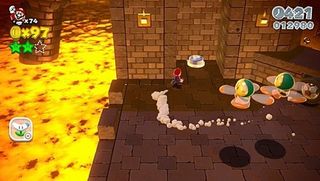
Now move to the alcove with the switch. Wall jump upwards to find a high altitude stamp.
Star #3
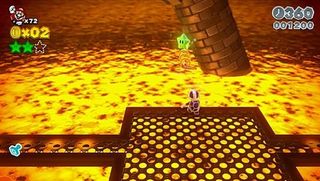
After the checkpoint, you'll cross a narrow walkway. Halfway over it, you'll spot the last star floating over the lava. Use a toss with the Boomerang Suit to grab it.
World 8-1: Spiky Spike Bridge
Star #1
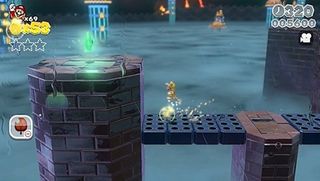
Take a left from the Fire Bros. and carefully cross the spike bridges. Use a Cat Suit to scramble up the pillar at the end of the path to find a star on top.
Stamp: Parabones
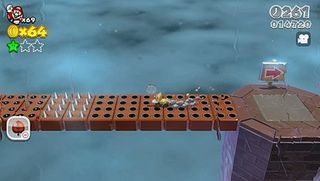
Immediately after the checkpoint, you'll enter a warp box. On the other side, head left instead of the right way the sign is point. The stamp is at the end of this detour.
Star #2
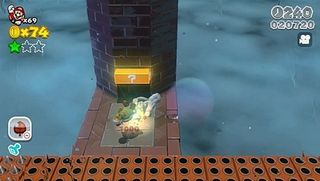
Now head the correct way along the spike bridge. When you reach the Fire Bros., take him out and use a Cat Suit to scramble up the pillar. Enter the mystery box here to find a secret area. In here, you'll have ten seconds to scramble over some walls, hit the switch, then grab the star it spawns.
Star #3
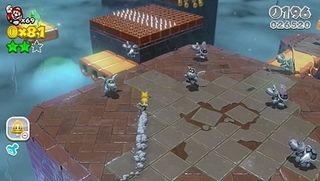
When you reach the platform covered in Parabones, turn left. You'll have to traverse those spiked platforms to reach the end of the level anyway, but there's a star to be had. You'll have to grab it from the falling platform, then jump back to the spiked one before falling. You can do it!
World 8-2: Plessie's Dune Downhill
Star #1
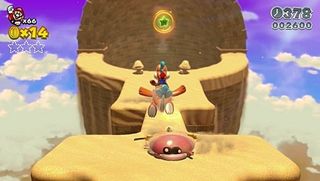
The first star is hovering above the first part of the level. Bounce off of your enemies' heads to reach it.
Star #2
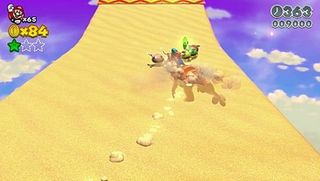
After the big drop, continue through the snaking path. When you see a group of Para-Biddybuds, leap over them to snatch the star.
Stamp: Question Mark Block
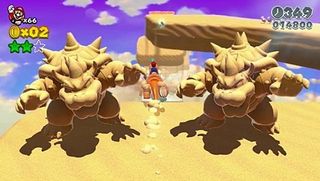
Just beyond the second star is a pair of Bowser sand sculptures. Pass right between them and keep moving straight - clouds will appear, guiding you to the stamp.
Star #3
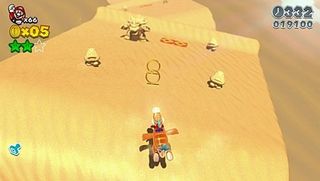
In the next section, you'll pass over some broken pieces of land. When you spot another Bowser sculpture, smash into it. This generates a star on the next sand mound.
World 8-3: Cookie Cogworks
Star #1
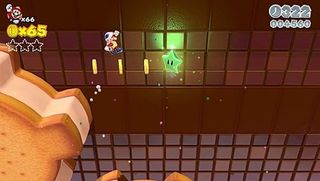
After passing the Giant Piranha Plant, hop onto the next cog. Turn left and hop onto the cog behind you, then ride it up to spot the first star. It is possible to reach this with a jump, but a throw from the Boomerang Suit makes the job much easier.
Stamp: Boomerang Toad
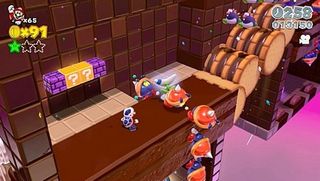
Just after the clear pipe is a line of Spiny Ant Troopers. Grab the Boomerang Flower in their lineup, then take them out. Drop into the hole they were patrolling to grab the stamp.
Star #2
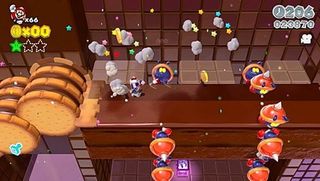
Right after, you'll encounter two patrols of Spiny Ant Troopers. Use your Boomerang Suit to clear them out again, then drop through the holes they were guarding. Hop into the mystery box down here to enter a challenging secret room. Inside, you'll be atop a spinning wheel. Keep moving forward to stay aground, dodging the blocks and Piranha Plants that roll by. Keep an eye out for the star, then grab it as it flies by.
Star #3
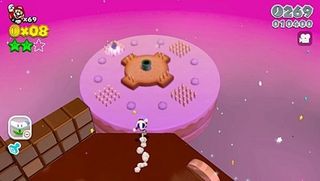
There's actually a platform behind the flagpole; use a long jump to reach it. You'll find lots of coins, bonus time, and rabbit there. Catch the rabbit to earn a star.
World 8-Train: The Bowser Express
Star #1
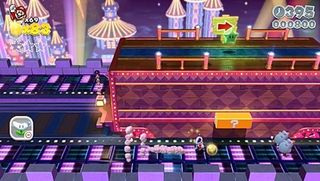
This is atop the very first train car you see. Hit the wide question mark block, then jump in the middle to hit an invisible block. Use this to reach the star.
Star #2
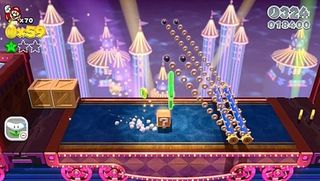
Shortly after, you'll spot a hollow green star above some pendulous spikes. Hit it to spawn eight green coins; grab them before they disappear to earn a star.
Stamp: Conkdor
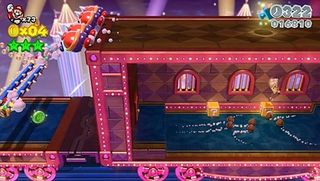
When you reach the tall train car, you'll see the stamp on the roof. Don't worry about getting up there right now. Instead, head through the door into the train car. Ground pound the right question mark block to generate bricks that carry you right up to the stamp.
Star #3
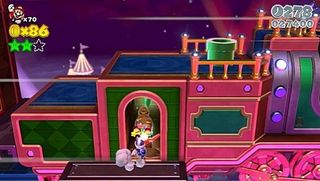
When you reach the front of the train, drop down to the lower ledge. Take out the Fire Bro. to nab the star behind him.
World 8-4: Footlight Lane
Star #1
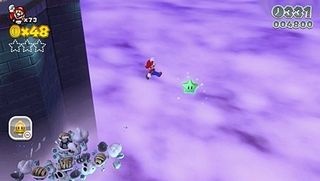
This level is quite tricky thanks to the semi-visible pathway mechanic. When you run past the Parabones, you'll see this floating in the air. Leap to it; a platform will appear underneath you.
Star #2
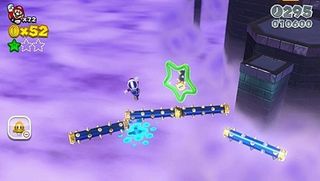
As you cross the section with rolling spikes, you'll approach a hollow green star. Hit it to spawn eight green coins on the spikes' path. Grab them before time runs out to earn a star.
Stamp: Bullet Bill
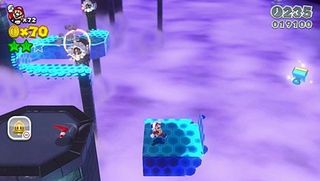
You'll come to a platform targeted by Cat Suit Bullet Bills. Leap to the right to land on an invisible platform. Up the invisible steps here is the stamp.
Star #3
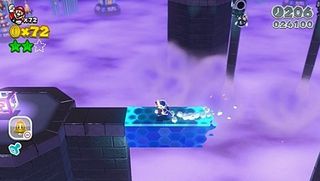
While navigating the same walkway with the Cat Suit Bullet Bills, look for a narrow path to the left. This leads to a mystery box; hop inside. In here, you'll have ten seconds to reach the star. The walkway is pretty broad, so quickly leap atop the Thwomp to reach your prize.
World 8-Tent
Stamp: Worried Sprixie
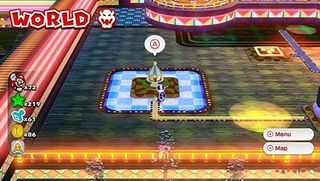
This unlocks after completing World 8-4. Enter from the map to claim the stamp inside.
World 8-5: Deepwater Dungeon
Stamp: Madpole
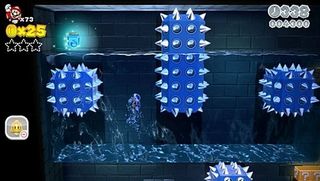
This is found very close to the start of the level. When you ascend the narrow canal, ride the water up and over the spikes to grab it.
Star #1
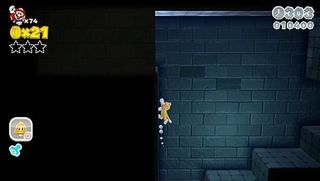
When you ascend the very next canal, use a Cat Suit to scramble up the left wall. There's a star in a hidden alcove up here.
Star #2
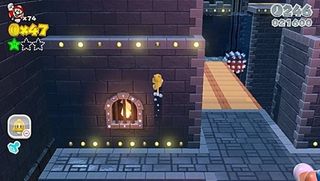
After riding Plessie, use your Cat Suit to scramble up the walls you stop near. There's a star on a high ledge up here.
Star #3
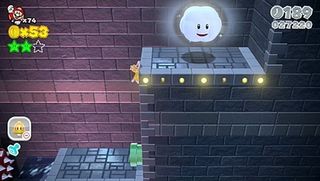
Instead of taking the green warp pipe to the end of the level, use your Cat Suit to scramble up the wall. The cloud up here will shoot you to a secret area. Dash through the course to grab the star at the end.
