This is a fun mission that introduces the Diamondback tank, a mobile strike unit that'll come in very handy. The goal is to destroy at least 5 of the 8 trains that are traveling across the map.
1. Retrieve the Diamondbacks
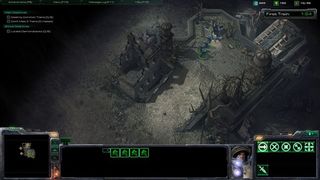
Immediately as the mission starts you'll be informed there are some abandoned Diamondback tanks in the area, 3 to be exact. After you've got your SCVs cooking, take your four marines and collect all the tanks. There are no enemies guarding them so there's no risk.
2. Build an armory, engineering bay and marine squad
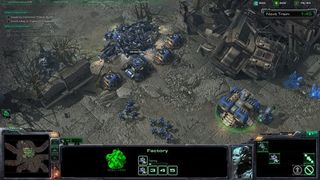
Once you're funds begin coming in, build an Armory and upgrade vehicle weapons and plating. Cover your base's two entrances with a bunker and 3-4 supply depots each. As with previous missions, building a reactor on your barracks is preferred so you can pump out some marines ASAP, but feel free to use Mauraders if you prefer.
3. Destroy the first trains
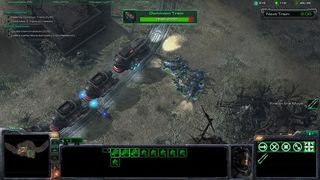
The first train will come chugging by at a slow speed and with no escort, destroy it with your new Diamondbacks and the Marines you were given. Once this train is down, start building as many diamondbacks as you can afford. All told, aim for around 12 and you'll have a very easy time with this mission.
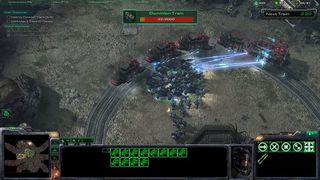
Your base is conveniently located near a major curving choke point which is the ideal place to attack the trains that will show up. If you have an assault squad of marines waiting there they can help do damage to the trains as they pass or take care of the escort units so that the Diamondbacks can focus on taking out the train. The escorts initially consist of marines and some Firebats but get upgraded to the dune buggies. Make sure to clear at least some of the escort with your marine squad to mitigate damage to the Diamondbacks.
4. (Achievement) Collect the rest of the Diamondbacks and Zerg bones
Between trains you can find the reaming Diamondbacks listed here:
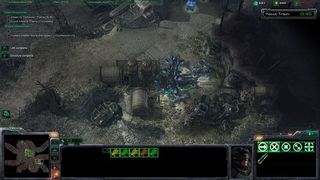
Diamondback #4
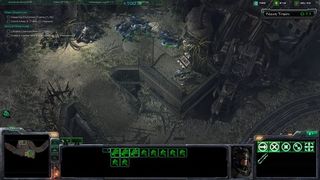
Diamondback #5

Diamondback #6
You can also collect the Zerg research items, 2 of which are automatically marked on your map; the third is directly south of your base near an abandoned Diamondback.
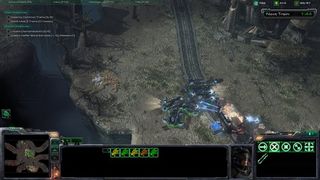
Zerg Bones #3
5. Take out the fast trains
Eventually the train's speed will increase. This may require a little chase with the Diamondbacks, but you should be doing at least 80% damage to the train before it even passes your base. The enemy will then build bunkers around the tracks to protect the trains, but if you are eliminating the trains at the first turn/chokepoint, you'll only have to deal with two bunkers.Your large squad of Diamondbacks orMarineswill make short work of these.
6. (Achievement) Take out the Death Squad
You'll get an announcement and an icon onyour map once the enemy dispatches their death squad, a large band of dangerous Mauraders. While the game advises you to avoid them, they almost always intersect with the 7th train directly north of your base, which can be a huge hassle. Trying to handle them and the train simultaneously will do big damage to your Diamondbacks while giving the train a chance to escape. Either take them out before the 7th train arrives or hang back and just let the 7th train pass by if you don't mindletting one get away. Note that killing the Death Squad will net you the "Bully the Bullies" achievement.
7. Destroy the final trains
Around the 6th and 7th train your base is likely to be attacked by a small squad with some siege tanks. If you don’t spot them and they go into siege mode they can serious damage your base. Make sure to have a few mobile units lurking around the edge of your base just in case so you can spot the tanks before they set up.
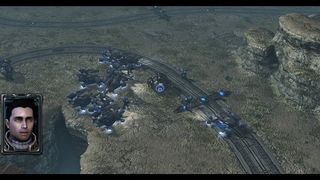
The final train features a heavy escort, including Goliaths and a Raven so make sure your Marine squad is prepared to help out the Diamondbacks and soak up some fire. You'll collect your mystery prize from the last train and end th e mission.
