Silent Hill Downpour Mystery locations guide
Uncover more details on Silent Hill's world and get an Achievement/Trophy
St. Maria’s Monastery
32: Poem Fragment 1:
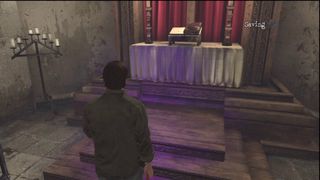
When you enter the chapel, cut the rope on the chandelier and then pull and push it into the gate. When it breaks open, grab the book off the stand.
33: Letter:
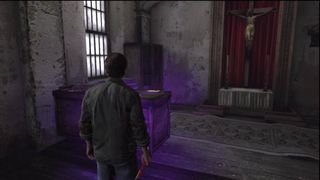
Once you are exploring the monastery’s main area, go to the far east side and enter the Class room to find the letter on the desk.
34: Play Script:
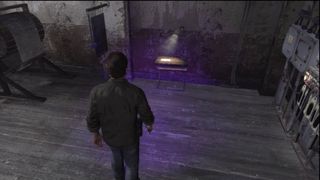
When you enter the theater in the monastery, lower the ladder at the rear of the room and climb up. Go to the far side of the room to find the page on the small table there.
35: Poem Fragment 2:
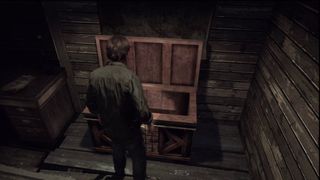
Once you have the theater show running, you will need to go down and enter the cabin that was once on the stage. When you do, solve the picture puzzle on the chest at the rear of the room and when you open it, you will receive the fragment.
36: Father’s Day Card:
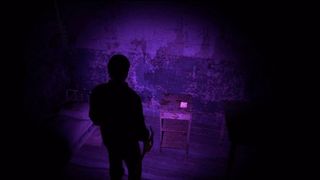
When you go up to the second story, you will come to a gate with a little girl behind it. Go through and go left to the hallway there. Enter the door on the right to enter a darkroom full of dolls. In the far right corner, the card will be on a table.
37: Psychiatric Evaluation:
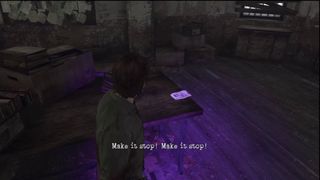
On the second floor of the monastery, this can be found in the room between the class room and the playroom.
38: Psychiatric Evaluation 2:
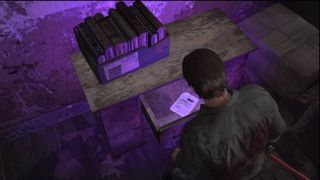
Enter the room to the north of the playroom and you can find this in the drawer of the cabinet to the left.
39: Surgery Note:
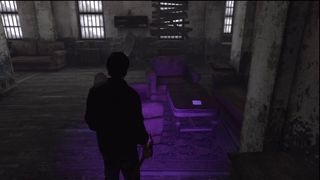
As soon as you enter the hospice, this will be immediately on the coffee table to the right.
40: Key Note:
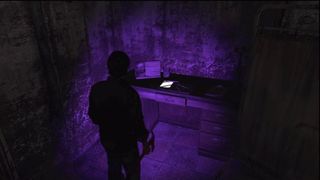
As soon as you enter the room north of the surgery room with the three corpses, look to the left. On the table in the corner there will be a note about a key.
41: Poem Fragment 3:
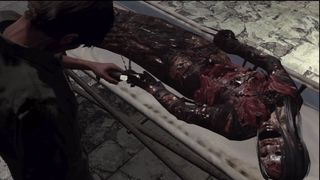
When you in the room to the north of the Surgery room, you will need to roll each of the Screamers into the x-ray machine to see who has the key in tem. When you find which one it is, reach inside them to get the key and this piece of paper.
42: Lobotomy Note:
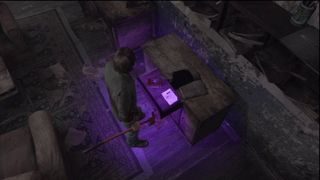
When you exit the x-ray room, go to the north and there will be an office with a dresser on the left side. Open the drawer to find the note and a health pack.
Overlook Prison
43: Shower Note:
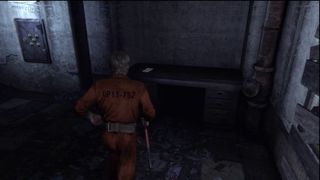
When you step out of your cell, go to the right and a piece of paper will fly out from the stairwell to the walkway. Pick it up and it will be a note to meet in the showers.
44: Evaluation:
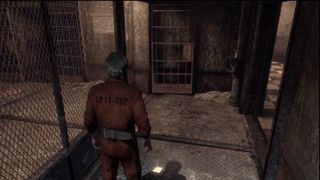
Enter the booth in the center of the prison by crossing the beam and then climb down the ladder. Go down the set of stairs there and once at the bottom, you can find this on the desk against the wall to the right of the combination locker.
45: Letter from Ricky:
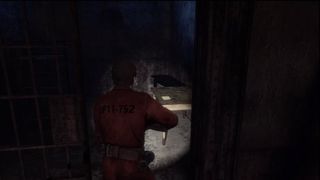
After you get the keycard from the dead guard, go through the large door and head for the east side. You can find this note in the second cell on level A3.
46: Letter From Carol:
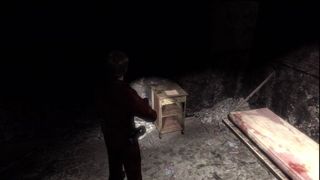
When you make your way down the stairs to block A2, you will go down a corridor where a ball bounces out of a cell. Enter that cell and follow it to the far side. Once you reach it, the letter will be on the table to the left.
47: Letter from Rick 2:
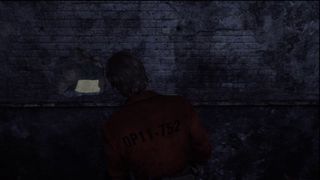
You can find this letter in the first cell on the east side of block A2. When you enter the cell, move the shelving unit at the rear of the cell and then pull off the poster to find it.
48: Boston Police Memo:
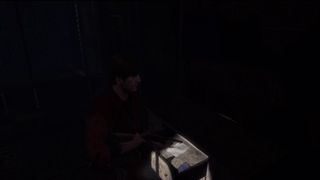
When you are on block A3 after encountering the juggernauts, cross the electrified walkway and enter the security room which is located on the far east side. When in the room, look for the cabinet around the corner and open the drawer.
49: Article:
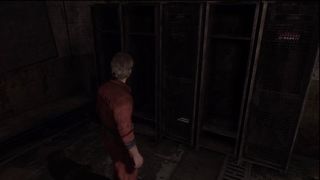
When you hit the red button in the security room, it will open the Checkout zone. Go through there and then squeeze through the sliding door. Once on the other side, open the locker to find the article in there.
50: Suicide Note:
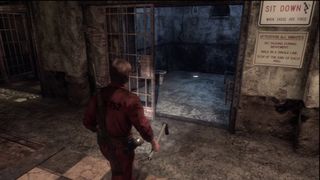
When you pass through the checkout zone and into the next area, you’ll run into a Juggernaut and his “dogs”. Once you deal with them, enter the blue colored cell on the left side to find this note.
51: Work Release Form:
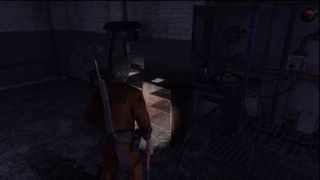
When you enter the workshop, go to the second room with equipment and against the wall will be a drill press. Beside it, on a cabinet will be the form.
52: Letter from Rick 3:
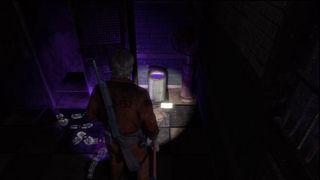
When you pass through the 2 workshops, you’ll come to a small room at end with a forensics flashlight in it. Grab the letter from the ground to the right of the locker.
53: Headline:
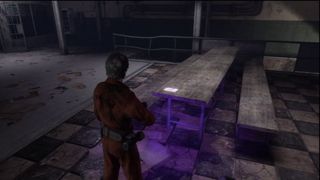
After the scene from the past, go through the gate with the security card and go up the stairs to the day room. As soon as you enter, grab the clipping off the table.
54: Notification:
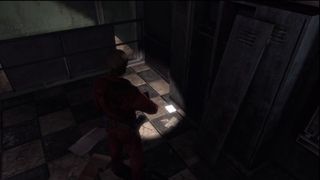
Directly to the right of the table where the previous mystery was, there will be a locker with this memo on the ground.
Sign up to the GamesRadar+ Newsletter
Weekly digests, tales from the communities you love, and more
Jeff McAllister is a freelance journalist who has contributed to GamesRadar+ over the years. You'll typically find his byline associated with deep-dive guides that are designed to help you scoop up collectibles and find hidden treasures in some of the biggest action and RPG games out there. Be sure to give Jeff a thanks in the comments while you're completing all of those tricky Achievements and Trophies.
