Geothermal Valley - House of the Afflicted
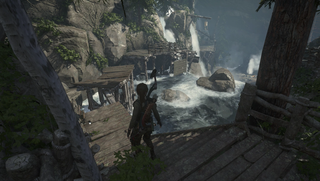
To get here, you'll first need to cross the river via the broken walkway at the northern end of the valley. When you reach a rusted iron gate, there will be a small opening for you to crawl through. Take out the wolves on the other side, then pry open the other gate here. Follow the trail inside to reach a small courtyard. Grab the Relic as you head up the steps just before reaching a camp (there's a Document on the ground by the fire too).
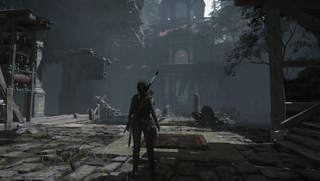
Step through the doorway to enter the tomb proper. The goal here is to reach the upper chamber, but first, run straight ahead to find another Relic in front of a gate. Now drop into the pit on your left and connect a rope arrow from the platform to the hanging weight. Next, look for a cart on the same side of the area and pull it as far as you can.
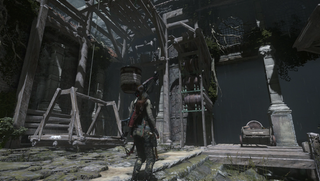
Leave the cart and look up at the nearest corner. See the lever? Shoot it with a rope arrow to dump water into a bucket, temporarily weighing it down and raising the nearby platform. Now quickly attach a rope arrow from that bucket to the cart you just pushed to keep it in place.
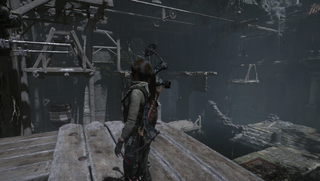
Head up the stairs in the opposite corner and grapple across to the raise platform. Continue across the platforms - including the one you attached to a weight earlier - to reach the upper chamber. Claim your prize, and don't forget to grab the Document by the entryway.
Geothermal Valley - The Pit of Judgement
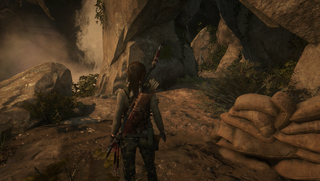
You can't access this tomb without the Wire Spool. Once you have it, head to the Ruins Encampment and look for a path by the Remnant tents that leads behind the nearby waterfall. Follow this path up some walkways to a pit you can grapple jump across. Press forward to find a camp, then continue on. After a missed jump (you'll lose your grip automatically), you'll find yourself in the tomb.
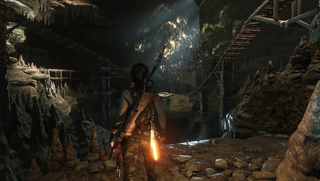
The goal here is to send mine carts crashing through the wooden gate guarding the treasure. Start by swimming over to the tracks and walking up the one to your left. You'll find a Relic and a Document by the cart of up here. Use the crank to rotate the track until you can push the cart down the slope. That's one down.
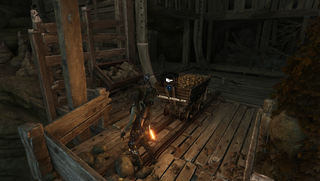
Fire a rope arrow across the cave to create a zipline down to the second cart. Grab the Relic around the corner, then climb to the upper portion of the structure. The crank here actually lowers the track down to the cart below. Lower yourself, then use the crank below to rotate the track so it aligns with the cart. Push it onto the track, but don't use the elevator crank just yet. Instead, use the other crank to rotate the cart again, making it face the first crank. Now crank yourself back to the top level - this will also spin the cart, but it'll land right where you need it to. Push that sucker down the hill to open the way forward. Don't forget to grab one last Document from the treasure room!
Geothermal Valley - Baths of Kitezh
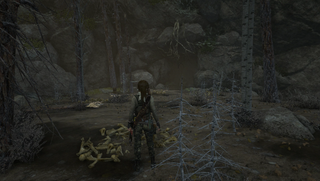
You'll need the Rebreather to access this one. Once you have it, head to the northern end of the area, by the waterfall, and cross the river. Over here is a cave guarded by a bear. Take him out and bust through the loose brick wall inside to discover a flooded tunnel. Swim through, and continue forward to reach a room with a narrow branch and some continually-spouting geysers. Time your steps to cross over when the water isn't spraying to reach the other side.
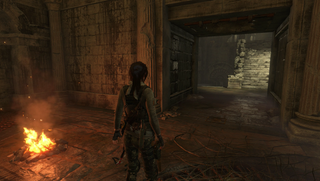
Grab the Relic next to the camp shortly after, and watch out for the swinging trap in the next doorway. Make an immediate right to grab another Relic from the foot of a statue, then head upstairs and make a second right to find a Document in a little alcove. Follow the hallway here to squeeze between some branches and enter the real tomb.
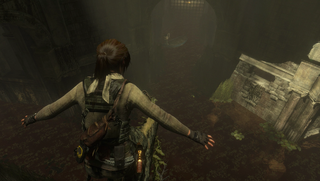
Dive right in and swim straight ahead to find a boat. Climb on and fire a rope arrow from the ship's bow to the crossbeam under where you dove in. Use the crank to pull the boat to the middle of the chamber, then turn right and attach a rope arrow to the crossbeam there. Leap into the opening to enter a new room.
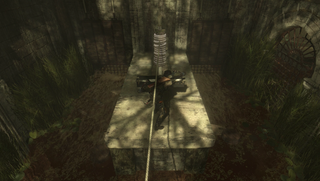
Swim to the opposite side and attach a rope arrow from the device here to the crank in the water. Pull back the device and hold it in place until the water drains from the room. When it's clear, release the device and quickly run to the crank to tighten your line, locking the floodgates in place. Now you can swim out of here, across the middle chamber, and into a new room.
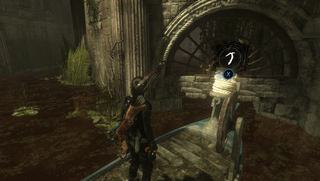
This room has another drain you need to activate, but no crank to help. The solution? Swim back to the boat, attach a rope arrow to the crossbeam you haven't used yet, and drag the boat to the room's opening, as seen above. Now swim to the drainage device and pull it back until the water fully recedes. Turn around and fire a rope arrow from the device to your boat, then hurry back and use the boat crank to lock it in place. Now that the water's gone, you can explode the Greek fire vessels blocking the way forward and claim your treasure. Don't miss the final Document on your way out - it's by the statue near the rope arrow door.
Geothermal Valley - Catacomb of Sacred Waters
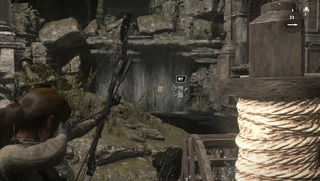
Cut yourself loose, then leap to the island as you drift by. There are some coins and another Document to grab under the gazebo here. See the second boat under the waterfall nearby? Fire a rope arrow from the other water wheel on the island to bring it towards you. Hop aboard, then quickly fire a second line to the post on the opposite shore. Once it connects, crank the wheel on your boat to reel yourself in - you'll crash into the rocks otherwise. The stairs here give you direct access to the tomb's treasure, and you can grab a second Relic from the same room.
The Lost City is on the next page
Jump to Section:
- Glacial Cavern - Ice Ship
- Soviet Installation - Ancient Cistern
- Soviet Installation - Voice of God
- Soviet Installation - The Red Mine
- Geothermal Valley - House of the Afflicted
- Geothermal Valley - The Pit of Judgement
- Geothermal Valley - Baths of Kitezh
- Geothermal Valley - Catacomb of Sacred Waters
- The Lost City - Chamber of Exorcism
