Revolution 1.18 "Clue ” TV REVIEW

Episode: 1.18
Writer: Paul Grellong, Oanh Ly
Director: Helen Shaver
THE ONE WHERE Everyone makes a dash for the Tower, but they won't all make it alive.
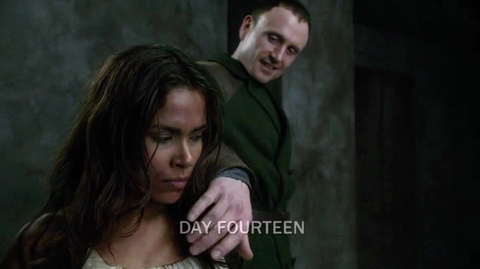
VERDICT Another week-on-week improvement, this is a really cracking episode that has plenty of pace and scope. After being captured, Nora is tortured for 21 days and reveals the location of the Tower to Bass. This puts a rocket up Bass who nearly kills Randall Flynn for not telling him about it earlier.
“I don't like you,” Bass growls. Randall Flynn bargains for his life offering to grant Bass access to the Tower and all the secrets within. It's bad news for everyone as Bass fires up his fleet of choppers and heads for the Tower in Colorado.
John Sandborn is ordered to kill Nora but instead escapes Monroe's base with her alive and heads to the rebel base. Nora is patched up while Sandborn is subjected to a very mild rebel interrogation during which he tells the rebels where Bass has gone, and that he's done with being a bad guy. It's all a bit hard to believe.

We don't know the character of John Sandborn; last time we saw him he was being blackmailed by Randall Flynn. Is he a militia spy or just an unlucky guy in the wrong place at the wrong time? Everything moves along quickly and before you can question his motives or how he stole a power amplifier, Miles is already strapping to a chopper and heading off in pursuit. Giving the rebels access to an amplifier helps give the episode its pace and scope, but it's short lived.
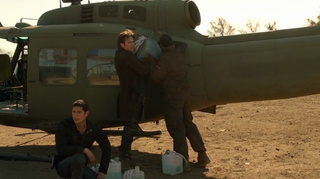
The helicopter lands to refuel, but it's not been on the ground for five minutes before Charlie discovers the pilot has been killed and the engine has been sabotaged.

Miles stumbles on another victim passenger, a rugged Georgian general, and realises that it’s not the Plains Nation natives scaring them off, but an inside job. One of the passengers on board is the killer and it could be someone close. But whodunnit, and what are their motives? A role call of suspects please...
• Miles and Charlie Matheson As Miles and Charlie discovered the bodies, we'll rule them out for now.
• Tom Neville Tom's done some very bad things, but with his recent history with the Monroe militia it's unlikely he's any kind of double agent.
• Nora Clayton She's looking surprisingly lively for someone who's been tortured, but perhaps the scars are all mental. Nora gets her own wobbly POV camera effect when looking at the rest of the gang suggesting she's not carrying a full deck of cards, or maybe she’s even brainwashed. Nora even goes missing and is found unconscious next to a bloodied knife, which could be the murder weapon. Sandborn explains to Miles she's had so many drugs pumped into her she could be killing without even knowing it.
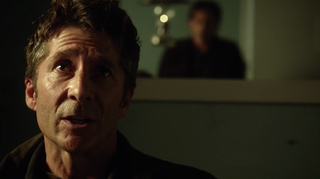
• John Sandborn We've only met him briefly when he attacked Rachel and Aaron with a sonic gun, and he's pretty creepy to be honest. He's also the guy who helped torture Nora, but then miraculously had a change of heart, rescuing her and delivering her back to the rebels. But why? That he did it by stealing a power amplifier and driving a car to Atlanta through dense crowds of evacuating civilians without being set upon is even more miraculous.
• Jim Hudson Jim's been a good friend to Miles, even though Miles came and turned his life upside down. We don't know that much about Jim, apart from the fact the he's ex-militia and helped train up new rebel fighters.
• Jason Neville Jason likes to kiss Charlie and upset his dad, that's pretty much it, right? Before heading off in the chopper Charlie witnesses him having a quiet meeting with a shifty-looking guy. Now in the hanger with all suspects unarmed, Miles spots a hidden flick knife about his person and Jason has suddenly moved from casual male eye candy to public enemy number one. The shifty looking fella was Monroe militia, who tried to make a deal with Jason to kill Miles in exchange for Charlie's safety once the war was over. Jason blurts it all out, but he's not doing himself any favours, so runs off with Miles in pursuit.

Miles tracks Jason to a hanger, but is interrupted by John carrying a knife. He's not there to kill just to point out that the murder weapon carries a stamp “AMD” – Annapolis, Maryland – revealing It was Jim what done it. Really? Jim appears from nowhere all guns blazing, killing John and attacking Miles. His family are being held by hostage by Monroe. The militia do like their blackmail; it's the third attempt in the last few weeks and is running the risk of becoming a blaggers short cut to creating tension between characters; certainly it feel a bit out of sorts here. Jim is killed by Jason, saving Miles life.
It's commendable that despite the shortcomings about the killer’s reveal, this remains a great episode and has a lovely cliffhanger with a Rachel and a grenade. Revolution is heading into its first season endgame with plenty of momentum.

UNFORTUNATE VICTIM OF THE WEEK Turns out John Sandborn was trying to be a good guy after all. A bit creepy and doer of bad things, but ultimately more of a tragic character, and a good performance by Leland Orser; shame we didn't see more of him.
BEST LINES:
Flynn: “I can see you're angry and I should have told you about it before, but rest assured I have it under control.”
Bass: “I don't know what kind of game you're playing Mr Flynn, but it's over.”
Flynn: “I've been nothing but loyal sir.”
Bass: “I don't like you! I don't trust you. Kill him.”
John Cooper @JohnCooper_uk
UK airing information: New episodes of Revolution air on Sky1 on Fridays at 9m
Read our other Revolution reviews

