Acts 1 and 2 | Acts 3 and 4 |Act 5|Act 6
ACT 3
Hot on the heels of Irving our intrepid pair hijack a hovercraft and head towards a suspicious oil refinery. Irving’s trapped, but the story doesn’t end there.
LAKE PLACID
And now for something slightly different. Resident Evil’s first vehicle section.
You need four slate pieces to make it to the native village, which are dotted about the lake’s perimeter.
e
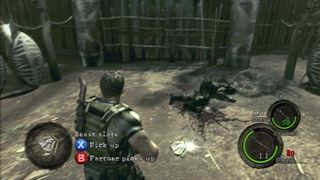
The Beast Slate is lying by the dead agent at the very start of the Act. Enjoy the peace while it lasts; the majini will act soon enough.
Hop back in the boat and take a left. The Warrior Slate in the hut is straight ahead, which is when the natives will make their move.
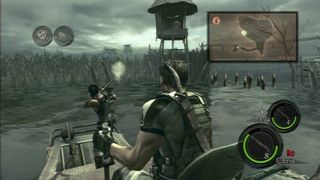
When you return to the lake you’ll be trapped until everybody’s dead. Give Sheva a rifle to pick the snipers off, and dodge their projectiles by using the boat’s boost.
The Raptor Slate can be found towards the far right of the lake. When wading through the water just sprint past the crocodiles – don’t fight them!
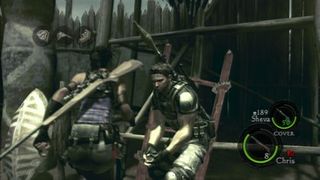
Finally, the Shaman Slate lives in the top left set of huts. Boost Sheva up the right ladder at the end of the path to find it.
MUDDY HELL
Another siege awaits, only this time there’s nowhere to hide.
The two giant majini are easily as powerful as the Executioner. It wouldn’t be at all silly to use your rocket right now in our opinion.
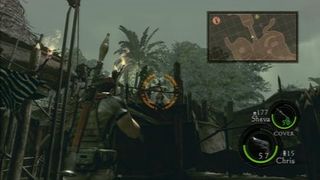
Enter the hut on the far side of the village and you can kick flaming torches from the top floor. The majini can jump though, so it’s not safe to be up here for long.
Stand on the holes in the ground and these spikes will skewer you. Run past them with majini in pursuit, however, and you’ll kill them instead.
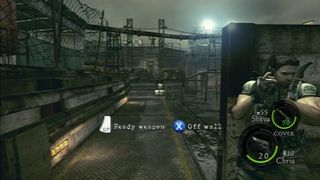
If you need to escape send Sheva to the drawbridge crank and open the door up ahead. The level exit’s only seconds away.
OIL BE BACK
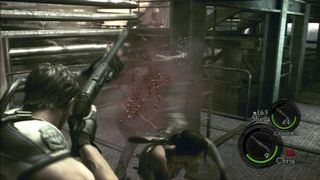
The claustrophobic oil refinery has three valves and two chainsaw majini to contend with. Here's what to do.
First things first: kill everyone. Only then is it safe to turn the valve high up in the middle of the refinery.
Now pull one of the levers to activate the zip line to access the second valve. Once it’s turned a chainsaw majini will suddenly appear, determined to slice you up.
You’ll struggle if you ignore him so find space about the middle platform and shoot with absolutely everything you’ve got.
Just head for the open exit after valve three (ignore Chainsaw No 2), ready to blast the three villagers that appear as you approach.
TIMED CRISIS
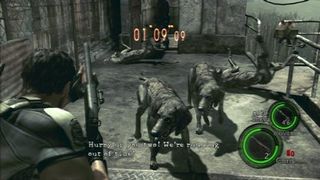
When Irving escapes by boat a timer will appear – don’t panic!
Preparation helps. When you exit the warehouse equip the shotgun and place grenades on a quick-swap button. It sounds silly, but take your time here – less haste, more speed as they say.
Kill the first two waves of enemies with grenades and the shotgun, otherwise you’ll be trapped by the padlock that’s up ahead. A couple of shots will knock this off the door, after which dogs will burst from the hut opposite.
Kill these and the large majini with your shotgun and shoot the two tripwires on the stairs (one at the top, one at the bottom). Now you can ignore the other majini and run.
WATER WAY TO GO
To finish the game’s first half you’ll need to survive an explosive boat race.
The opening section’s easy- simply aim for the red tankers (and duck when prompted). You’ll hop off the boat twice to pull levers. Lock to cover the second time as two gunners will attack. Shoot them with the rifle and pull the levers sitting below their turrets to progress.
WEAPON WATCH
The act's most powerful weapons:
RPG
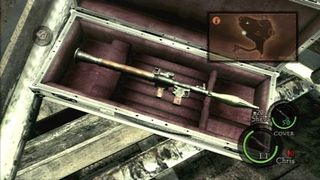
There’s an RPG in the middle of the lake. The small blip towards the top left of the map is a sunken ship with an RPG crate on top. There’s only one round.
S&W Magnum
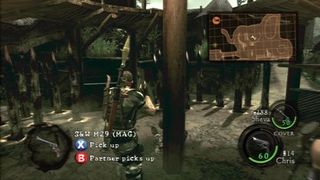
After the lake you’ll enter the main native village. Head right and the S&W Magnum’s lying on the ground. Stay on your toes: you’ll be ambushed from above.
BOSS GUIDE: IRVING
Eventually you’ll corner the loud-mouth, but he’ll inject himself with a nasty cocktail and transform into a gigantic water monster:
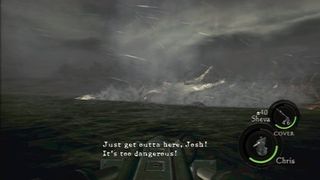
There are four mounted guns on the ship: two grenade launchers (at the front), and two machine guns (at the rear). Pick the grenade launcher and fire at Irving’s flashing weak point
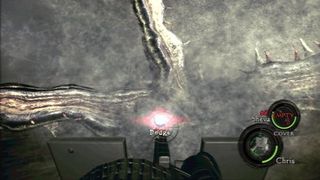
A couple of hits later and these tentacles will emerge. The pale middles are your targets, so hit each one to break the claws clean off before you find yourself skewered
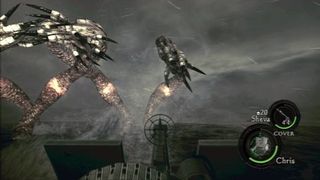
Keep away from the smooth tentacles that hit the deck, otherwise you’ll be pulled into the air. If Sheva is grabbed just shoot the offending limb to free her
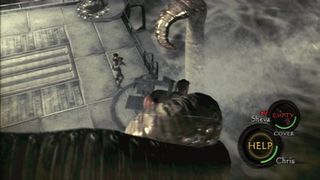
Eventually Irving will appear behind the ship. Tell Sheva to man one machine gun and use the other one to fire at his jellified body. It’s not pleasant
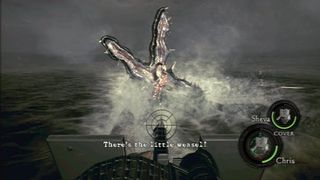
This monster bites, so be ready to hitX (360) orsquare (PS3)to duck under its jaws. Irving will reappear straight after the bite, so keep shooting until he sleeps with the fishes.
TIPS
During the warehouse escape you need to hold off the act’s third chainsaw majini. Return to the last corner you ran past and keep him at bay from there.
When you’re on the raft get ready to press either RT and LT orX (360) or square (PS3)and a together: four crocodiles will leap out and kill you instantly if you fail.
ACT 4
A network of caves and ruins is your next port of call. The locals here look primitive, but they’ve harnessed the power of the sun with deadly consequences.
GREAT BALLS OF FIRE!
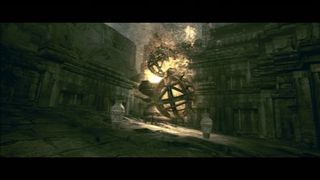
Deep into the ruins you’ll be attacked by a stream of giant balls. Ignore the pots - you can grab them later - and return to the giant crank in the middle. The pair of you will open the exit door… which will then start to close. Great. Time your run so you dash in between the two right balls. The trap will stop and you can then return for that precious ammo.
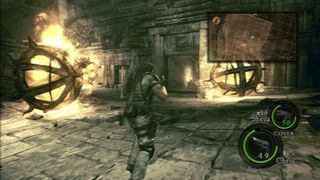
The next corridor isn’t safe either. You’ll need to sprint (repeatedly press A or X on PS3) and leap over three gaps. The third leap is then followed by another quick-time event.
SUNBURN CITY
Forget the majini, your biggest worries in the underground city are the two deadly sunbeams. On second thoughts, don’t forget the majini entirely now.
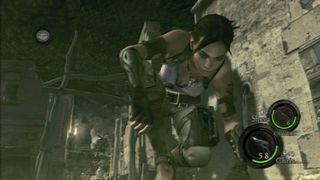
Make your way over to the sky emblem in the top left corner. There’s plenty of cover here, so duck into an alcove whenever a beam approaches.
When Sheva’s grabbing the emblem you can kill the left beam’s operator. You’ll also be attacked by two giant majini; we never said it was going to be easy.
DEATHTRAP DUNGEON
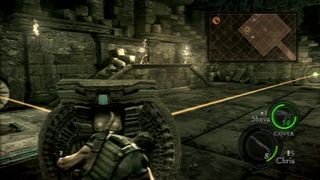
Act four concludes with you negotiating a series of floors with easy lightbeam puzzles. Grab the mirrors and bounce the light to the circular stones by the lifts. These puzzles are all really simple.
AI Sheva will climb to safety, but a co-op player might not. Do not move any beams in two-player until you know she’s safe; the light’s deadly. To avoid mistakes, don’t kick down the blocks stopping the beams until every mirror’s in place. The final room has a number of alcoves- enemies are inside them so don’t back into the beam when they attack!
BOSS GUIDE: POPOKARIMU
It’s back and it’s easy:
This fight is dead simple. Run straight past the Popokarimu and up the staircase
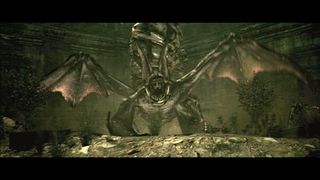
One quick-time event later and it’s all over. More importantly, your dwindling ammunition supply remains untouched
TIPS
1. There’s plenty of gold tucked away in the ancient ruins. Be sure to search every coffin; you’re going to need the gold to buy those weapon upgrades.
2. You can double a healing spray’s effect by using it when stood next to Sheva. The spray will top up both characters’ health, not just the one with the vial.
Next page: Act 5
