Chapter Nine: Horizon
Before setting course for Horizon, visit with any and all crew members you haven’t checked in with for a while, and hit up the Citadel one more time to make sure you picked up all the side missions that are available to you. Once you do that, hop back on the Normandy, and begin your hunt for Kai Leng.
Objective: Explore Sanctuary
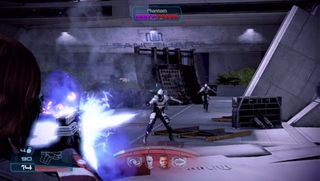
You arrive at Sanctuary hoping to find some answers, but instead find the refugee zone has been through the wringer. Hop out of the shuttle and head up the stairs in front of you. As soon as you make it into the courtyard, a Cerberus shuttle drops off two Phantoms and a Nemesis. Dispatch of them quickly. After eliminating them, check the room on the right hand side. There will be Parts to salvage right at the bottom of the second set of stairs. Duck back out into the courtyard, and then head through the newly opened door beneath where the Cerberus shuttle landed.
In the next room, there are a bunch of office desks. Some of the terminals have logs you can examine to piece together what’s happened at Sanctuary. There’s a staircase on the right hand side. Follow down to the next level. A few logs can be found next to the crashed shuttles at the bottom of the stairs. To the right of the steps, there’s another administration area. You will encounter a small force of Cerberus soldiers once you enter the room. Take them out. Near the dead Cerberus soldier by the large desk you’ll find the Pistol Scope III. Continue through the Pool Maintenance door into the next area.
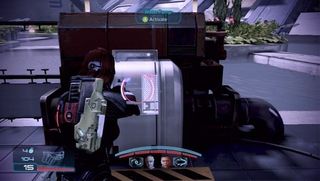
Activate the console you find in the next room to hear an audio message from Miranda Lawson. She’s come to Sanctuary as well, though for reasons much different from your own. On the wall behind you, you’ll find some Equipment to salvage. Continue out into the pool area, and activate the water pump. Once all the water drains from the pool, you find a hidden door at the base of the far wall. Climb down the ladder, and head through that doorway.
In the next hall, there will be some salvageable Equipment on the wall to your right. To the left of the next door you’ll find the Rosenkov Materials Shoulder Guard. Grab that before proceeding into the next room. Activate the console in the middle of the control area, and a series of computer monitors will come to life replaying video footage of Cerberus turning refugees into Husks. Shepard goes to the window and discovers Reapers now overrun the whole facility.

There’s another console to activate in the corner of the room. This one shows a video message from Miranda. You then see that Kai Leng is searching for her in this facility. Head down the steps to get to the next door. As soon as you open it, Husks come rushing out. Continue following the steps down until you reach the next corridor. Here you’ll face off against a mix of Marauders, Banshees, and Ravagers. Once you take them all out, head down to the end of the corridor. On the left you’ll find a Med Kit and a few more logs to examine, as well as the door into the next area.
Right when you enter the next room you’ll spot a console with another recorded message from Miranda. Check it out, and then head up the stairs behind you. Once you reach the top of the steps, more Reaper forces will attack from the left. There are a few Barrier Engines providing the Reapers with added defense so shut them down as quickly as you can. This should help make the Marauders and Cannibals a bit easier to take out.
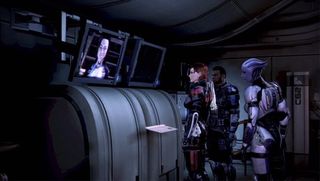
In the next hall there’s a small little section of desks. Here you’ll spot the M-12 Locust and Shotgun Blade Attachment III. Continue on to the end of the room, and you’ll spot another console with a message from Miranda. Once you’re done watching the video, a ladder drops down behind you. Climb up, and begin making your way to the tower.
Objective: Get to the Tower
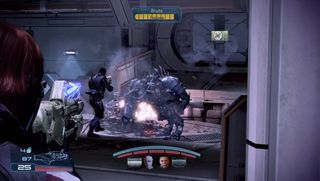
Marauders and Ravagers greet you as soon as you reach the top of the ladder. There are more Barrier Engines protecting them. Take those out first before focusing your ammunition on the Reapers. Once you’ve finally finished off the Reapers in this area, continue down the hall, and through the next door. Hop onto the lift, shoot the control box, and activate the lift. Exit to your left, and head through the door. Two Brutes are in this next room, and as soon as you take them out, another Brute and a Banshee break in from down the hall.
Grab any ammo you find laying around, and then head to the other end of the hall. On your left just before the steps, you’ll find a Pod Status control to activate. Hit it, and then double back to where you entered the room. There will now be an open pod with an M-99 Saber in it. Head back the other way and up the steps. Enter the elevator on the right.
A cutscene plays out, and you discover Kai Leng has already fled. Lucky for you, Miranda happened to place a tracer on him. Now you know exactly where the Illusive Man is hiding out.
