GLOOMY MANOR A-4
Welcome to Gloomy Manor A-4, Visual Tricks. If you've been following our guide, there will be 2 Gem Stones that we recommend grabbing here that you haven't found yet, as well as one Boo that you actually have to find to complete the mission.
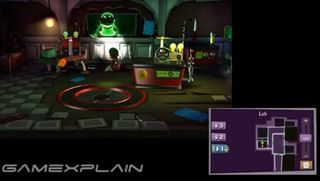
Your first objective it to grab the Dark Light device from the lab. But if you head there, you'll only discover the door has disappeared meaning you'll have to find an alternate way in. So instead, you can actually skip that part and head right for the alternate exit in the Parlor on the second floor directly above the lab, which you can reach via the staircase in the foyer. Just be aware that you'll have to take down some ghosts before you can fully climb the stairs. And then just head through the Master Hall and into the Parlor, via the southern door. 'Head to the far side to discover some Spirit Balls have escaped from the lab below and turned the clock here invisible. But they also put the fire out--so enter the fire place to find a secret passage into the lab. You'll find the Dark Light device in the northwest corner, but a ghost will snatch it away before you can grab it. Just use your vacuum on the blackboard to expose him as well as some of his friends. Now these guys are wearing sunglasses which shield them from your strobulb’s flash, so pull them off with your Poltergust first before tackling them like normal. Once you've cleared the room, you'll find the Dark Light Device on the lab equipment in the middle. This flashlight augmentation will allow you to cast a rainbow-colored beam that will expose objects rendered invisible by Spirit Balls. And you'll get a chance to try it out right now, as you'll need to reveal the door so you an exit the room. Just make sure to suck the spirit balls up quickly before they return to the door, rendering it invisible once again
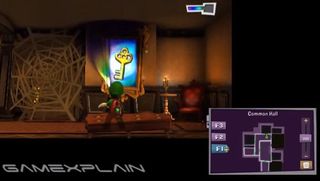
Okay, so typically you would use the Dark Light to follow the mysterious ghostly trail, which would normally lead you into the foyer, then up the stairs to lobby where you would reveal an invisible door that leads onto the balcony...which then turns out to be a dead end. The only thing of note, besides some treasure along the way, is a window on the balcony that lets you peek into the Dining Room, where you'll see some spirit balls turn a cupboard invisible. So instead of dealing with all that, you can instead head right for the alternate entrance into the Dining Room. For that, after exiting the lab, follow the Common Hall to the end where you'll find a painting of a key. Shine your Dark Light on it to reveal an actual key, which you can then use to unlock the nearby door once you reveal it--again with the Dark Light. Head on through onto the Patio.
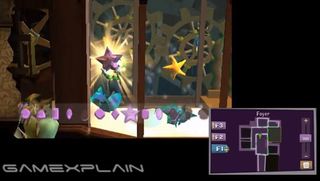
Now there are a couple of gems we can grab before moving on. For the first, head into the yard and use the Dark Light to reveal a door along the left wall, next to the merry-go-round. It leads into a secret area Under the Stairs. Continue through another door in the back to wind up behind the fishtank in the foyer, then use your vacuum to pull down the Mansion's 8th Gem hanging high up on the left side.
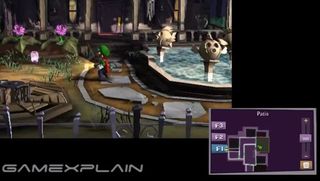
Return to the yard and cast your Dark Light on the northwest corner of the pond to reveal a 3rd fish statue, which will reward you with the mansion's 9th gem.
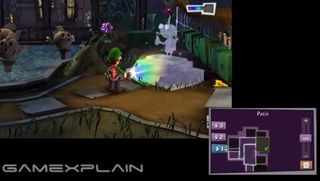
Follow the walkway to a dark patch on the ground--shine your Dark Light on it to reveal a statue of E. Gadd himself. Now use your vacuum on the propeller to raise the statue, revealing a key.
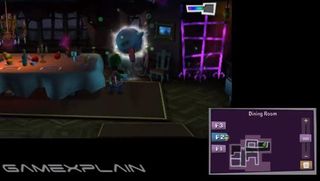
Use it to unlock the door on the patio that leads into the Kitchen. Once you've cleared the room of ghosts, use your vacuum on the tassel in the northeast corner to open the dumbwaiter. Then hop inside and ride it up to the Dining Room. Here you'll discover the culprit of all that disappearing stuff: Boo. But he's done done yet, as he'll make the table disappear too before running off. But if you use the Dark Light to restore the table, Boo will come back, as unhappy as ever. Because he's invisible, use your Dark Light to track him down and expose him. Once he's revealed, use your vacuum and unleash a charged attack to send him bouncing around the room, depleting his health. Once fully depleted, just suck him up to complete the mission.
