D'Qar

There are 36 gold bricks hidden throughout the resistance base.
Gold Brick #1
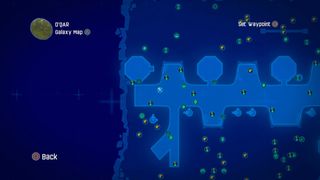
We'll start off on the west side of the map.
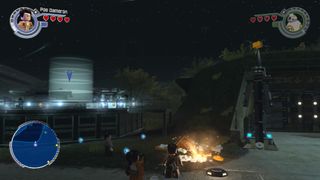
You can pick this one up as part of the campaign or in Free Play mode. Destroy the objects near the ship parked here.
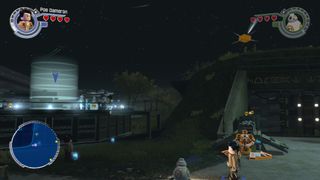
Reassemble them on the right to make a control panel for the lift.
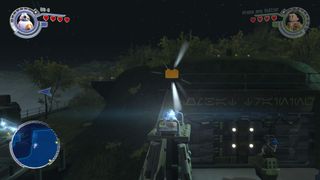
Put one character on the lift, use the panel, then switch back to nab the gold brick.
Gold Brick #2
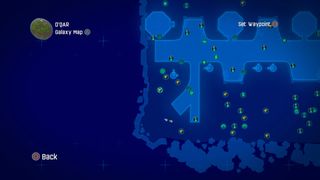
For the next brick, you need to find and assemble the parts for five droids.
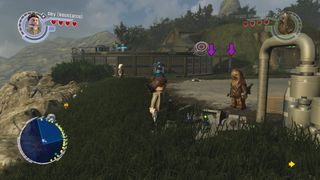
The first one is at the western end of the runway.
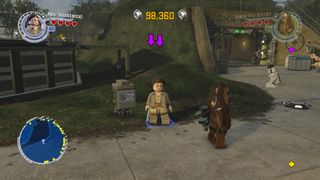
The second is on the grassy area opposite, to the left of the hangar.
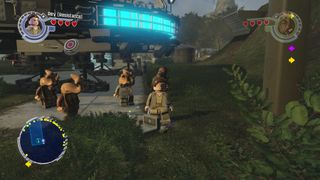
The third is right next to the Millennium Falcon which is also at the western end of the runway.
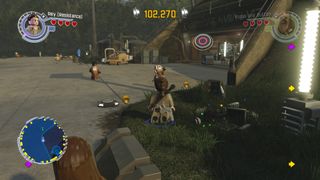
The fourth is at the entrance of the easternmost hangar on the south side of the map.
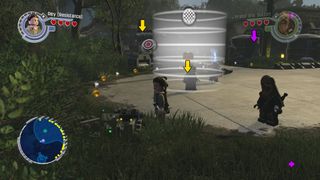
The last droid is at the eastern side of the runway near the start of one of the races.
Gold Brick #3
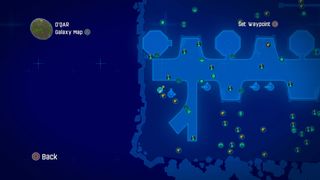
Sticking to the west side of the map, find the race icon.
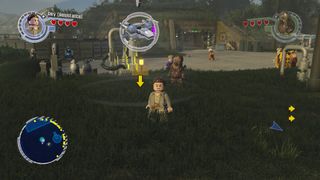
Complete the race to get the gold brick.
Gold Brick #4
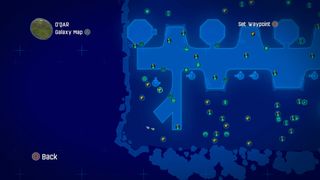
This brick is an easy one to collect.
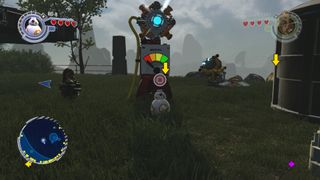
Use BB-8 to refuel the Millenium Falcon and the brick is yours.
Gold Brick #5
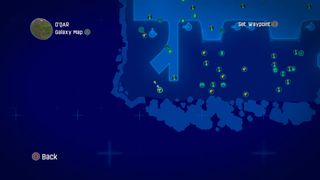
Head to the south end of this side of the map.
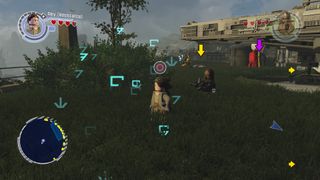
Use the scan ability next to the ship.
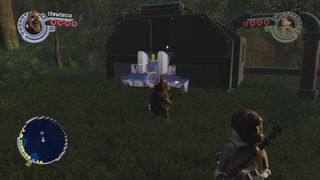
This will reveal some silver Lego pipes.
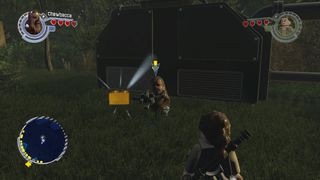
Blow them up for the brick.
Gold Brick #6
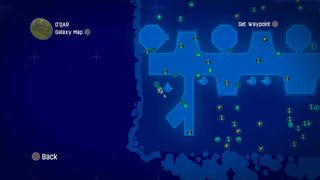
Use BB-8 to activate five satellite dishes.
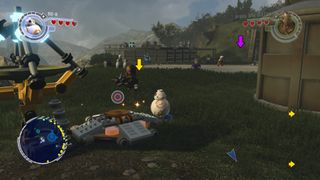
The first one is at the gold brick icon on the west side of the map.
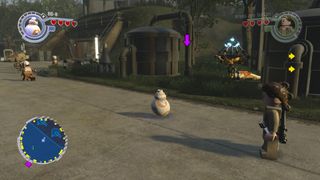
Head down the runway and you'll find the next dish to the right next to a hangar.
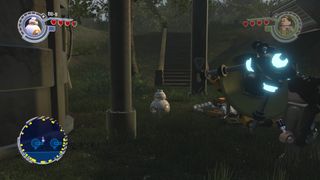
Go up the steps behind the last satellite dish.
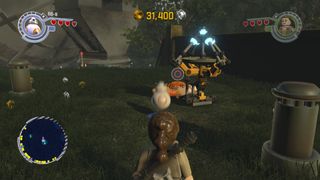
The next dish is on top of the hill to the left.
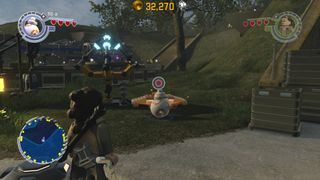
Pootle back down the steps and cross over to the opposite side of the runway to find the next dish.
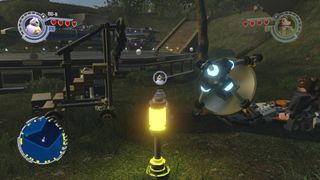
The last one is up the steps behind the small ship.
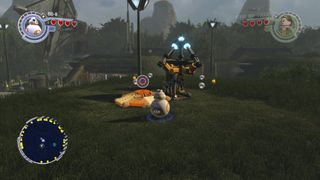
Just pop up the hill to the right and that's the last one done.
Gold Brick #7
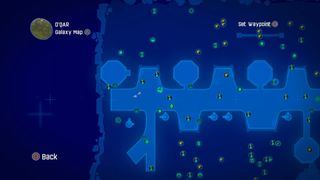
Make your way to the resistance mission on the runway to the west.
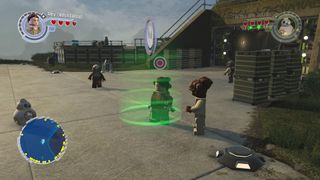
Talk to the Mon Calamari officer and agree to help him beat his troops into shape.
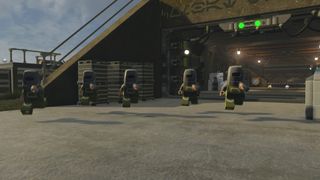
The first wave of enemies will come out of the hangar. Move down the runway to find the second and third in groups on the left.

Once you're done, you'll get a gold brick for your trouble.
Gold Brick #8
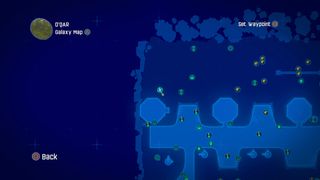
To the north of the Millennium Falcon is a BB-8 challenge.
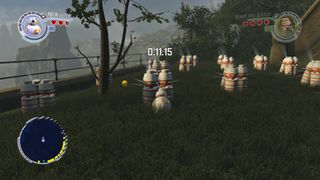
Destroy the canisters within the time limit for the gold brick.
Gold Brick #9
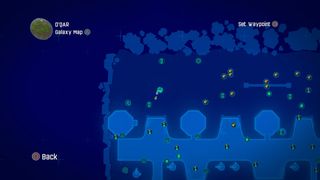
Enter the hangar in the northwest.
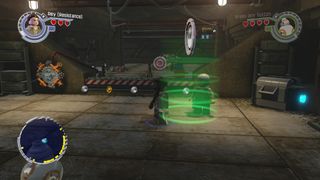
You can pick up the resistance mission at the back.
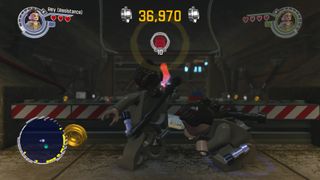
Shoot ten holograms and you'll be rewarded with a gold brick.
Gold Brick #10
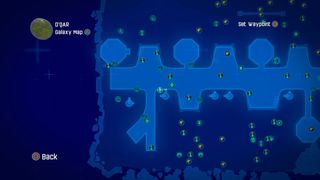
Leave the hangar and head toward the Falcon.
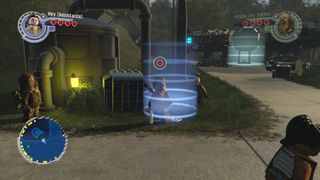
You can find the pilot who will offer a general mission to you near the edge of the runway.
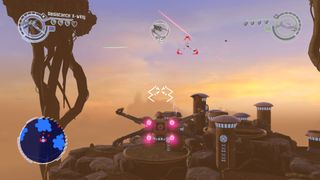
There are two waves of ships to deal with. Destroy them all and the mission wll be complete.
Gold Brick #11
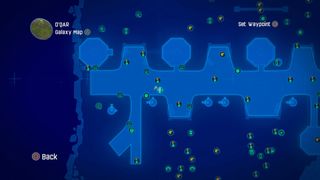
Move over to the east for the translate mission.
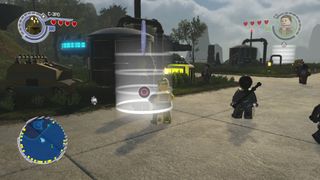
Agree to take part in the simulation.
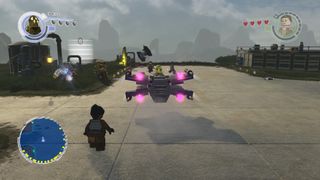

Shoot all of the TIE fighters to finish the mission.
Gold Brick #12
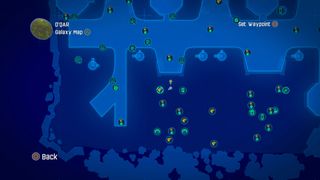
Enter the southwest hangar.
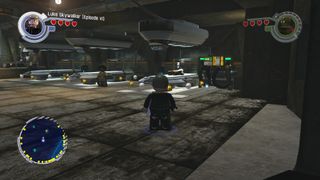
There's a woman sleeping - or possibly in a coma - on the right.
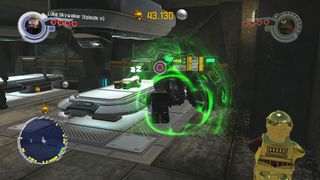
Use the force to shock her awake with a defibrillator.
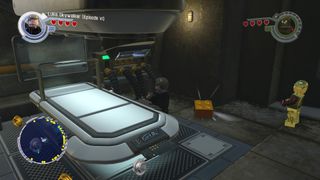
Once she stumbles off, you'll have a gold brick.
Gold Brick #13
This one is at the back of the hangar.
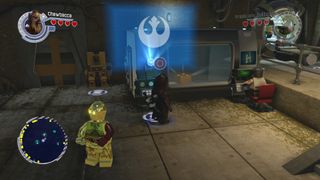
Use the resistance terminal to open the door to the unit.
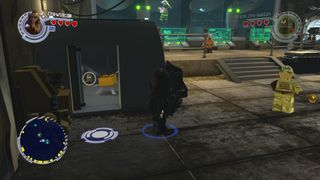
NIp inside and grab the brick.
Gold Brick #14
The next brick is right next to the last one.
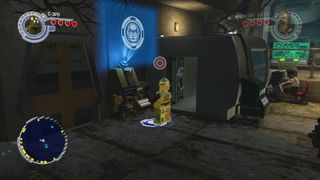
Use the translate terminal on the back left wall.
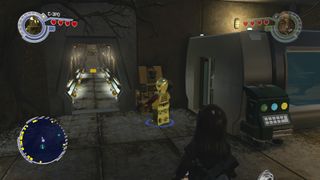
This will open a path between hangars where the gold brick lives.
Gold Brick #15
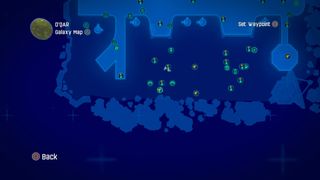
This brick is actually on top of the hangar.
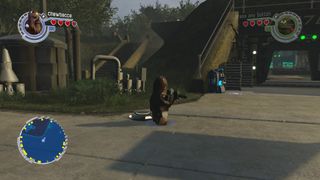
Take the steps to the side to get topside.
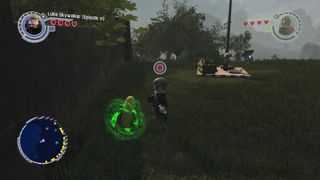
You need to retrieve three items for the guy's picnic using the force. The first is to the left of the picnic blanket.
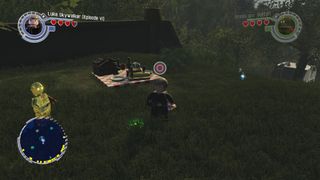
The second is right in front of him, but he still expects you to pick it up.
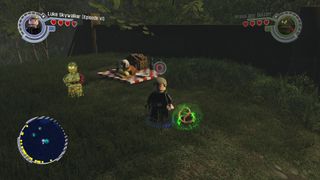
The last one is to his right.
Gold Brick #16
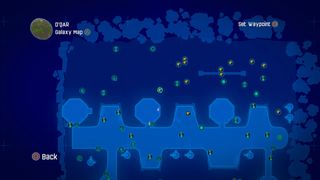
Head to the landing pad between the central and leftmost hangars at the top of the map.
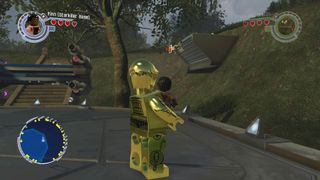
There's a grapple plug on the right.
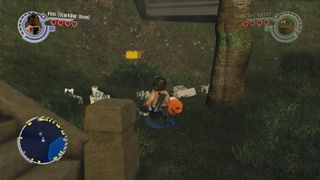
Give it a yank to get the gold brick.
Gold Brick #17
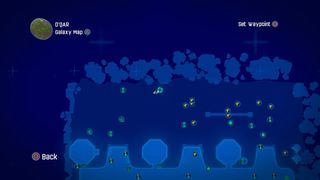
That's right, the next one is a First Order mission.
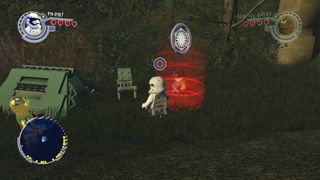
Talk to the spy with a First Order character to accept the mission.
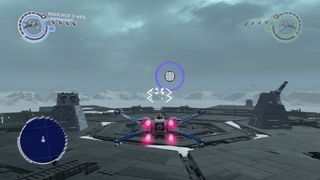
You need to run the course within the time limit and avoid being shotdown for the first half, then take on a wave of ships for the second.
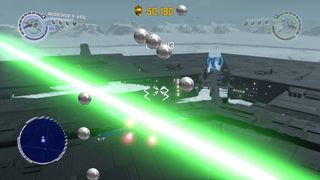
The course is a lot easier if you approach the starting ring from the right way. You'll know you have because the second ring will be directly in front of you. If you crash and respawn, fly over the start and double back to make things easier for yourself.
Gold Brick #18

To get wash away the taste of betrayal, we'll accept a general mission.
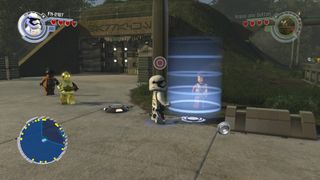
Speak to the pilot outside of the hangar.
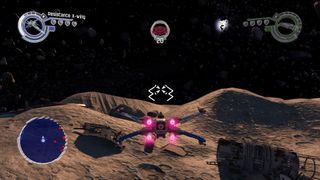
Shoot down 20 ships and you're done.
D'Qar continues on the next page

