Hyrule Castle
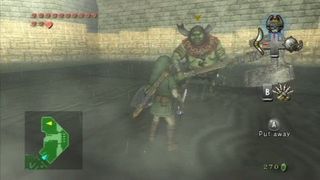
Once you leave the twilight palace, warp over to the Hyrule castle town and go to the castle north of the fountain. Grab the doors to push them open after the scene and then make your way to the east side of the courtyard. Defeat the swarm of enemies there and go through the door. Fight another swarm of enemies and then find the chain to the north, beside the gate. Pull it and enter the next area for a one on one battle with the enemy from earlier in the game with the large hammer. Use the same attacks as before and just avoid his swing. Once you defeat him, you will receive the silver key. Make your way back out to the main courtyard and head to the west. Enter the door there and make your way to the far north side. There you will find two boars that you can ride. Hop on one and ride through the wooden gates and towers.
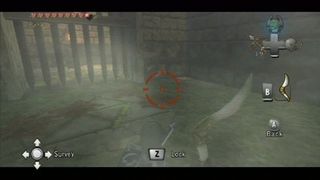
When you reach the northern part of the yard, there will be 6 pillars with fans atop them that you need to use the boomerang on. To get the pattern of which you need to hit, clear the leaves on the ground in front of the gate to the east side. When facing the gate, the pattern is closest middle, right, left, farthest pillar. Go through the gate once you hit them and you will get the dungeon map from the chest inside. Make your way back to the main courtyard and enter the front door of the castle using the small key. Once you enter, you will have to fight a few waves of enemies. Once they are down, go up the stairs and then grapple to the chandelier above. Drop down onto the balcony and open the chest to get the compass. Grapple across two more chandeliers and drop to the next balcony. Enter the door here and you will square off against another large knight. Defeat him again by running circles around him and then go the north side of the room and stand on the white platform against the wall. Use the boomerang to put out the flame on the east wall and the platform will rise.
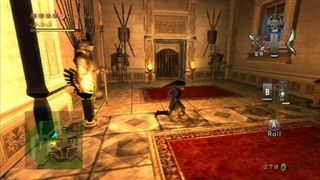
Follow the corridor to the west and then shoot the painting down halfway through the hall to see a drawing. Light the 4 torches in this hallway in the order of southeast, northwest, northeast, southwest. Keep in mind that you are facing south looking at the end of the corridor, so plan the route according. Also if you run out of oil, you can fill up in the room where you just fought the knight. Go through the door now that it is open and in the next room will be two armored Lizalfos. To make things easier, if you have bombs and arrows, just take them out before they even get close to you. Once they are dead, head through the door to the west and follow the long pathway west to find a chest at the end with a small key. Make your way back east and then head up the ramp to the east and follow the long pathway to the far east, down the ramp. At the end, a gate will open and the chest for the Big Key will appear. Grab the key and then head back up the ramp and enter the locked door in the middle.
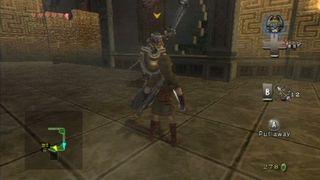
In this room there will be blocks that make up the floor and if you step on the wrong one, they will fall. To get across safely, simply turn to the wolf form and use your senses. There will be spirits there that will point in the direction that you need to go to cross safely. Once on the other side, climb the stairs to the right, hopping over the gaps. When you reach the second staircase, grapple to the grates covering the flames along the corridor. For the third set of stairs, use the spinner and jump across, back and forth when the spikes come towards you. When you reach the top, you will square off against another large knight. Use the same techniques as previously and when it drops, go through the large door with the Big Key to for the final boss fight.
Boss: The Final Battle
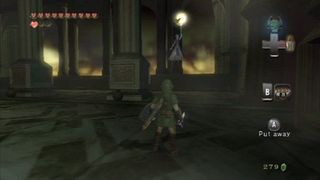
After the long scene, you will have to face off against Ganon in his various different forms. The first form he takes is, taking over Zelda’s body and using her as a puppet. Watch Zelda as she floats around the area and wait for her to attack you with a glowing ball. When she tosses it at you, strike at it with your sword to deflect it back at her. Sometimes it will hit her and sometimes she will deflect it back at you again. Continue to whack it until it hits Zelda and repeat three times to make her crash down. Zelda will have two other attacks to watch out for—a dive attack and an attack by causing the floor to burn. The second form Ganon will take is that of a large beast much like your wolf form. When Ganon charges at you dodge and wait for it to disappear. Go to the far side of the room and wait for some red portals to appear across from you. Ganon will come charging out of one of the portals, as indicated by the portal turning a purple-blue-ish color. When it charges at you, shoot an arrow at its forehead and then start slashing at the beasts belly. Continue to do this until your arrow shots make him disappear. When he vanishes into thin air, turn into a wolf and let Ganon charge towards to you. Press A when he gets close and then press left or right to toss Ganon over. Once he is on his side, slash away at his belly again to defeat this form.
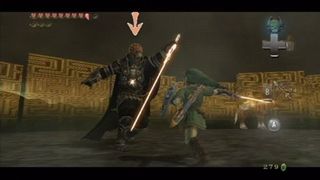
For the next stage, you will now be chasing Ganon across Hyrule Field on horseback with Zelda. Ride up behind Ganon while you have him targeted. When you have him in your sights long enough, Zelda will fire an arrow at him to stun him. Once he is stunned, ride up to him and slash at him. Simply repeat the pattern another two times and you will enter the final showdown with Ganon on foot in a one on one battle. As the battle starts, circle around Ganon just like you were fighting against one of the knights earlier. Wait for Ganon to strike and then target him and slash away at him. It will take a lot more than three times to take him down, but eventually Ganon will stagger from your hits. Continue hitting him and finally he will collapse on the ground. When he does, use your finishing move on him by pressing A to finish the fight once and for all. Sit back and watch the ending cut scene and pat yourself on the back for finishing an epic journey.
