Dark Palace
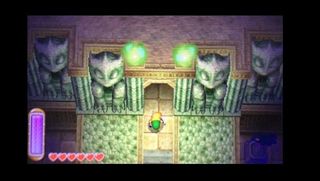
Start out by heading up the rightmost path from the dungeon entrance. Bomb the cracked wall here, then step through to find a chest containing a Blue Rupee. Head back through the blown wall.
Now head to the leftmost path. Place a Bomb by the orb, then rush back to the platform over the pit. When the Bomb explodes near the orb, the platform will quickly take you across the pit. Throw another Bomb at the boarded window to the right to let light in and open the way forward.
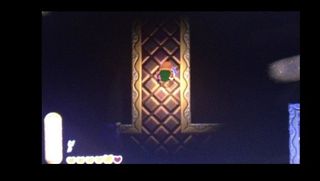
Pull your Lamp and cross the bridge - watch out for the Iron Mask on your way. At the other side, head left. Bomb the cracked bricks here (you'll thank us later) and step onto the switch to generate a Small Key on a narrow ledge in the room. Merge with the wall and move left until you reach the point where the arrows meet each other. Pull away from the wall to land on the platform where the key lies. Use it to open the locked door at the northern end of the room.
This next room has a narrow hall where boulders will roll. Use the Lamp to light the torch to the right of this, then make your way up the hall, dodging boulders along the way. Exit through the door on the right.
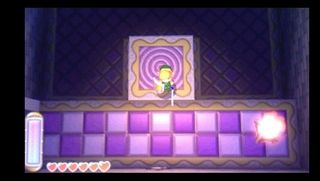
In here are three Goriya, enemies which mimic your movement. Carefully take them out to activate a lift at the southern end of the room. Ride it up, then bomb the wall directly ahead (you can see the cracks if you merge). This leads to a secret room; the chest up here contains a Purple Rupee.
Return to the lift. When it descends, run directly south to enter the bottom part of the same hidden room. The chest here contains a Monster Tail. Bomb the cracked tiles down here too, then drop through the hole.
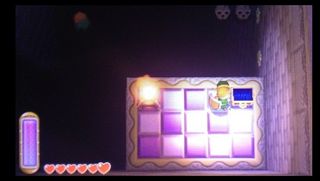
The chest near you contains a Monster Horn. Merge the wall and move clockwise. Detach from the wall above a door frame to land on the invisible walkway in the room. Swipe at a torch to kill the flame and reveal the walkway. Follow it to the northeast corner of the room to find a Small Key. Exit through the northwest door.
Take the steps in here to return to the rolling boulder room above. Head through the door to your left.
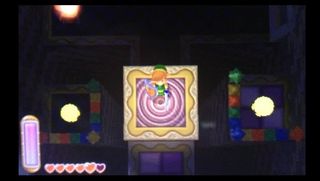
This room has a lift platform and two fenced-in orbs. Toss bombs at the orbs to activate them, spawning a chest. Open it for the Compass, then exit to your right.
Back in the boulder room again, move to where the boulders begin their path. To the right of this is a little inlet with a cracked tile. Bomb it and drop through to find another Small Key. Now we need to head to the top floor. Head up the stairs to the boulder room, then use one of your Small Keys to open the way to the next floor.
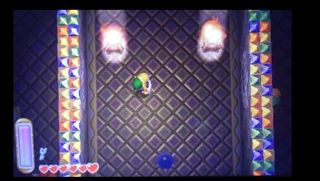
Swiping the orb up here will spin panels on the walls facing you. Drop a Bomb near it, then merge with the wall to the left. When the Bomb detonates, you'll be flipped to the other side. Bomb the cracked tile here, then drop through. Bomb the next cracked tile you land near, and drop again. You'll land on a ledge with lots of Rupees.
Return to the top floor and move left again. This time, head through the door. In this room, quickly move south and swipe the orb; it will temporarily open the exit. Merge with the wall as the floor starts to disappear and make a beeline for the way out.
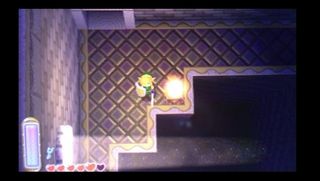
In the following room are lots of windows, some boarded up. Start by tossing a Bomb onto the high ledge directly south of the entrance. That's one boarded window clear. To get the others, you'll have to swipe the orbs that raise ledges to the upper area of the room. Ride one up, then merge with the wall. Follow it to reach the last windows that need clearing, and use Bombs to do the job. Before you leave, merge with the wall from the lower section to reach a chest with some Monster Guts along the eastern wall. When you're finished, exit through the right door.
Head straight this room to the next - it's only a challenge when moving the other way. Back in the room with the rotating panels, bomb the last cracked tile and drop through. You'll land near a chest containing a Purple Rupee.
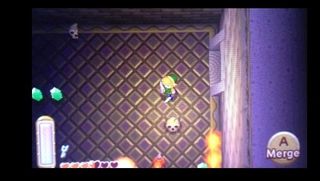
We're headed back to the bottom floor now. Take the left door from the staircase. This room has several invisible walls; put out the torch to see them. This is all we can do in the room for now, however. You need to head back to the room with the invisible walkway. Take the southern exit this time.
This is the pre-boss room, but we've got more to do before we can face it. Use your other Small Key to open the southeast door.
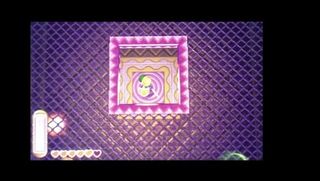
In here is another trio of Goriya, but this time they're above you. Use your movements to drop them through the hole in the center of the walkway above, then take them out. Once they're defeated, a lift will activate and a warp portal will spawn. Take the lift up and exit through the upper door.
Back in the pre-boss room, merge with the wall and follow it clockwise. Eventually, you'll reach an orb. Swipe it to reveal an eyeball, and if you've followed along with us and bombed those cracked tiles, light will now stream to each eye, opening the way to the boss room. Well, the door itself is still locked. Head through the northwest door.
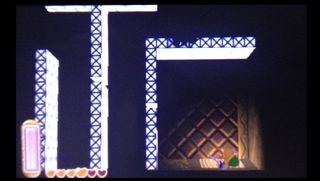
You're in a different corner of the room with invisible walls. From here, however, you can merge to squeeze through slits along said walls. Do so, then make your way to the northwest corner. Under the skull is a switch; step on it to spawn a chest containing a Small Key. Grab it and return to the pre-boss room.
Open the door in the bottom left corner. In here, a platform moves back and forth by some steep ledges. You have toss Bombs over the ledges to hit the three orbs. This will spawn a large chest containing the Big Key. Grab it and head for that boss door.
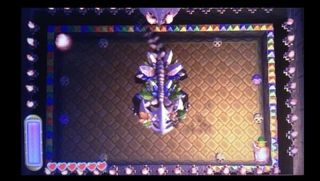
The Armored Dodongo can be pretty tough. Start the fight by chucking Bomb after Bomb at him; avoid his trampling and occasional crystal shots during this time. After enough explosions, his armor will be destroyed. Now the real fight begins. Slash at the red orb on his forehead, and after a few hits, he'll use his ram attack. Merge with the wall whenever he nears to avoid damage. You need to re-light the torches to bring him out of this state. Once done, slash the red orb a few more times to end the battle.
