Act Four: Twin Suns
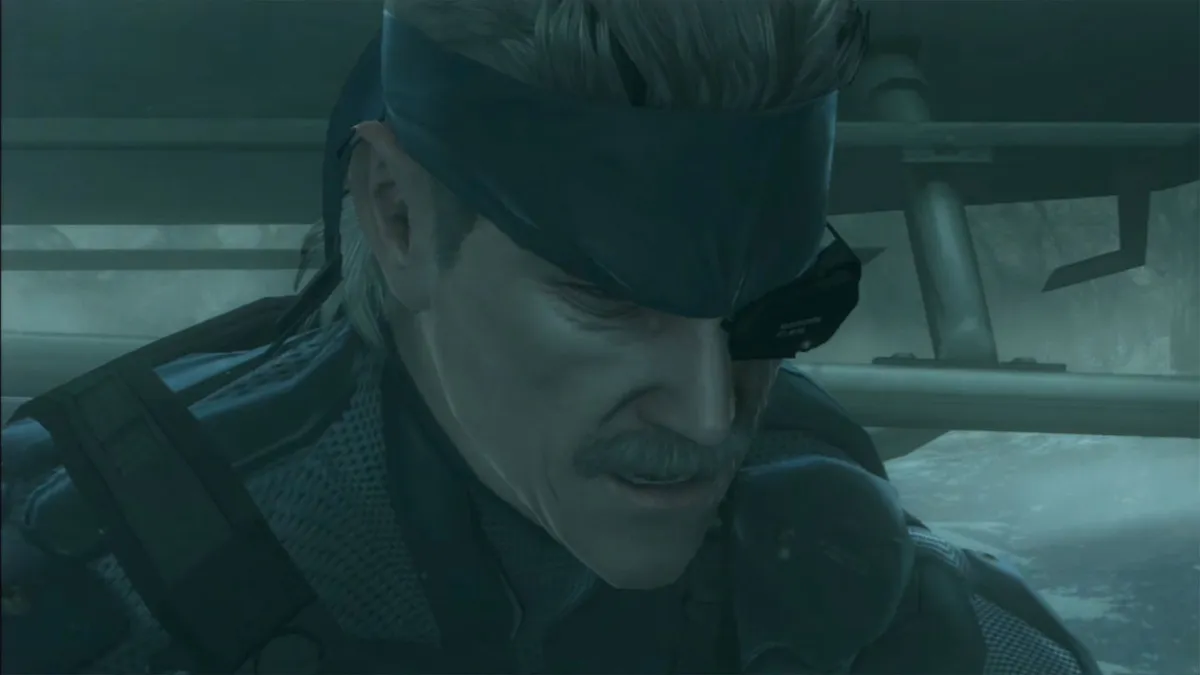
Location: Shadow Moses, Alaska
Top Tips
1. If you forget the pass code that Otacon tells you, Snake will feel it’s because of his age and he’ll lose a quarter of his Psyche gauge just like that. It’s 48273.
2. The snowy plain between main buildings (and the site of Snake’s battle against Vulcan Raven in MGS) appears to be empty, but don’t think you can just skip through the big flakes whistling to yourself. There are two snow-covered Gekko mechs here. It is possible to avoid ‘waking’ either, so consider yourself forewarned.
3. It pays to explore all the areas of the Shadow Moses base as there are a number of points that will trigger memories of Snake’s first mission here, and earn you valuable Drebin Points. It’s also just fun...
4. Keeping the Solid Eye night vision mode on will eventually drain the battery, so, when you can, flick it off to enable it to recharge. You do not want to be fighting blind.
General Strategy
Ah, Shadow Moses – scene of Solid Snake’s breakthrough mission in Metal Gear Solid on PS1 and one of the most famous game locations ever. In a brilliant nod to that first visit, the act begins with a section of the 32-bit PS1 game in which Snake has to infiltrate the base from the heliport. It’s just a bit of fun, but you won’t progress until you successfully make it past the guards and into the building.
When you do, the game will snap back to the present, with Snake getting dropped off in a raging blizzard a short way away from the self-same heliport. Between you and it is a patrolling Gekko mech, and while the snow means next to zero visibility for you it doesn’t affect the Gekko’s sensors. Even the odds by switching on the night vision mode on Solid Eye. Yes, it should blind you, but instead it enables you to make out the Gekko’s movements and even the direction its sensors are scanning in.
Once again, you can try and take you get spotted just equip your favourite SMG (stock up on ammo if need be) flick auto-aim on, and fire, backing away from the approaching Scarabs as you do. Fail to keep a little distance and you will get hurt when the damaged Scarabs self-destruct. They’re also quite fond of leaping onto Snake’s back. If they do, shake the left stick furiously to shake them loose. Before you reach the snow-whipped location of the boss battle against the ferocious Beauty and the Beast Unit’s Crying Wolf, you’ll find yourself forced to fight several Gekkos inside the building.
The key to success here is to use cover to keep from getting stomped on, and to head to Drebin’s Store immediately to shell out for a Javelin missile launcher (didn’t we tell you to get one of those ages ago?). Until you earn Crying Wolf’s rail gun, it’s by far the best way of making sure the Gekkos stay down. Now brace yourself, because from her until the end of the act it’s virtually wall-to-wall boss battles.
Boss – Crying Wolf

Equip – MK. 2 Tranquilizer pistol, M4 Custom, MGL-140 grenade launcher, SVD Sniper rifle
Special item prize – Rail gun, Crying Beauty facemask
This brilliant sniping level cleverly updates the classic confrontation against Metal Gear Solid’s best boss, Sniper Wolf. You must navigate the exterior of the base while a stinging snowstorm reduces visibility almost to nil. Complicating your attempt to locate and take down the feline mech form of Sniper Wolf are squads of elite Haven Troopers.
Taking them down is hard enough, and with Crying Wolf capable of tracking you when you’re downwind of her, finding a safe vantage point from which to scope the area using your night vision is the real challenge here. First thing to do is make a sweep of the area and acquaint yourself with it, taking down any Haven Troopers you see as you go. The reason for this is that, as Crying Wolf tracks you, you’ll briefly be able to see through her eyes. Learn the location’s landmarks and when this happens you’ll be able to figure out where she is in relation to you and aim at her before she opens fire or stamps your face into the snow.
If you’re running low on rations and Regain, the best tactic is equip a sniper rifle and full OctoCamo (face and body), scale one of the two towers and lie low, scanning the area for signs of Crying Wolf. She often prowls around the distant tree line, so keep looking there. Even if you can’t actually see her with your eyes, the Solid Eye night vision will reveal her nanomachine marker tag if your crosshairs pass over her. Spot her as she temporarily emerges from her armoured exoskeleton to draw a bead on you and you can score maximum damage.
However, if you’re feeling bullish and have a lot of rations, you can forgo the stealth, equip Raging Raven’s MGL-140 grenade launcher and go hunting for Crying Wolf instead. Keep thinning out the Haven Troopers and it won’t be long before she comes at you. If you’re quick you can knock her off her feet and get a good three to five shots in before she recovers. Then it’s just a case of retreating, reloading and repeating. Just be warned – if the battery in your Solid Eye runs down, you’ll be forced to fight blind. Show Crying Wolf mercy and you’ll earn yourself her awesome DSR-1 sniper rifle.
Boss – Vamp

Equip – MK. 2 Tranquilizer pistol (for CQC), M4 Custom, P90, Mp5-SD2, Rail Gun, Syringe
Special item prize – N/A
Having shot Vamp in the forehead twice (once in MGS2 and once in MGS4’s South American level) before this final showdown in the shadow of MGS’s shattered Metal Gear REX in Alaska, it’s hard to imagine how you’re going to be able to kill the seemingly immortal boss. And sure enough, shooting him silly with conventional weapons will take him down, but only temporarily. This fight requires lateral thinking.
As revealed by Dr Naomi Hunter Vamp’s incredible healing ability is down to the nanomachines in his blood. And since Snake is carrying syringes full of a cocktail that will suppress nanomachine activity all you have to do is temporarily incapacitate Vamp using regular weapons. Since Vamp pings and bounds all over the shop before charging at you, it’s not a bad idea to toggle auto-aim on for this first bit. That way you can unload clip after clip into him wherever he leaps. When he finally goes down, get behind him. After that, the moment he gets up you can get him in a CQC chokehold and use the nanomachine syringe to make Vamp mortal again. Piece of cake, right? Yeah, well, you’re not done yet.
You may have softened Vamp up but he’s not dead yet. With a seemingly endless squad of special Gekko Metal Gear mechs programmed to self-destruct entering the chamber, Raiden shows up to tackle Vamp while you deal with the mechs, and Otacon tries to hot-wire the Metal Gear REX for your use. In this part of the battle you have to use the Rail Gun to thin out the Gekkos just long enough for Otacon to start up the REX.
There are two tactics that will save your bacon here. Firstly, retreat to a position underneath the REX. You’ll be protected from most shots and you can get a clear shot at the Gekkos no matter which direction they come from. Secondly, aim for the very top part of the Gekkos’ ‘heads’. It’s a sure fire method to take ‘em out. Perfect your aim and you can become a one-shot master.
Boss – Metal Gear RAY

Equip – N/A
Special item prize – N/A
It’s taken 21 years but finally you get to pilot your very own Metal Gear REX in this brilliant mech-based boss battle against Snake’s nemesis, Liquid. Set in the dockside area on Shadow Moses island (after a cool tutorial level that sees you fighting off scores of Gekkos on the route out of the hangar), you have to use all of REX’s weaponry – cluster guided missiles, Gatling gun, chemical laser and mean, mech sweeping kick – to defeat Liquid’s technologically superior Metal Gear RAY.
In a brilliant departure from the usual floaty, style-over-substance mechs that appear in games, Snake’s REX feels massively solid and weighty. Use that heft to your advantage, and after softening Liquid’s RAY up dash in close (by double tapping [X]) and use the REX’s chunky leg sweep to do your opponent some serious damage. Score enough damage and you’ll get a [Triangle] button prompt. Hit it and you’ll perform a devastating special move that will knock a good chunk off RAY’s health bar. It’s then important to retreat – use the buildings as cover to get some safe distance – before repeating the tactic.
At distance try charging the chemical laser to full power and using that. A direct hit will score massive damage. Missiles are good if you can aim long enough to get multiple lock-ons, while the Gatling gun is best for taking advantage of sudden clear shots when they arise. Whatever you do, don’t let RAY get too close, or you’ll risk a crippling stomping. If it charges, double tap [X] plus direction to side-step or retreat. This fight has been a long time coming, but it is definitely worth the wait.
Jump to Section:
- MGS4 Act One: Liquid Sun
- MGS4 Act Two: Solid Sun
- MGS4 Act Three: Third Sun
- MSG4 Act Four: Twin Suns
- MGS4 Act Five: Old Sun