Dark Souls Remastered full walkthrough: CRYSTAL CAVE

Descend the crystals in a clockwise fashion, being extra careful not to fall when engaging the Crystal Golems. Also, avoid the Crystal Butterflies altogether. They are not hostile unless attacked, but pack a serious punch and are hard to hit. The only reason to fight these monsters is because they very, very rarely drop Blue Titanite Slabs (an item which you can find in this cave, by the way).

Eventually, you’ll come upon the first of several long invisible walkways. If you’re playing online, there will likely be orange messages floating in mid-air, indicating where it is safe to walk. There are other ways to make sure you’re one the right path: watch where the snowflakes land, use prism stones, or shoot arrows. This path is completely straight.
Once you’re back on visible ground, you’ll see a golem to your left. This one is a bit stronger than the others, so you should try taking it out from a distance to avoid falling. If instead of fighting him you go straight ahead onto another invisible path (also a straight shot), you can find a blue titanite chunk.

Pass where you fought the Golem mentioned above and onto the jagged ledge (seen above).

Drop down at the point seen in the picture above. Quickly turn around and take out the two crystal lizards. You can continue in this direction to find the extremely rare Blue Titanite Slab, but the invisible path leading to it is very crooked and will require much patience. (Don't forget the arrow trick!) In fact, if you make it across, we strongly advise using the Homeward Miracle or a Homeward Bone instead of walking back.
Return to the small cave mentioned above, but instead of turning around in the direction of the Blue Slab, continue forward along the invisible path. This one is a straight shot.
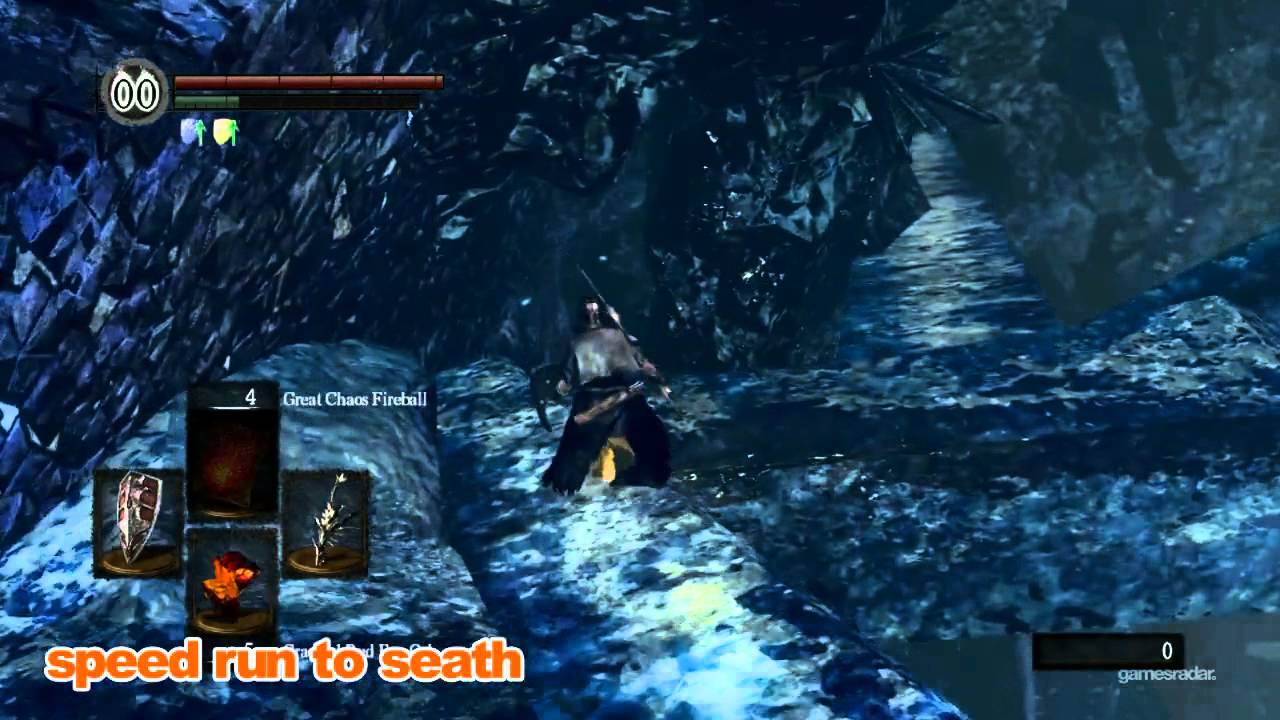
Above: Speed run from Duke's Archives bonfire to Seath's lair
You’re going to encounter a group of Man-Eater Shells that hangs out right in front of boss. This time you should fight them all (try one at a time, luring with arrows if possible), since there is no fog door. If you don't defeat them, they'll follow you into the boss battle. However, every subsequent time you meet Seath a fog door will be up, so we recommend you run past them – especially if you’re making a speed run from the Duke’s Archive bonfire – to avoid any headaches.
BOSS – SEATH THE SCALELESS
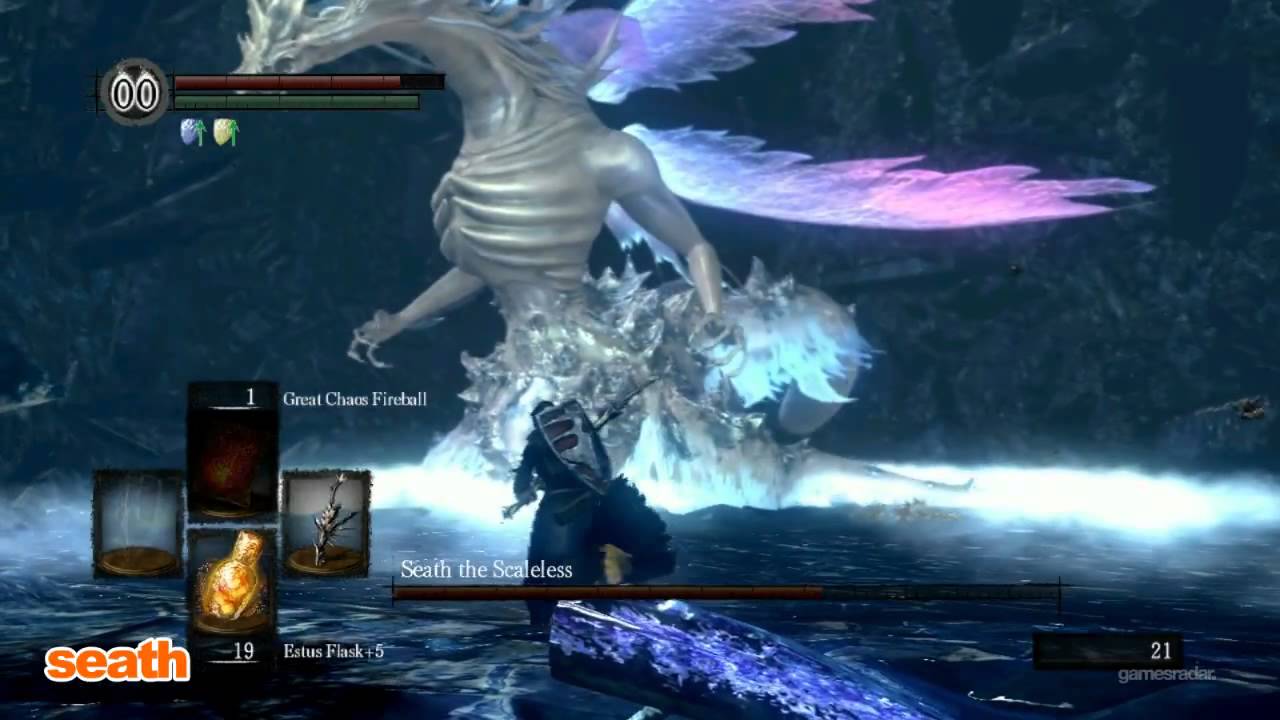
Before the battle begins, you’ll want to equip the Blood Shield (if you have it – it reduces curse build-up even if only on your back) and light armor so that you can run at full speed. In order to deal damage to Seath, you first have to destroy the narrow crystal at the rear of the room.
This battle boils down to simply running to one end of the room, waiting for Seath to come over, moving up a bit and coaxing out his breath attack, and then running to his left side and attacking with your weapon in both hands (or use your spells/Pyromancy). As you can see, we had to improvise quite a bit, as Seath tended to keep his left side against the wall for much of this battle. However, having defeated Seath many times before, he usually comes across the middle of the room.
Once you get in a few good swings or spells, run away to the other side of the room to avoid his extremely deadly ground-slap attacks
If you want to get the Moonlight Greatsword, aim for the very tip of Seath’s tail. It’s difficult to run all the way over there after he does his breath attack and before he turns around, so, again, make sure you’re wearing light armor. Since he turns quickly, the easiest time to attack his tail is while he is in stun-lock after you destroy the crystal. Lure him over to the crystal, and once he is very close, either hit the crystal yourself or have him destroy it with his own breath. This should give you enough time to get to his tail.
After you defeat Seath, backtrack all the way through the archives and up to the room where you fought him the first time. (Follow this section from the beginning if you can't remember how to get there). It is here where you will find the Large Magic Ember.
Jump to Section
- Firelink Shrine
- Undead Burg part 1
- Undead Burg part 2
- Undead Parish part 1
- Undead Parish part 2 (First Bell)
- (OP) Grinding for Souls & Finding Goodies in Darkroot Garden
- Lower Undead Burg
- (OP) Returning to the Undead Asylum
- The Depths
- Blighttown
- (OP) Exploring Blighttown's Swamp
- (OP) Undead Dragon & Valley of the Drakes
- Quelaag's Domain (Second Bell)
- (OP) Moonlight Butterfly & the Divine Ember
- (OP) Darkroot Basin, the Hydra, and Dusk
- Sen's Fortress part 1
- Sen's Fortress part 2
- Anor Londo part 1
- (OP) Painted World of Ariamis part 1
- (OP) Painted World of Ariamis part 2
- Anor Londo part 2
- Return to Firelink Shrine & Placing the Lordvessel
- Sif and the Darkroot Garden
- New Londo Ruins
- The Catacombs
- Tomb of the Giants part 1
- Tomb of the Giants part 2
- (OP) Dark Sun Gwyndolin & the Blade of the Darkmoon Covenant
- Duke's Archives
- Demon Ruins part 1
- Demon Ruins part 2
- (OP) Great Hollow & Ash Lake
- Lost Izalith
- (OP) Sanctuary Garden (New Content)
- (OP) Oolacile Sanctuary & Royal Wood (New Content)
- (OP) Oolacile Township (New Content)
- (OP) Chasm of the Abyss (New Content)
- (OP) Black Dragon Kalameet (New Content)
- Kiln of the First Flame & Gwyn, Lord of Cinder


15 days after Wii U servers were supposed to be shut down, the last surviving Splatoon player is still hanging on as the servers crumble around them

Al Pacino and The Guest star to play priests in a new exorcism horror movie based on a true story

Stellar Blade director "grew up too poor to afford" a PS1, but when he finally got one in college, Ridge Racer and Final Fantasy inspired him to make games


