Latest Guides
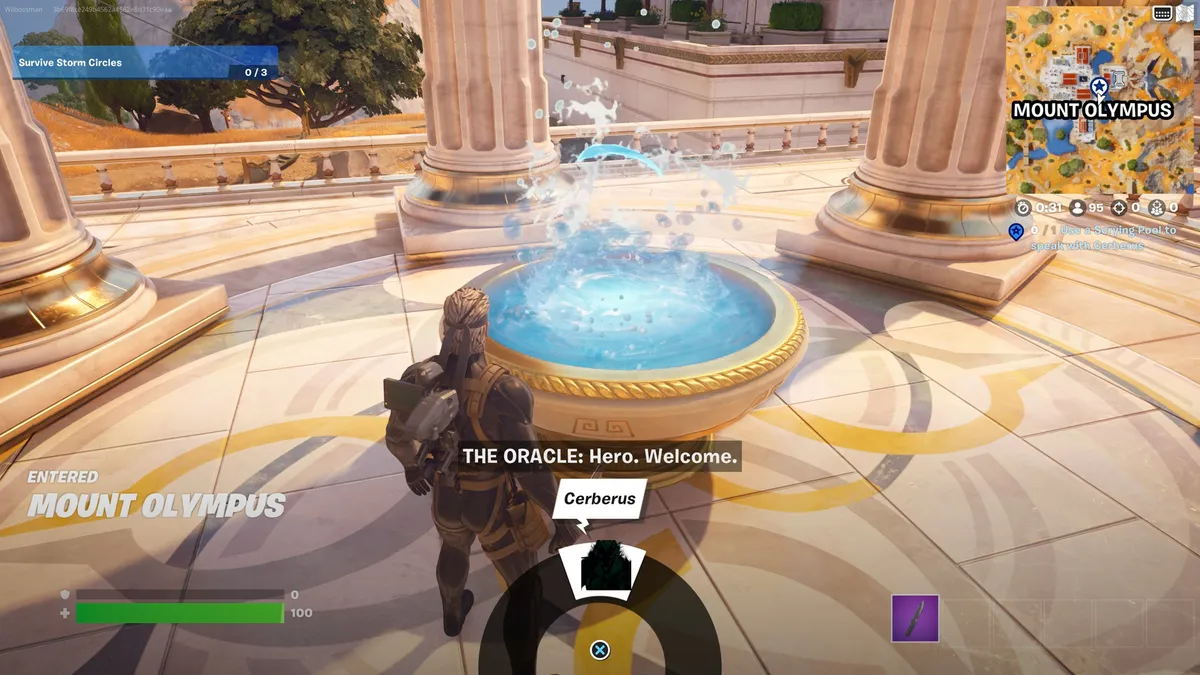
Fortnite Cerberus Artifacts: Where to dig them up
Guide Dig up Cerberus Artifacts under a windmill, on a grassy island, and near the snow in Fortnite
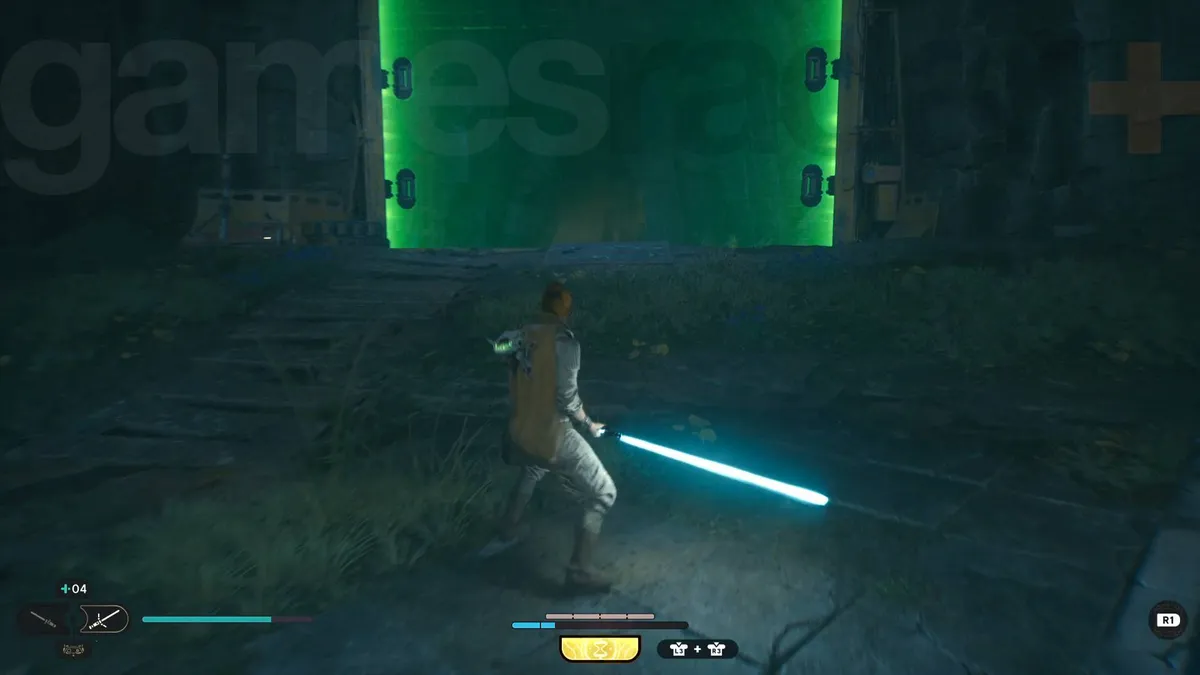
How to get past green laser barriers in Star Wars Jedi Survivor
Guide What you need to get though the Jedi Survivor green barriers
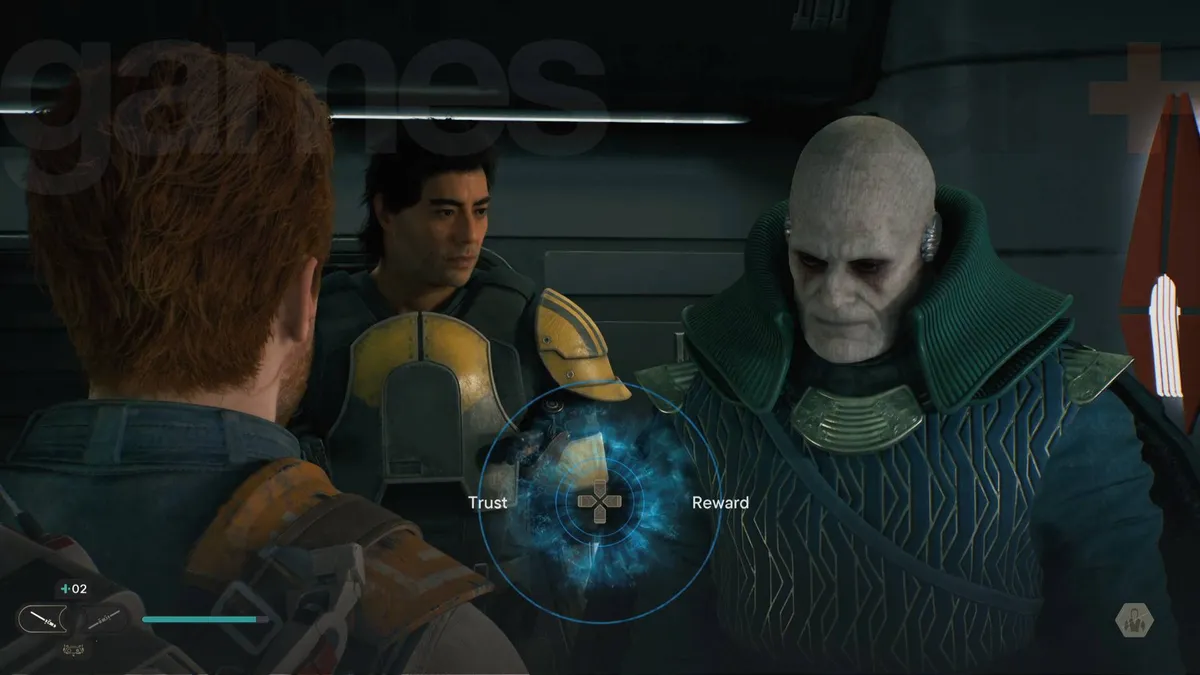
Should you choose Trust or Reward for the Jedi Survivor Senator mind trick?
Guide For the Star Wars Jedi Survivor Senator Sejan mind trick, should choose trust or reward?
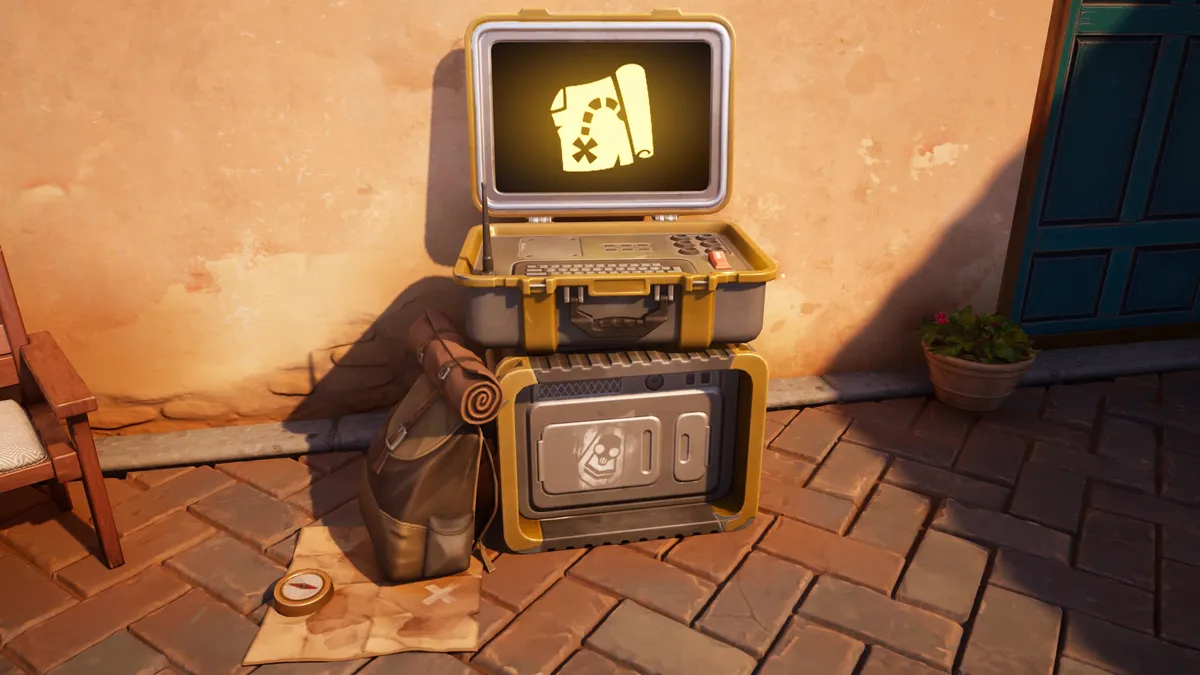
Fortnite SHADOW Briefings: Where to find and accept them
Guide SHADOW Briefings in Fortnite let you accept bounties, plunder, supply drops, and vehicle challenges
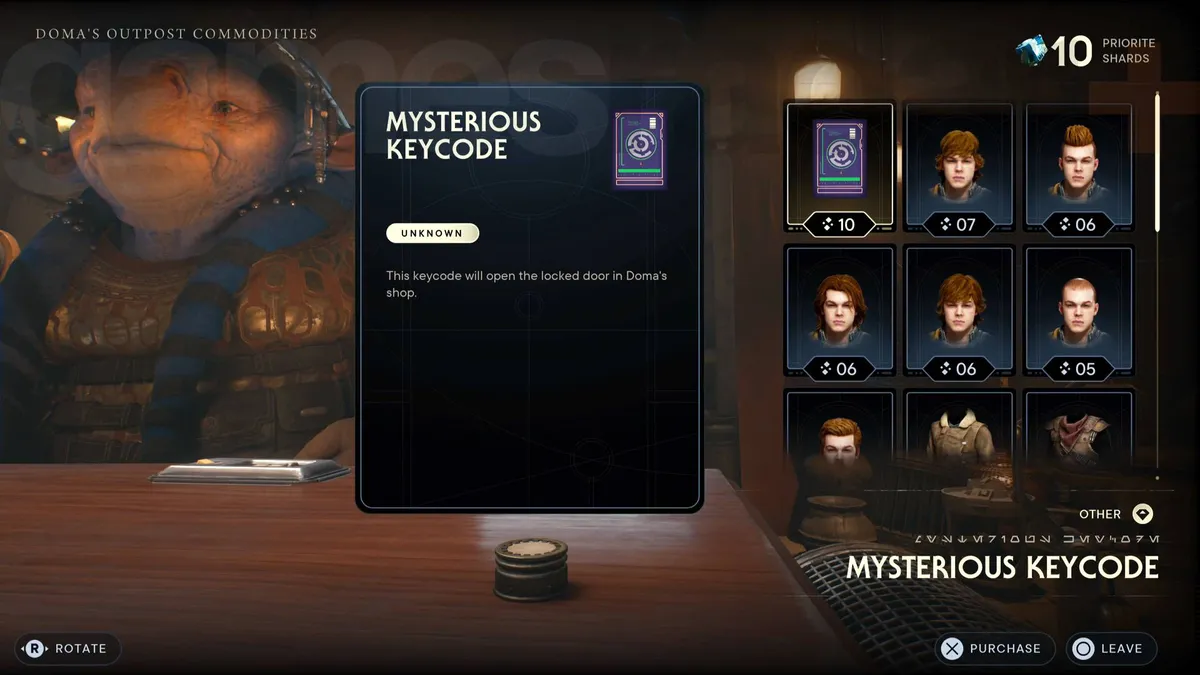
What does Doma's mysterious keycode do in Star Wars Jedi Survivor?
Guide What's behind the locked door opened by the Doma keycode?
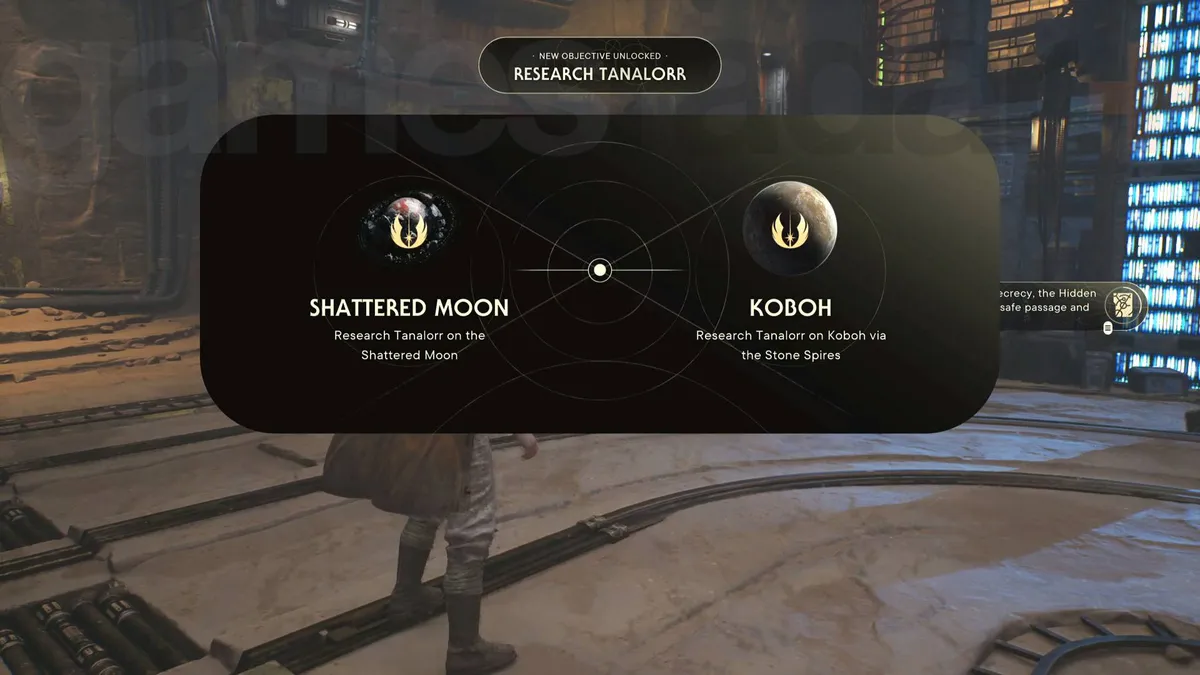
Should you go to the Shattered Moon or Koboh first in Star Wars Jedi Survivor?
Guide You need to research Tanalorr on both the Shattered Moon or Koboh in Star Wars Jedi Survivor

All Star Wars Jedi Survivor Force powers and abilities
Guide Where and when you unlock every gadget and power in Jedi Survivor
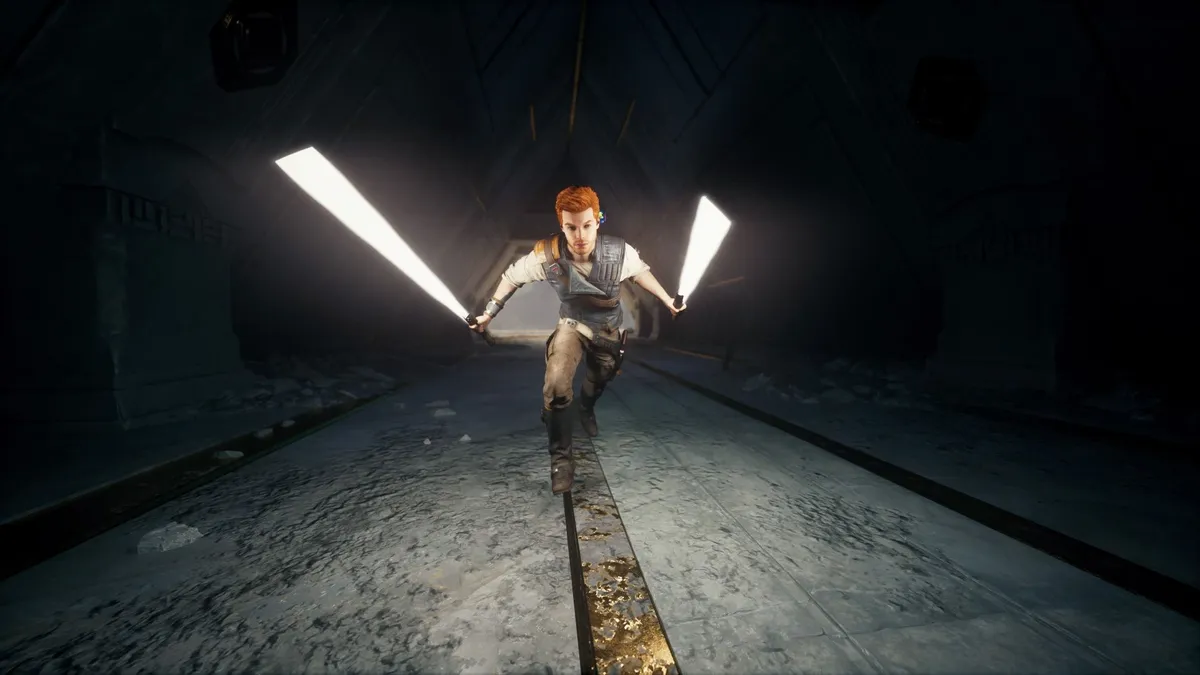
The best Star Wars Jedi Survivor lightsaber stances and when to use them
Guide How to unlock lightsaber stances and which is best in Jedi Survivor?