Stockpile
Map Tour
Stockpile is set at the site of a secret WMD facility disguised as a barn. It’s a circular map with long sightlines around the edges, but the central building is a different story. With its many entrances on different levels and numerous small rooms, this building will be the site of a lot of close quarters killing.
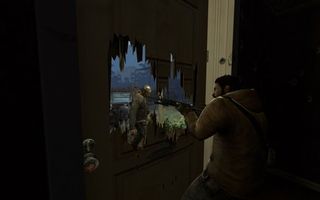
Above: Don’t be this guy
These doors can be open and shut from either side, but be aware that doing so is a slow and noisy endeavor. If you are holding out inside this building, try and keep it shut. Just be careful - the doors close with enough force to kill.
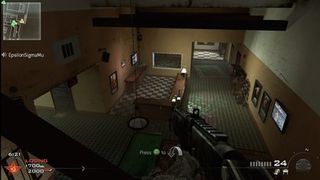
This house is a great place to hold up in. From the second floor, you can see a good portion of the map and pick off players who are trying to enter the central building. There’s even a section of the balcony fencing missing where you can go prone. Just be aware that there are stairs along the side of the house in addition to the ones inside.
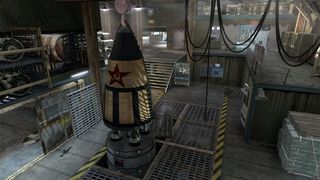
The missile room in the central building is a high traffic area with loads of entrances at multiple heights. This makes it an extremely dangerous place, so be very careful when entering by yourself.
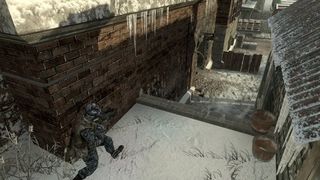
This little alley area here is a great place to stake out and pick off players going in and out of the hole in the side of the central building.
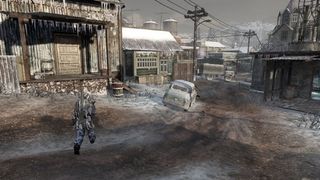
Be careful running around the border of the map. The small buildings around the edges are spaced pretty far apart, and any time you spend out in the open you’re vulnerable.
Zoo
Map Tour
This abandoned Zoo isn’t quite as festive as it used to be. All the animals are gone, and the monorail that runs around the map is partially destroyed. The drab environment can make spotting enemies particularly difficult, so make sure to be extra vigilant with your scans before moving through an area.
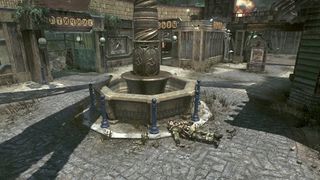
Keep out of this central plaza area. This is where the bad players get killed by the good players.
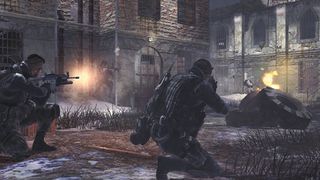
Above: Tactics like these are only good for a kill or two before you need to change positions
This place isn’t exactly a colorful place anymore. Going prone among all the grays, browns, and greens is a particularly effective tactic - especially for ghosts using suppressors.
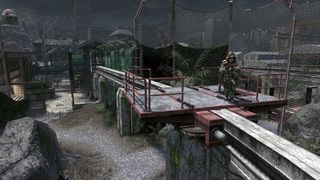
Above: Don’t send more time than you have to doing this
There are two monorail stations that are high up and serve as great vantage points. They are connected by the track, but running along said track greatly exposes you during team deathmatch. In Domination though, it can serve as a nice shortcut to the other end of the map.
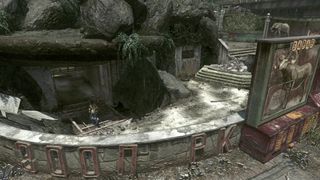
This animal pen features a passage that takes you right to the map’s central plaza. This can be a great way to sneak into the B objective area in Domination.
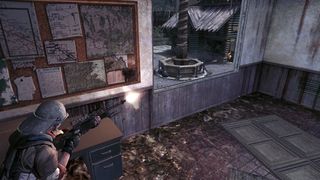
Controlling the central area from above can be the key to victory in any game mode. Perching up in the buildings and shooting from the windows is your best bet, and keeping your eye on the doors leading into the plaza below is a good way to rack up kills - especially during Domination.
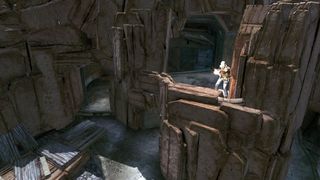
Above: Random attacks from escaped bears would make this map 200% better
The top of the bear pen is a good perch, but the very wide ramp leading up to it means you may have trouble watching your back with a single claymore.
May 11, 2011
