Borderlands 2 side missions guide
Get out and explore Pandora, one job at a time
Thousand Cuts
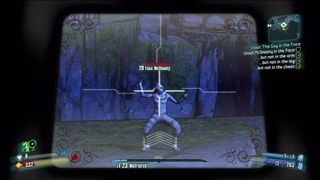
Shoot this Guy in the Face
Experience: 3208 XP
Money: 4 Eridium
Gear: None
When you are in the Thousand Cuts, head to the yellow exclamation mark at the northwest side, across the Broken Face Bridge, and then go just to the left of it. There you will find Face McShooty. There is one goal with him and that is to shoot him in the head; nothing more and nothing less. Pop him in the noggin and you will complete the mission as well as get yourself an achievement/trophy for your troubles.
Lynchwood
3:10 to Kaboom
Experience: 5319 XP
Money: $341
Gear: Grenade mod
Found at Lynchwood bounty board, you will have 5 minutes to complete this quest once you get to the Demolition Depository. You can find the depository to the southwest of the entrance to Lynchwood, and just west of the cemetery where you can find The Bane weapon. When you reach the Depository, pull the lever to the side to start the RC car. Once it’s rolling, run to the switch across from the lever to close the small door and to have the RC crash into it. Pick up the car and then take it to the south of the area and place it on the track there. Now you will need to run to the detonator at the top of the stairs where the waypoint is. Wait for the RC car to drive under the train and then press the detonator to blow it up and to take the train with it.
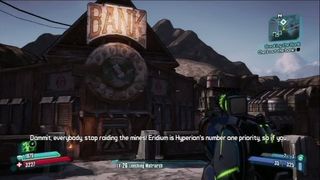
Breaking the Bank
Experience: 5319 XP
Money: 4 Eridium
Gear: None
For this mission, found at the Lynchwood bounty board, Brick will want you to rob a bank. Head there and the first thing you will need to do is check the bank out. Go to Main Street and the bank will be on the left side. GO around to the side of the bank and Brick will ask you to see if you can open the vault. It won’t, but he’ll say he knows a way and it involves Skag bile and explosives. To get it, you’ll need to grab some laxatives on top of the building next to the bank. To get to the roof, hop on the crate in front of the building and then hop up to the ledge, and then to the roof. Grab the laxative out of the toilet and then you will need to find Mad Dog to get some of his explosives. Head to the far south west, past the Grinders, and into Deathrow Refinery. Head to the center of it and Mad Dog will be hopping around. Take him down, and once he drops, pick up his explosives.
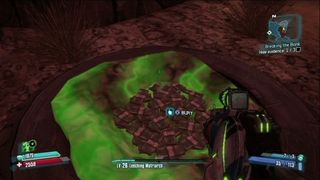
Now head back south to the Grinders and place the dynamite where instructed. Once on the ground, place the laxative on it and a Skag will come along and eat it. Now just follow the Skag a few steps and it will puke it up. Grab it from the pile it creates and head back to the bank. From the Grinders, you can now head to the north along the west side and use the elevator there to get to the bank much faster. Run to the bank and place the dynamite on the vault door. Now a horde of enemies will appear, so fend them off and then enter the vault and open each of the safes. Grab the 25 pieces of loot from them and then go to the end of Main Street to “get out of town.” Once there, you will then need to hide the loot in three places. The first is under the conveyor belt, and the second and third are just down the path a little ways, where the waypoints lead to. To hide the evidence, you not only need to place it in the circles on the ground, but also, cover it with dirt to make sure it is hidden. Once all three are buried, hit the bounty board to turn the mission in.
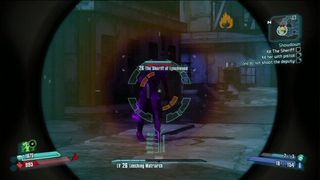
Showdown
Experience: 5319 XP
Money: 683
Gear: Relic – Deputy’s Badge
When you turn in the “Breaking the Bank” mission to the bounty board, you will then get this mission to confront the sheriff in Gunslinger’s Corner. Head to the northwest to reach it and you will need to take her down along with her Marshalls. She will stay on the rooftop for most of the fight until her Marshall’s are down. When they are, she will drop to the ground level and be much easier to attack. You can get optional challenge bonus if you do not shoot the deputy and if you kill the sheriff with a pistol. Once she is down, head back to the bounty board to turn in the mission.
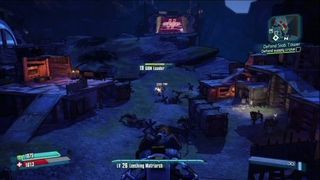
Defend Slab Tower
Experience: 3855 XP
Money: 4 Eridium
Gear: None
Once you talk to Rocko, he will then send you on this mission. Once Brick has done talking, to Rocko and yourself, go to the north to secure the Slab Beacons. Next up, place the Psycho beacon, Marauder beacon, and Goliath beacon in the three waypoints. As soon as all three are placed, you’ll need to jump on the turret and start killing the bots as they land. The Goliath, Psycho, and Marauders are on your side, so don’t kill them if possible and try to make sure to have a corrosive gun to make this mission much more manageable. Once the waves of robots are finished, return to the supply crate to turn in the mission.
Sign up to the GamesRadar+ Newsletter
Weekly digests, tales from the communities you love, and more
Jeff McAllister is a freelance journalist who has contributed to GamesRadar+ over the years. You'll typically find his byline associated with deep-dive guides that are designed to help you scoop up collectibles and find hidden treasures in some of the biggest action and RPG games out there. Be sure to give Jeff a thanks in the comments while you're completing all of those tricky Achievements and Trophies.

After selling 1 million copies, Balatro creator admits it's "held together with hopes and dreams" as game devs rally around the roguelike's beautifully nightmarish code

X-Men '97: All the Easter eggs, cameos, and references

After getting robbed 3 times during development, devs behind bizarre crab Soulslike are shell-shocked by stellar reviews: "Chat is this real?"