Borderlands 2 side missions guide
Get out and explore Pandora, one job at a time
Three Horns Valley
No Vacancy
Experience: 791 XP
Money: $111
Gear: Skin Customization
At the Happy Pig Motel in Three Horns Valley, go to the Happy Pig Motel and you will find an ECHO recorder stuck to a wall. When you listen to it, Scooter will tell you that you might be able to get the Motel up and running again by turning the steam valve to the right on. Try it and it won’t work. Now you’ll need to collect a few items from around the area. First up grab the steam valve from atop the pump by hopping up the side of it to get under the ladder. Shoot it and it will come down allowing you to climb up to the top. Once you have it, hop down and drive just to the east of the motel to find a tower and a Badass Bullymong.
Use the car to take it down quickly and then grab the gearbox from its pile of goodies. Next the capacitor will be missing from the base of the pump on the other side of the fence. You will need to kill the Skags as they come until you see the capacitor fall out. Once you get it, you will then need to go back to the Happy Pig Motel and replace all three parts on the large pump there. Put the first in the base, and then climb the ladder to place the gearbox, and finally another ladder to place the steam valve at the very top. Once all three are in place, turn the valve on the ground to operate it. Return to the Happy Pig Motel Bounty Board to complete the mission.
Neither Rain nor Sleet nor Skags
Experience: 791 XP
Money: $55
Gear: Filler Rifle/Lobbed Grenade
From the Happy Pigs Motel Bounty Board in three Horns- Divide, you will receive this mission to deliver 5 mail packages in a minute and thirty seconds. It can be a little tricky, but we have a video above to show you how it can be done.
The Ice Man Cometh
Experience: 2333 XP
Money: $246
Gear: Throwin Jumpin Bitty/ Winged Acid Nova Shield
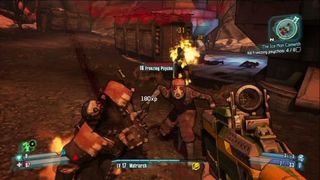
At the Happy Pig Farm after the story mission called “A Train to Catch” hit the Bounty Board to find this mission. Pick up the dynamite to the right and then head to the Three Horns Divide and plant it on the furnaces of the bandits so that they will get too cold to fight. Oh Claptrap. Your plans are flawless. Drive to the Dry Docks in the southern area of the Three Horns
Divide and plant the 5 different sets of dynamite on the furnaces. Once done, then use the detonator in the center of the buildings, at the large anchor. Once you do, Claptrap will tell you that the bandits have outsmarted him by putting on snow hats and need to be taken out. Kill 8 of them and then return to the Bounty Board to claim your reward.
The Dust
Too Close For Missiles
Experience: 792 XP
Money: $350
Gear: Fire Fire Machine Gun/Greesy Acurate SMGG
When you arrive at Ellie’s Garage during the story mission to rescue Roland, talk to Loggins and he will want you to grab 2 cans of jet fuel and steal 4 volleyballs from the game at the Buzzard Camp. There is also a bonus objective of taking out the buzzards flying above. You will need to launch up the stone ramp to enter the camp, and once inside, simply follow the waypoint markers to each of the onjects you need. None of them are hiding in any tricky spots and can be gathered fairly easily. Once you have all the volleyballs and fuel, you will then need to set the volleyball net on fire and kill the three shirtless men that will appear. Once they are dead, return to Loggins and claim your reward for a rather odd mission.
Positive Self Image
Experience: 1584 XP
Money: None
Gear: Eridian Relic
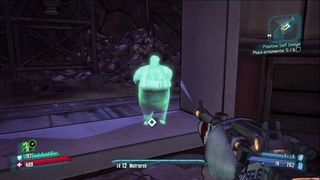
Talk to Ellie at her garage and she will want you to recover 6 hood ornaments that are made in her image. To get them, you will need to destroy 6 bandit vehicles and grab them from the wreckage. Once all 6 are gathered, return to the shop and place them around the garage at the highlighted areas. Once they have all been placed around the shop, talk to Ellie again and the mission will end.
Tundra Express
You Are Cordially Invited: Party Prep
Experience: 1820 XP
Money: $235
Gear: None
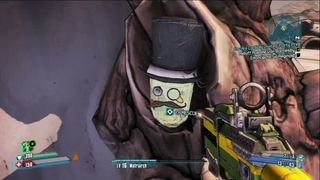
Talk to Tiny Tina in her workshop and she will want you to get some guests for her tea party. The first on the list is Sir Reginald Von Bartlesby. Make your way to the waypoint on top of Skittering Mound and Reginald’s mother will be fluttering about there. Take her down and rescue Reginald and then you will need to perform a few more tasks to make the party compete. Next you will need to take out three Buzzards so that Tina can have some metal to make a teapot, find Princess Fluffybutt, and collect some crumpets. The crumpets are easy to find and can be found on a table on the second floor of the Buzzard Academy. For the Buzzard pieces, simply shoot down three Buzzards that are flying overhead as there will usually be many over the Academy. Princess Fluffybutt can be found outside a small cabin just north of the entrance from Three Horns- Divide. Once you have all the items needed for the party, return to Tina’s workshop and place them at the table to complete the mission.
You Are Cordially Invited: RSVP
Experience: 3104 XP
Money: $109
Gear: Paraquat Projectile/Sticky Lobbed Grenade mod
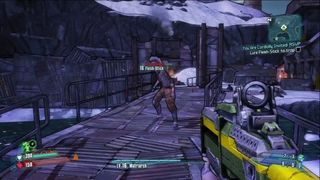
Make your way to the waypoint marker in Meltwater Crossing and a group of enemies will attack you. In the group will be Flesh-Stick, so make sure not to kill him. Shoot him once to get his attention and then start running back to the workshop. When he stops following you, shoot him again and continue to do so until you get him to the entrance of the workshop where he will get trapped. Once he is strung up, the mission will compete and you will have one more to do for Tina’s party.
You Are Cordially Invited: Tea Party
Experience: 2069 XP
Money: None
Gear: Corrosive Teapot
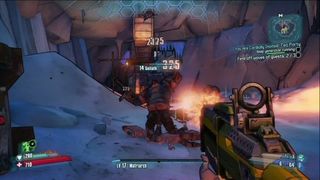
For this mission, start it off by slapping Flesh-Stick and turning on Mr. Sparks. Once you do this, three waves of enemies will begin to pour in. Thankfully they only enter through one entrance, so keeping track of them is pretty easy. Should you run out of ammo, there is a store in Tina’s shop that you can fill up on between waves. All you need to do is to keep the entering bandits from hurting the generator. If you do fall however, chances are that the generator will go down as the trek back to the workshop is not a short one. Once you reach the final wave, it will be all Goliaths, so get them raging and they will even turn on each other to make things easier. Once the final wave of enemies is complete, talk to Tina to end the series of missions.
No Hard Feelings (Undiscovered)
Experience: 3104 XP
Money: $109
Gear: Social Projectile Diversification/Akurate Carbene
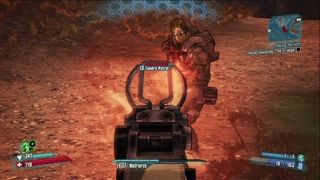
For this mission, go to Tundra Express and look around for the Tundra Patrol, also known as Will the Bandit. He isn’t in one set location, so keep your eye out for a suspicious looking fellow. When you take him down, he will drop a recorder that says that since you killed him, he left a stash of weapons for you. Go to the stash to the east of the entrance to Three Horns-Divide and open the doors. When the crate rises, open it and it will be a trap where you will need to fend off a horde of bandits. There won’t be any that are all too difficult, and once they are down, you will receive one of two weapons for your reward.
Bloodshot Stronghold
Out of Body Experience
Experience: 2069 XP
Money: None
Gear: Shotgun/Shield
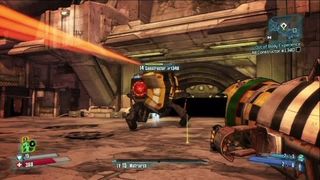
During the Splinter Group mission, once inside the Bloodshot Stronghold you will come across the Loader #1340 AI Core in the middle of the floor, a little ways after entering. This will kick off the Out of Body Experience mission and you will need to travel to the Bloodshot Dam which is all the way through the Bloodshot Stronghold, where you earlier found Roland, and then through to the Bloodshot Ramparts. Once you get there, place the AI core in the construction bot and then you will need to destroy it. Use corrosion to make the job quicker and once it is down, grab the AI core again. Now it will ask you to place it in the War Loader.
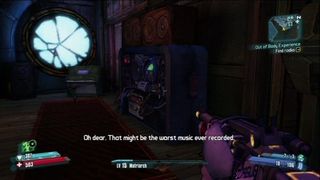
Again, when you place the AI core inside, it will try to kill you once again. Defeat it, and grab the AI core and it will ask to be placed inside a radio to live peacefully. Head to the waypoint to get back to the Bloodshot Stronghold and make your way through it again to get to the fast travel station. Use it to get to Sanctuary and then enter Moxxxi’s. Place the AI core in the giant radio in the back room and wait for it to stop playing. Shoot the radio and then take the AI core once again. Now for your troubles, you can either take the core to Zed’s if you want a shield or Marcus if you want a gun.
The Highlands
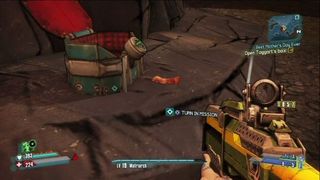
Best Mother’s Day Ever
Experience: 2903 XP
Money: None
Gear: Love Thumper Shield
When you reach Old Cranky’s Pond during the “Hidden Journals” quest, you will find a rather fancy chest lying on the ground near the shack that was a gift from Taggart to his mother. Go to the chest and you then be told that you need to look for Taggart at Henry the Stalker’s Lair so that you can try and find Taggart’s fist which opens the chest. Make your way directly east of Overlook, and drop down into the lair where you will have to fight off 6 Ambush Stalkers. Once they are down, Henry will come out to play. After you have dropped his health down to half, more stalkers will come rushing out, but keep focusing on Henry until he drops. Once he does, grab the goods and then place the chest on the rock ledge in the center of the area to open it and to complete the mission.
Sign up to the GamesRadar+ Newsletter
Weekly digests, tales from the communities you love, and more
Jeff McAllister is a freelance journalist who has contributed to GamesRadar+ over the years. You'll typically find his byline associated with deep-dive guides that are designed to help you scoop up collectibles and find hidden treasures in some of the biggest action and RPG games out there. Be sure to give Jeff a thanks in the comments while you're completing all of those tricky Achievements and Trophies.
